
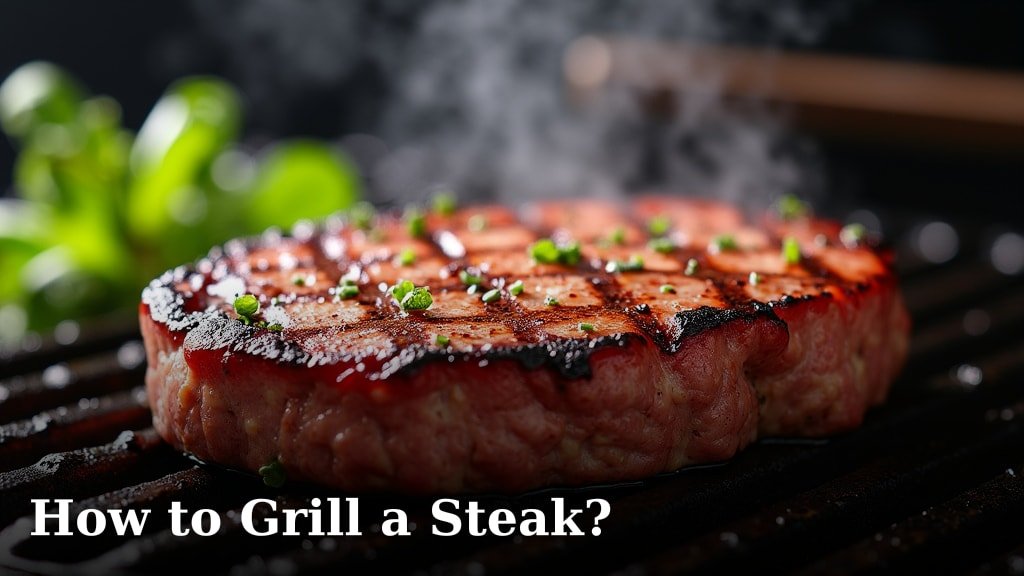
<p>To grill a steak, you need to confidently handle three things: proper seasoning, the right temperature, and a good sear. We’ve found that mastering these steps helps you cook a steak to juicy perfection every time. Learning how to grill a steak means enjoying incredible flavor and tender bites.</p>
<p>Many home cooks want to create restaurant-quality steak at home. You might feel a bit unsure about grilling steak perfectly. We understand the goal: a beautiful crust and a tender, juicy inside. It’s totally achievable with some simple techniques. <strong>Grilling steak well</strong> is easier than you think.</p>
<ul>
<li>Choose the right cuts and thickness.</li>
<li>Season your steak generously.</li>
<li>Set up your grill for two heat zones.</li>
<li>Sear and then cook indirectly.</li>
<li>Rest the steak for juiciness.</li>
</ul>
<p>So, are you ready to conquer the grill and cook a steak you’ll truly be proud of? Let’s walk through exactly how to grill a fantastic steak, step by step.</p>
Preparing Your Steak for Grilling Success
Getting your steak ready before it hits the grates is a crucial step for amazing flavor and texture. Think of it as setting the stage for a culinary masterpiece. We’ve found that a little prep work goes a very long way.
Choosing the Right Cut and Thickness
The journey to a perfect grilled steak starts at the butcher counter. Your choice of cut heavily influences the grilling process and the final taste. Many grill masters agree this is the first foundational decision (USDA).
Popular Steak Cuts for Grilling
You have many options, but some cuts shine brighter on the grill. We typically recommend cuts with good marbling – those little flecks of fat – for the best flavor and juiciness. Marbling melts during cooking, basting the meat from the inside.
- Ribeye: Known for its rich marbling and robust beefy flavor. It’s a very forgiving cut for grilling.
- New York Strip: A good balance of tenderness and chew, with a nice fat cap on one side that renders into flavor.
- T-Bone/Porterhouse: These offer two steaks in one – a tenderloin (filet mignon) on one side and a New York Strip on the other. A great choice for variety.
- Sirloin (Top Sirloin): A leaner, more budget-friendly option. It benefits from careful cooking to avoid dryness.
Ideal Steak Thickness
Thickness matters a lot for even cooking. For grilling, we usually aim for steaks between 1 to 1.5 inches thick. Steaks thinner than 1 inch cook too quickly, making it hard to get a good sear without overcooking the inside. Much thicker, and you might struggle to get the center cooked without burning the outside. A consistent thickness helps you achieve a perfect medium-rare.
Seasoning Your Steak
Once you have your beautiful steak, it’s time to flavor it. Simple seasoning often yields the best results, letting the natural beef flavor shine. You don’t need a pantry full of spices for a great steak.
The Classic Salt and Pepper Approach
For many, salt and pepper are all you need. We’ve seen countless chefs swear by this minimalist approach. Use coarse salt, like kosher salt or sea salt, which adheres well and draws out moisture. Freshly cracked black pepper adds a pungent kick.
- Apply seasoning generously. Think about how much surface area your steak has.
- Press the seasoning into the meat gently.
- The salt helps form that delicious crust you’re looking for.
When to Season Your Steak
Timing your seasoning can make a big difference. You have two main options:
- At least 40 minutes before grilling: This allows the salt to draw moisture out of the steak and then reabsorb, leading to a juicier, more flavorful result. This is often called a “dry brine.”
- Immediately before grilling (within 3 minutes): If you can’t hit the 40-minute window, season right before it hits the heat. This prevents the salt from drawing out moisture without enough time to reabsorb, which can leave the surface a little wet.
Avoid seasoning 5 to 30 minutes before grilling, as this is the window where the salt has pulled moisture to the surface but hasn’t had time to reabsorb, creating steam instead of sear.
You might also consider an optional pat of butter or a sprig of rosemary and thyme once the steak is cooking. These additions contribute another layer of aroma and depth.
Mastering Your Grill Setup
A great grill master knows their equipment. Setting up your grill correctly is as important as the steak itself. This includes getting your grill hot and creating different heat zones.
Preheating Your Grill
You want a screaming hot grill. This is non-negotiable for a good sear. We’ve found that a properly preheated grill creates a beautiful, caramelized crust almost instantly. If your grill isn’t hot enough, your steak will grey out instead of searing.
- Gas Grill: Turn all burners to high, close the lid, and let it preheat for 10-15 minutes. Aim for a grill grate temperature of at least 450-500°F (232-260°C).
- Charcoal Grill: Arrange your charcoal in a way that creates two distinct heat zones. Light the charcoal, let it get white-hot, and then spread it.
A simple test: hold your hand about an inch above the grates. If you can only hold it there for 1-2 seconds, it’s hot enough. That’s a reliable sign of proper preheating.
Creating Two Heat Zones
This is a game-changer for grilling steak. We always advocate for setting up a two-zone fire. It gives you control over the cooking process. You’ll have one area for searing and another for gentle, indirect cooking.
Why Two Zones Are Essential
A proper sear requires intense, direct heat. But leaving a steak on direct high heat for too long will burn the outside before the inside is cooked. The indirect zone allows you to finish cooking your steak to your desired doneness without charring the exterior. This approach helps prevent a tough, burnt, or unevenly cooked steak.
How to Set Up Your Zones
| Grill Type | Direct Heat Zone | Indirect Heat Zone |
|---|---|---|
| Gas Grill | High heat (1-2 burners on high) | Burners off, or on low (other side of grill) |
| Charcoal Grill | Coals piled directly under grates | Grates where there are no coals |
This simple setup provides the versatility you need to sear your steak beautifully and then cook it to perfect internal temperature. It’s truly a must-do step for consistent results.
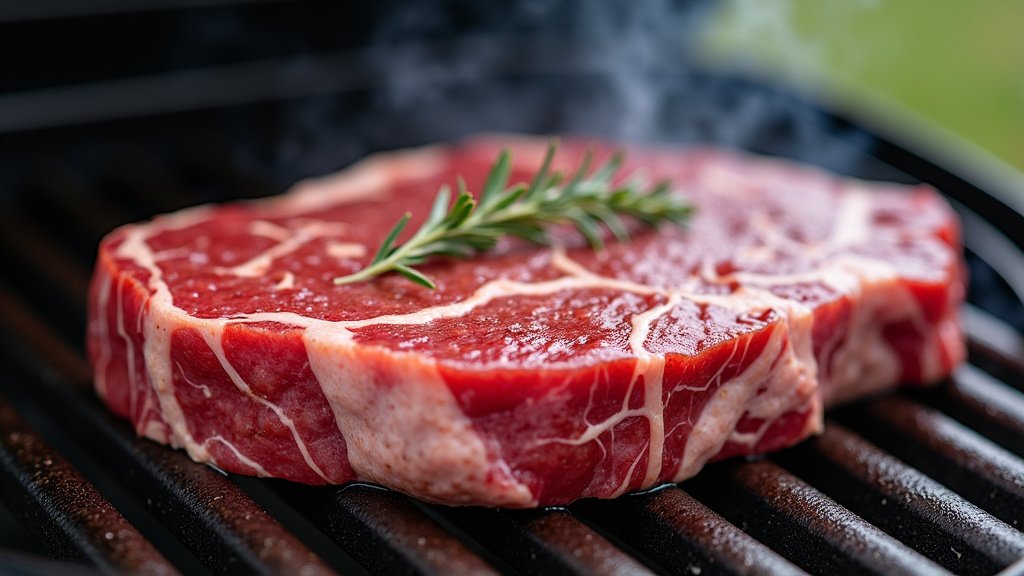
Grilling Your Steak to Perfection
With your steak prepped and your grill ready, it’s showtime. This is where you bring all your preparation together to create that unforgettable grilled steak.
The Searing Process
Searing is about creating that incredible crust – the Maillard reaction at its finest. This is not just about looks; it adds immense flavor and texture to your steak. You’ll hear that satisfying sizzle when the steak hits the hot grates.
- Place your steaks over the direct high heat zone.
- Sear for 2-3 minutes per side. Resist the urge to move them too soon.
- You’re looking for a deep brown, almost crusty surface.
- Use tongs to flip them only once or twice.
If you have any flare-ups, move the steak away momentarily. Don’t let it burn. This initial sear locks in juices and builds flavor.
Finishing on Indirect Heat
After a good sear, move your steaks to the indirect heat zone. This is where the magic of gentle cooking happens, allowing the inside to reach your desired doneness slowly and evenly without burning the outside.
- Move the seared steaks to the cooler indirect zone.
- Close the grill lid. This helps create an oven-like environment.
- Cook until the internal temperature is 5-10°F below your target doneness (see chart below).
- Use an instant-read meat thermometer to check doneness accurately (USDA). Insert it horizontally into the thickest part of the steak.
Estimating cooking times is tricky. Factors like steak thickness, grill temperature, and even outside air temperature play a role. Trust your thermometer, not the clock.
Steak Doneness Temperature Guide
Knowing your desired internal temperature is key to grilling success. We find this chart extremely helpful:
- Rare: 120-125°F (a very cool, red center)
- Medium Rare: 130-135°F (cool red center – most recommended for flavor and tenderness)
- Medium: 135-140°F (warm pink center)
- Medium Well: 145-150°F (slightly pink center)
- Well Done: 150-155°F (little to no pink)
Remember, the steak’s temperature will rise another 5-10°F during resting. So, pull it off the grill slightly before your target.
The All-Important Rest
Once your steak reaches the desired internal temperature, remove it from the grill immediately. This next step is often overlooked but is absolutely critical for a juicy steak.
- Transfer the steak to a clean cutting board or plate.
- Tent it loosely with aluminum foil. Don’t wrap it tightly; you don’t want to steam it.
- Let it rest for at least 5-10 minutes. For thicker cuts, allow 10-15 minutes.
Resting allows the juices, which have been pushed to the center of the steak by the heat, to redistribute throughout the meat. If you cut into it too soon, those precious juices will spill out onto your board, leaving you with a drier steak. Patience here is rewarded with maximum juiciness.
Your Grilling Steak Checklist
To recap, here’s a quick checklist for your next steak grilling adventure:
- Choose a steak 1 to 1.5 inches thick with good marbling.
- Season generously with coarse salt and pepper, either well in advance or right before grilling.
- Preheat your grill to at least 450-500°F and set up two heat zones.
- Sear the steak over direct high heat for 2-3 minutes per side.
- Move to indirect heat and cook, lid closed, until 5-10°F below target.
- Rest the steak tented with foil for 5-15 minutes.
Conclusion
You now have all the tools and confidence to grill an amazing steak. We’ve walked through choosing the right cut, mastering your seasoning, setting up your grill for success, and nailing that perfect sear and finish. Remember, practice makes perfect, and each grilled steak is a chance to refine your technique. Don’t be afraid to experiment a little and trust your senses.
Your next delicious, juicy steak is just a few steps away. We encourage you to grab your favorite cut, fire up the grill, and enjoy the incredible flavors you create. Get ready to impress yourself and anyone else lucky enough to join you at the table!
Frequently Asked Questions
What’s the best steak cut for beginners to grill?
For beginners, we often recommend a ribeye steak that is 1 to 1.5 inches thick. Its generous marbling makes it very forgiving and ensures a flavorful, juicy result even if your timing isn’t perfect.
Should I oil my steak or the grill grates?
It’s generally better to oil your grill grates, not the steak itself. A light coating of high-smoke-point oil on clean, hot grates helps prevent sticking and promotes a better sear without affecting the seasoning on your steak.
How can I tell if my charcoal grill is hot enough?
Besides checking coal color (white-hot), you can use the hand test. Hold your hand about an inch above the grates; if you can only keep it there for 1-2 seconds, your grill is ready for searing temperatures.
Why is it important to rest my steak after grilling?
Resting allows the juices, which concentrate in the center during cooking, to redistribute throughout the meat. Cutting into the steak too soon will cause those juices to spill out, resulting in a drier bite. This step ensures maximum juiciness.
Can I grill a frozen steak?
While you technically can grill a frozen steak, we don’t recommend it for the best results. Grilling from frozen makes it very difficult to achieve an even cook, a good sear, and your desired internal doneness. Always thaw your steak completely for optimal grilling.
