
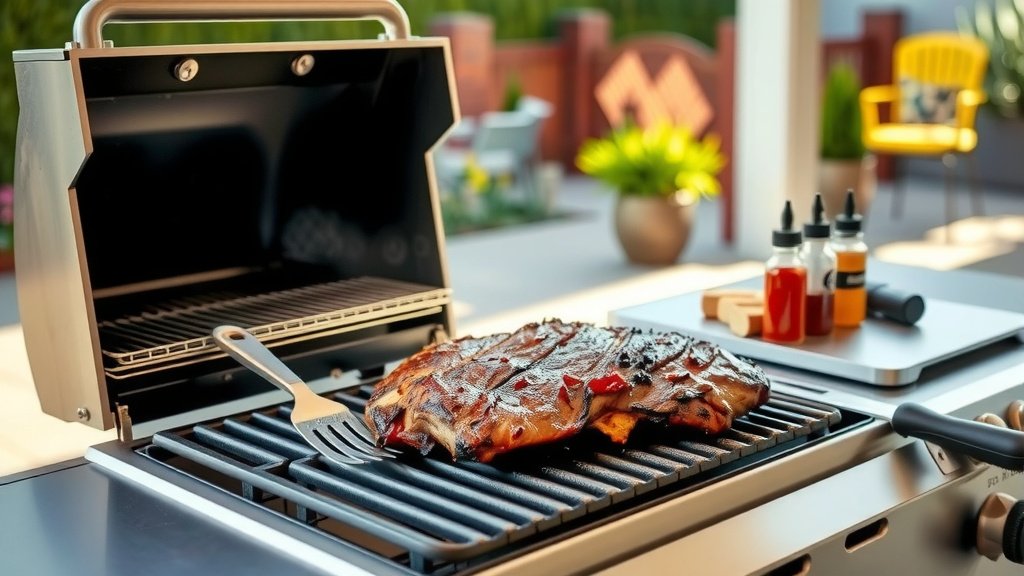
You can cook a delicious brisket on a gas grill by setting up an indirect heat zone and maintaining a consistent low temperature around 250-275°F. This method helps render fat, break down tough fibers, and create a tender, juicy result.
To cook a brisket on a gas grill successfully, you’ll need a good meat thermometer, wood chips for smoke, and plenty of patience for the long, low-and-slow cooking process.
TL;DR: Here’s the quick rundown for your gas grill brisket success:
- Prep your brisket by trimming fat to 1/4 inch and applying a generous rub.
- Set up your gas grill for consistent indirect heat, targeting 250-275°F.
- Add wood chips in a smoker box for that authentic smoky flavor.
- Cook low and slow, monitoring internal temperature and spritzing for moisture.
- Wrap the brisket when it hits the “stall” (around 150-165°F) to finish cooking to tenderness.
- Rest your brisket for at least 1-2 hours after cooking for maximum juiciness before slicing.
How To Cook A Brisket On A Gas Grill?
You can absolutely cook a delicious brisket on a gas grill by using an indirect heat setup and maintaining a consistent low temperature between 250-275°F. This method achieves that desired smoky flavor and tender texture.
Understanding Your Brisket
Before lighting your grill, let’s talk about brisket itself. It’s a large, tough cut from the cow’s lower chest. Because of its connective tissue, it demands a long, slow cooking process to become wonderfully tender.
Many home cooks might think a gas grill isn’t ideal for brisket. However, we found that with the right approach and a little patience, your gas grill can produce a beautifully cooked brisket. It’s all about technique.
You’ll typically find two parts in a brisket: the flat and the point. The flat is leaner and great for slicing, while the point is fattier and perfect for shredding. For a classic BBQ experience, we recommend starting with a full packer brisket, which includes both sections. This ensures the best moisture and flavor.
Brisket Preparation Essentials
Proper preparation is key to a successful brisket. Think of it as laying the groundwork for your grilling masterpiece. Taking a little time here makes a big difference.
Your first task is trimming the fat cap. Aim to reduce it to about a quarter-inch thick across the entire surface. This crucial step keeps the meat moist without making it overly greasy. Research suggests that excess fat will simply melt away and won’t render properly (USDA).
Next, apply your chosen seasoning. A good rub is vital for flavor. Many seasoned grillers use a simple “dalmatian rub” of coarse salt, black pepper, and garlic powder. Don’t be shy; apply it generously on all sides of the brisket.
You can apply the rub several hours or even the night before. This allows the flavors to truly penetrate the meat. Then, keep it refrigerated until about an hour before grilling.
Setting Up Your Gas Grill for Brisket
Even without a dedicated smoker, your gas grill can create a fantastic smoky cooking environment. The secret lies in managing your heat zones effectively.
Creating an indirect heat zone is crucial. Turn on one or two burners on one side of your grill to medium-low, leaving the remaining burners off. This creates a cooler area where your brisket will slowly cook. Your aim is a consistent grill temperature between 250°F and 275°F. Use a reliable grill thermometer to monitor this accurately.
Adding Smoke Flavor
To infuse that authentic smoky taste, you’ll need wood chips. Hickory, oak, or pecan chips are excellent choices for beef brisket. You can use a dedicated smoker box or simply wrap a handful of chips in a foil packet with a few holes poked in it.
Place your smoker box or foil packet directly over the active burners. It will begin to smolder and produce the smoke your brisket needs. Replenish the chips as needed, usually every hour or two, for the first few hours of cooking.
The Low and Slow Cooking Process
Cooking brisket on a gas grill is a marathon, not a sprint. Patience is truly your best friend throughout this long cooking journey. Resist the urge to rush things.
Monitoring Temperature and Spritzing
Once your grill reaches the target temperature and is producing smoke, place your brisket fat-side up on the grates in the indirect heat zone. Close the lid promptly. Immediately insert a reliable meat thermometer into the thickest part of the flat, avoiding any large pockets of fat.
You’ll want to check your grill’s temperature every hour or so. Make slight adjustments to your active burners to keep it in the 250-275°F range. Consistency is what makes for a great brisket. Remember the old adage: “If you’re lookin’, you ain’t cookin’,” as opening the lid lets precious heat escape, extending cooking times.
After about 3-4 hours, you can begin spritzing your brisket every hour. A simple mix of apple cider vinegar and water, or a little apple juice, works well. Spritzing helps keep the surface moist and encourages the formation of that delicious bark.
Dealing with “The Stall” and Wrapping
At an internal temperature of roughly 150-165°F, your brisket will likely hit a “stall.” This is a common phenomenon where the meat’s temperature stops rising as moisture evaporates from its surface, cooling it down. Don’t panic; it’s a normal part of the process.
This is when many pitmasters recommend wrapping the brisket. You can use butcher paper or heavy-duty aluminum foil. Wrapping helps the meat push through the stall by trapping moisture and heat. Wrap it snugly and return it to the indirect heat zone on your grill.
Brisket Cooking Checklist:
- Trim fat to 1/4 inch.
- Apply generous rub.
- Set up indirect heat (250-275°F).
- Add wood chips for smoke.
- Insert meat thermometer.
- Spritz every hour after 3-4 hours.
- Wrap at the stall (150-165°F).
- Cook until tender (195-205°F).
- Rest for 1-2 hours minimum.
Achieving Perfect Tenderness
Continue cooking your wrapped brisket until its internal temperature reaches 195-205°F. However, more importantly, it should feel incredibly tender when probed. Imagine pushing a warm stick of butter with your thermometer or skewer; that’s the feeling you’re aiming for.
This temperature range ensures that the tough collagen in the brisket has fully broken down, creating that signature melt-in-your-mouth texture. Trust the feel of the meat more than just the exact number on your thermometer.
The Crucial Resting Phase
This step is non-negotiable for a truly amazing brisket. Many first-timers rush this, but it can make or break your efforts. You’ve come this far; don’t skip the finish line!
Why Rest is Non-Negotiable
When you remove the brisket from the grill, its internal temperature will continue to rise slightly, a process known as “carryover cooking.” Resting allows the muscle fibers to relax and reabsorb all those delicious juices that might otherwise escape when you cut into it too soon.
We found that a proper rest ensures a significantly juicier and more tender slice (AmazingRibs.com). To rest your brisket, wrap it loosely in foil, then in a towel or an old blanket, and place it in an empty cooler. Let it rest for a minimum of 1-2 hours, and even up to 4 hours is perfectly fine.
Slicing Your Masterpiece
You’ve put in the time and effort; now for the reward. Slicing brisket correctly is essential to preserving its tenderness and flavor. An improper slice can undo all your hard work.
The Art of Slicing Against the Grain
Brisket has a very distinct grain, or direction of muscle fibers. You must slice directly against this grain. Slicing against the grain shortens the muscle fibers, making each bite incredibly tender and easy to chew. Take a moment to visually identify the grain’s direction before you start cutting.
If you’ve cooked a full packer, remember that the flat and the point have grains that run in different directions. You’ll want to separate these two parts first, then slice each section against its respective grain.
Common Brisket Challenges Solved
It’s okay if your first brisket isn’t perfect. It’s a challenging cut, and every cook is a learning experience. Many common issues have simple solutions.
| Problem | Common Cause | Solution |
|---|---|---|
| Dry Brisket | Overcooked, not rested enough, too much fat trimmed. | Monitor internal temp carefully, always rest sufficiently, leave 1/4″ fat cap. |
| Tough Brisket | Undercooked, sliced with the grain. | Cook until probe-tender, ensure slicing against the grain. |
| Lack of Smoke Flavor | Insufficient wood chips, lid opened too often. | Use a smoker box, replenish wood chips, keep lid closed. |
| Crispy/Burnt Bottom | Direct heat too high, placed directly over active burners. | Confirm proper indirect heat setup, consider a water pan to diffuse heat. |
We found that many common issues stem from either rushing the cook or not maintaining consistent temperatures. With practice, you’ll master these nuances and consistently produce fantastic brisket.
Conclusion
Cooking a brisket on a gas grill is not only possible but can yield truly outstanding results. It requires a bit of time, patience, and attention to detail, but the reward is incredibly worthwhile. By understanding your grill’s heat zones, adding consistent smoke, and cooking low and slow, you’re well on your way to success.
Always remember the core principles: trim the fat correctly, apply a generous rub, maintain that steady indirect heat, navigate “the stall” with confidence, and most importantly, allow for a lengthy rest. Follow these guidelines, and you’ll be serving up incredibly tender, juicy brisket that will impress all your friends and family. Happy grilling!
Frequently Asked Questions About Gas Grill Brisket
How long does it typically take to cook a brisket on a gas grill?
The cooking time for brisket on a gas grill can vary widely depending on size and specific grill conditions. Generally, you should estimate about 1 to 1.5 hours per pound when cooking at 250-275°F. For example, a 12-pound brisket could take 12-18 hours. Always cook until the brisket reaches probe-tenderness, not just to a specific time.
Is using a water pan necessary for brisket on a gas grill?
While not strictly necessary, placing a water pan in your indirect heat zone is highly recommended. It helps stabilize the grill’s temperature and adds crucial moisture to the cooking environment, which can prevent the brisket from drying out over its long cooking time. Just remember to keep it filled.
What are the best types of wood chips to use for brisket on a gas grill?
For beef brisket, classic choices like hickory, oak, and pecan wood chips are excellent. They impart a robust, traditional BBQ smoke flavor that complements the richness of the beef very well. Feel free to experiment with different woods or blends to discover your personal preference.
Should I flip the brisket while it’s cooking on a gas grill?
No, you generally do not need to flip the brisket during its long cook on a gas grill. Once you place it fat-side up in the indirect heat zone, it can remain undisturbed. The rendering fat cap naturally bastes the meat below, and indirect heat ensures even cooking without the need for flipping.
How can I avoid flare-ups when cooking brisket on a gas grill for many hours?
To minimize flare-ups during a long brisket cook, ensure you’ve thoroughly trimmed any excessive fat before placing it on the grill. Also, if you’re using a drip pan, make sure it’s clean and positioned correctly to catch rendered fat. Maintaining a consistent indirect heat and keeping your grill grates clean will also help prevent fat from igniting.
