To clean your BBQ grill after winter, begin by clearing out any accumulated ash, debris, and old food particles before giving the grates a thorough scrub with a sturdy brush and warm, soapy water.
A deep post-winter clean involves checking all components, cleaning the firebox or cooking chamber, and conditioning grates to ensure your grill is safe and ready for delicious meals.
TL;DR:
- Give your grill a good inspection before starting.
- Scrub those grates clean with warm, soapy water and a brush.
- Clean out the inside of your grill, including burners and drip trays.
- Wipe down the outside for a shiny, fresh appearance.
- Perform a quick safety check on gas lines and connections.
How To Clean BBQ Grill After Winter?
Getting your BBQ grill ready after its winter nap is more than just a quick wipe down; it’s about safety and delicious food. You want to remove any lingering grime and ensure everything works perfectly. We found that a systematic approach makes the task much simpler.
Why Bother with a Post-Winter Clean?
Your grill has been sitting for months, exposed to varying weather. This means accumulated dirt, potential rust, and maybe even a few uninvited guests like spiders. A thorough cleaning protects your investment and ensures healthier cooking (USDA).
Think of it as giving your grill a fresh start. You wouldn’t cook in a dirty kitchen, right? The same logic applies to your outdoor cooking station. Many experts say that proper maintenance extends the life of your grill.
Getting Your Cleaning Toolkit Ready
Before you dive in, gather all your supplies. Having everything at hand saves time and effort. We found that preparation is half the battle when it comes to cleaning tasks.
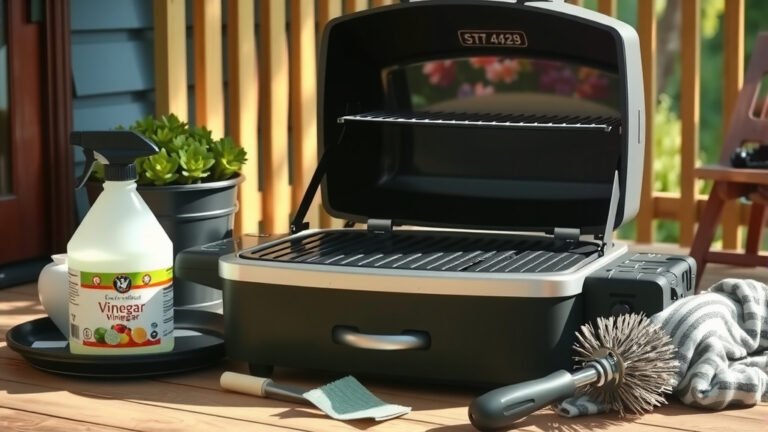
Your Essential Cleaning Gear
- Stiff wire brush (metal or nylon depending on grates)
- Bucket of warm, soapy water (dish soap works well)
- Sponge or cloth
- Degreaser (optional, for stubborn grease)
- Plastic scraper or putty knife
- Vacuum cleaner (shop vac is great)
- Rubber gloves
- Cooking oil (for seasoning cast iron)
The Initial Inspection: What Are You Dealing With?
First things first, take a good look at your grill. What’s the condition? Are there visible signs of rust, cracked hoses, or loose parts? This initial assessment helps you identify any potential problems before you even start cleaning.
Open the lid and peek inside. You might find cobwebs, leaves, or even critters. We recommend photographing any issues you spot so you remember what needs attention later.
Tackling Those Grates: The Heart of Your Grill
The grates are where the magic happens, so they need special attention. Many grill manufacturers suggest starting here. This is often the dirtiest part of your grill.
Remove the grates from the grill. Submerge them in a bucket of hot, soapy water if possible. Let them soak for 15-20 minutes. This helps loosen baked-on food particles and grease.
Scrubbing Techniques for Different Grate Types
For stainless steel or porcelain-coated grates, a stiff nylon brush works wonders. A metal wire brush is great for cast iron grates. Apply a little elbow grease and scrub away the grime. Rinse them thoroughly with clean water afterward.
We found that for really stubborn spots, a mixture of baking soda and vinegar can act as a gentle abrasive. Just make sure to rinse completely to avoid any lingering tastes.
Deep Inside: Cleaning the Burners and Firebox
Once the grates are clean, turn your attention to the inside of the grill. For gas grills, carefully remove the flame tamers or heat deflectors. Then, gently brush off any debris from the burners themselves.
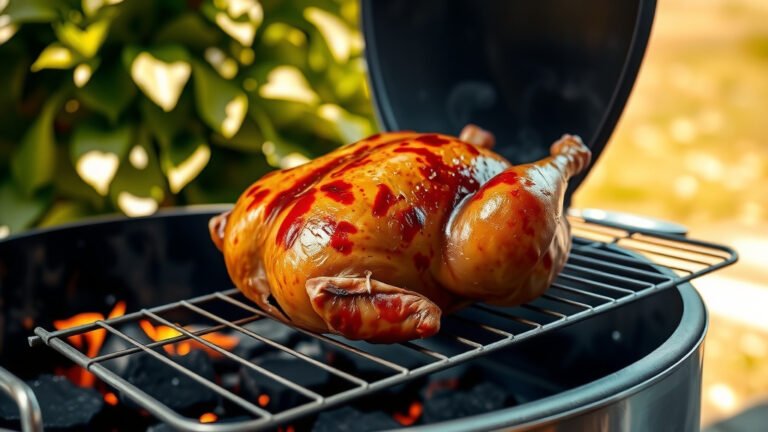
For charcoal grills, empty out all the old ash and charcoal bits. Use a plastic scraper to remove any hardened residue from the bottom of the firebox. A shop vacuum is perfect for sucking up small particles.
Don’t Forget the Drip Tray!
The drip tray or grease pan collects all the fat and juices during cooking. This can become a breeding ground for bacteria if not cleaned regularly. Pull out the tray and scrape out any hardened grease. Wash it with warm, soapy water.
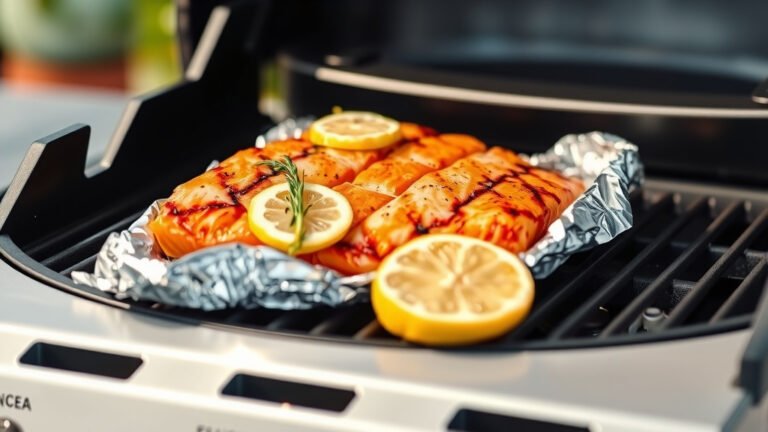
Many experts say lining your drip tray with foil makes future cleanups easier. Just remember to replace it often!
The Outside Matters: Polishing Your Grill’s Exterior
Now, let’s make your grill look shiny and new. Wipe down all exterior surfaces with a damp cloth and mild soap. For stainless steel, consider using a specialized stainless steel cleaner to avoid streaks.
Pay attention to handles and control knobs, too. These can collect grime and grease over time. A clean exterior feels good and looks inviting for your first cookout.
Rust Prevention and Seasoning for Longevity
Rust is the enemy of any metal grill. After cleaning, ensure all metal parts, especially cast iron grates, are completely dry. Moisture is what causes rust to form.
Research shows that preventing rust significantly extends your grill’s life. Always store your grill under a cover when not in use. This protects it from the elements.
Seasoning Your Cast Iron Grates
If you have cast iron grates, seasoning them after cleaning is vital. Apply a thin, even coat of high-heat cooking oil (like vegetable or canola) to both sides. Place them back in the grill and heat it to medium-high for about 30-45 minutes. Let it cool slowly.
This creates a protective, non-stick layer. It also prevents rust and makes your food taste better. Many avid grillers swear by this step.
The All-Important Safety Check-Up
Before lighting that first flame, a safety check is critical. For gas grills, inspect all hoses and connections for cracks or leaks. You can do a simple soap-and-water test: apply soapy water to the connections; if bubbles appear, you have a leak.
Ensure all electrical components, if applicable, are free from damage. Check that the igniter sparks correctly. Your safety is paramount, and a quick check can prevent problems.
Your Post-Winter Grill Cleaning Checklist
Here’s a simple checklist to keep you on track:
- Remove and scrub grates thoroughly.
- Clean inside the firebox/cooking chamber.
- Empty and wash the drip tray.
- Brush debris from burners (gas grills).
- Wipe down exterior surfaces.
- Inspect gas lines and connections.
- Season cast iron grates (if applicable).
- Test the igniter.
Common Missteps to Avoid
Some people make the mistake of using oven cleaner on grill grates. Many grill manufacturers advise against this as it can damage the finish, especially on porcelain. Stick to mild soap and water.
Another common error is not letting parts dry completely. Trapped moisture leads to rust, as we mentioned earlier. Take your time to ensure everything is arid before reassembling or storing.
Don’t skip the safety checks. It’s easy to overlook, but it’s the most important step for peace of mind.
Conclusion
Cleaning your BBQ grill after winter might seem like a chore, but it’s an investment in many enjoyable meals. By following these steps, you not only ensure your grill is sparkling clean but also that it’s safe and ready to perform its best. You’re setting yourself up for a fantastic grilling season ahead. So, grab your brush, get cleaning, and prepare for some delicious outdoor cooking!
How often should I deep clean my BBQ grill?
Many experts recommend a deep clean at least twice a year: once before the main grilling season and again before storing it for winter. This schedule helps maintain hygiene and prolongs the grill’s lifespan.
Can I use a power washer to clean my grill?
While tempting, using a power washer is generally not recommended for cleaning most BBQ grills. The high pressure can damage delicate components, strip protective coatings, and force water into areas that are difficult to dry, leading to rust.
What if I find rust on my grill grates?
For minor surface rust on cast iron grates, you can often remove it with a stiff wire brush and then re-season the grates. If the rust is severe or eating through the metal, we recommend replacing the grates for safety and better cooking performance.
Is it okay to use aluminum foil in the drip tray?
Yes, using aluminum foil in your drip tray is a widely accepted practice. It simplifies cleanup significantly. Just make sure to change the foil regularly to prevent grease buildup and potential fire hazards.
How do I properly store my grill cover during the off-season?
When not covering your grill, ensure your grill cover is clean and dry to prevent mildew. Fold it neatly and store it in a cool, dry place like a shed or garage. This simple step helps the cover last longer and stay fresh for next season.