
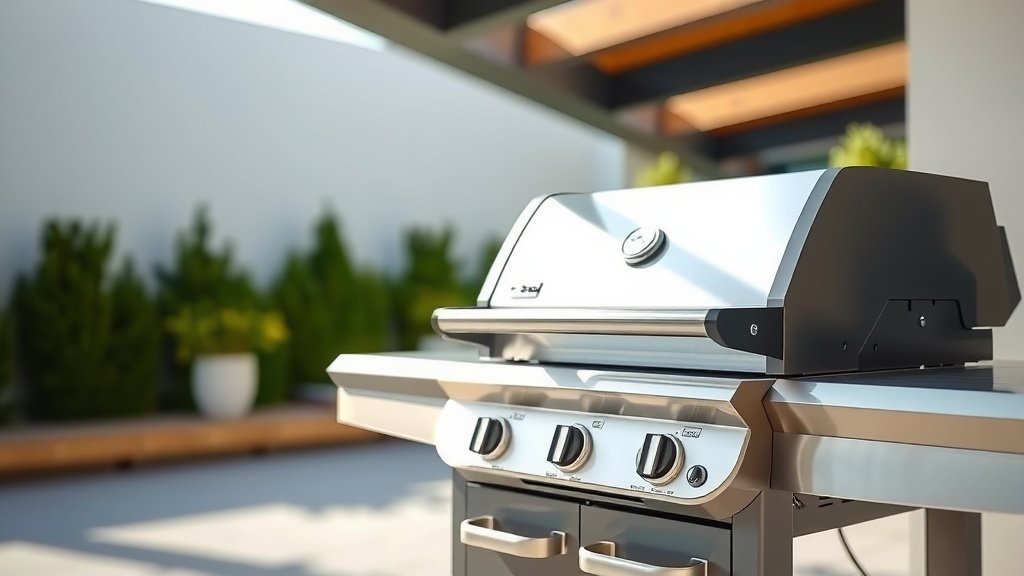
Starting a propane grill involves first ensuring your gas tank is properly connected and its valve is open, then turning one burner to high before pressing the igniter button.
Always prioritize safety by performing a quick leak check and positioning your grill in a well-ventilated outdoor area when you plan to start a propane grill.
For quick answers on how to get your propane grill fired up, here’s a short guide:
- Safety First: Always position your grill outdoors with good airflow.
- Connect Your Tank: Make sure the propane tank is securely attached.
- Open Gas Valve: Slowly turn the tank valve fully open.
- Ignite One Burner: Turn one burner to ‘High’ and press the igniter.
- Preheat: Close the lid and let your grill warm up before cooking.
How Do You Start A Propane Grill?
You start a propane grill by connecting the gas tank, slowly opening its valve, turning one burner on high, and then pressing the ignition button until it lights.
Safety Before Ignition: Your First Step
Before you even think about lighting your grill, safety is key. Think of it like a pilot’s pre-flight check. You wouldn’t skip that, right?
Always place your grill on a flat, stable surface, far from anything that could catch fire. This includes house walls, fences, and overhanging branches. Many experts recommend at least ten feet of clearance (NFPA standards).
Checking for Clearances
Is your grill sitting too close to your picnic umbrella? Or perhaps too near the kids’ play area? Give it some space. A little distance goes a long way in preventing accidents.
Ensure there’s good airflow all around the grill. This helps prevent gas buildup and ensures safe combustion.
Connecting Your Propane Tank
This part is straightforward, but accuracy matters. You want a snug connection, like shaking a friend’s hand – firm but not crushing.
First, ensure your tank’s valve is completely closed. Then, align the grill’s regulator connector with the tank’s valve. Turn the connector clockwise until it’s hand-tight. You don’t need tools here; just your hands will do.
The Hand-Tight Rule
Over-tightening can damage the seal, causing leaks. A gentle snugness is perfect. We found that most grill manuals stress the “hand-tight” rule for durability.
After connecting, make sure the tank is upright and secure. It shouldn’t wobble or lean.
Performing a Leak Test: The Soapy Water Method
This step might feel extra, but it’s a vital safety measure. Think of it as putting on your seatbelt; you hope you don’t need it, but you’re glad it’s there.
Mix dish soap and water into a spray bottle. Open the propane tank valve slowly. Spray the mixture over all hose connections, especially where the hose meets the tank and the grill. Are you seeing bubbles? Bubbles mean a leak.
What if You Find a Leak?
If you see bubbles, immediately close the propane tank valve. Tighten the connections. Re-test. If the leak continues, do not use the grill. Many guidelines point to replacing the hose and regulator as a good first step (Consumer Product Safety Commission).
A small leak can become a serious problem. It’s not worth the risk, is it?
Opening the Propane Tank Valve
Once you’re sure there are no leaks, it’s time to open the gas valve. But don’t just crank it open. Slow and steady wins the race here.
Slowly turn the tank valve counter-clockwise. You want to open it all the way. This prevents a safety device in the regulator from activating, which can restrict gas flow.
The “Slow Open” Technique
Rapidly opening the valve can trigger the OPD (Overfill Prevention Device) flow-limiting safety device. This might make your grill seem like it’s not getting enough gas. Open it slow, and you’ll avoid this hiccup.
When fully open, you should hear a faint hiss, which is normal. It indicates gas flow through the lines.
Lighting the Burners: The Ignition Sequence
Now for the main event! This is where you bring the heat. You need to follow a specific order to ensure a safe and successful light-up.
Open the grill lid first. This allows any accumulated gas to escape. Then, turn one of your grill’s burners to the ‘High’ position. It’s usually best to start with the burner closest to the igniter.
Pressing the Igniter Button
Once the burner is on, press and hold the igniter button. You’ll hear a clicking sound. Keep pressing until you see the flame light up. It usually takes a few clicks.
If it doesn’t light after a few tries, turn off the burner, wait a few minutes for any gas to dissipate, and then try again. Sometimes, it just needs a little breather.
What if Your Igniter Doesn’t Work? Manual Lighting
Sometimes, igniters have an off day. It’s like a car that needs a jump start. Don’t worry; you still have options.
If the electronic igniter fails, you can use a long-stemmed lighter or a match in a holder. Open the lid, turn a burner to ‘High,’ then carefully place the flame near the burner port. The gas should ignite quickly.
Safety During Manual Ignition
Always keep your face and body away from the grill opening when lighting manually. Have everything ready before you turn on the gas to prevent gas buildup.
Manual ignition is a perfectly fine backup. Many experts say it’s good to know for any grill master.
Preheating Your Grill
Once the burners are lit, close the grill lid. Allow the grill to preheat for 10-15 minutes. This gets the cooking grates hot enough to sear food properly and helps burn off any leftover residue.
Preheating is like warming up before a workout. Your grill needs to be ready to perform its best.
Adjusting Temperatures and Troubleshooting
After preheating, you can adjust the burners to your desired cooking temperature. Lower heat for slower cooks, higher heat for searing steaks. It’s all about control.
Sometimes, things don’t go as planned. What if your grill struggles to get hot? Or maybe the flames seem weak? This table might help.
| Problem | Common Cause | Quick Fix |
|---|---|---|
| Low/Weak Flame | OPD device activated (rapid tank opening) | Close tank valve, disconnect regulator, wait 15 min, reconnect, open tank valve slowly. |
| Burners Don’t Light | No gas flow or faulty igniter | Check tank valve is fully open, ensure gas in tank, try manual ignition. |
| Gas Smell (No Bubbles) | Normal initial odor or regulator issue | Check all connections again. If persistent, turn off gas and call for service. |
Pre-Grilling Checklist: Don’t Forget!
A quick mental run-through or actual check can save you headaches. Are you ready to cook? Here’s a brief checklist:
- Grill is on a stable, safe surface.
- Propane tank connected and secure.
- Leak test performed (no bubbles!).
- Tank valve slowly and fully open.
- Lid open before igniting.
- Burners lit and preheating.
Why Follow These Steps?
Following these steps makes your grilling experience safer and more enjoyable. It prevents gas buildup and ensures your grill functions as it should. Think of it as good habits for delicious food.
We found that many grill-related incidents happen due to a lack of proper setup and pre-checks (Consumer Product Safety Commission).
Conclusion
Starting a propane grill is a straightforward process when you follow a few simple, but crucial, steps. From ensuring a safe setup location and connecting your tank properly to performing a quick leak test and igniting the burners correctly, each action plays a part in a successful grilling session. Remember to always prioritize safety, whether through regular leak checks or understanding manual lighting techniques. With practice, you’ll be firing up your grill confidently and enjoying delicious meals in no time. Happy grilling!
How do I know if my propane tank is empty?
You can check if your propane tank is empty by pouring warm water over the side of the tank and feeling for a cool spot. The cool spot indicates the current propane level; if there’s no cool spot, the tank is likely empty. You can also weigh the tank or check a built-in gauge, if your tank has one.
Can I use an old propane tank?
You can use an old propane tank if it is still within its re-qualification date, which is usually stamped on the tank. Propane tanks need to be re-certified every 5 to 12 years, depending on the inspection method, to ensure they are safe to use and refill. Always check the date before refilling or using an older tank.
How long does it take for a propane grill to preheat?
A propane grill typically takes about 10 to 15 minutes to preheat to a good cooking temperature, usually around 400-450°F (200-230°C). This allows the grates to get hot enough for searing and helps burn off any food residue from previous uses.
Why does my propane grill have low flame?
Your propane grill might have a low flame because the OPD (Overfill Prevention Device) safety mechanism in the regulator has activated. This often happens if the tank valve is opened too quickly. To reset it, close the tank valve, disconnect the regulator, wait about 15 minutes, then reconnect and open the tank valve slowly.
Is it normal to smell gas when starting a propane grill?
A very faint smell of gas might occur for a moment as the grill ignites, but a strong, persistent gas smell is not normal and indicates a potential leak. If you smell a strong gas odor, immediately turn off the propane tank valve, turn off the grill, and perform a leak test with soapy water to identify the source.
