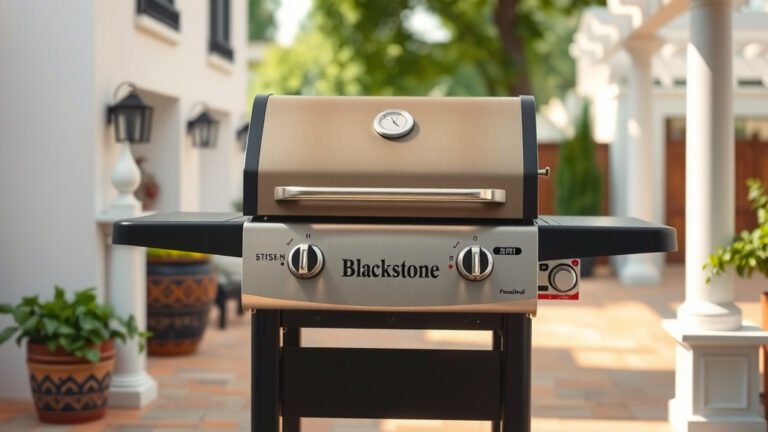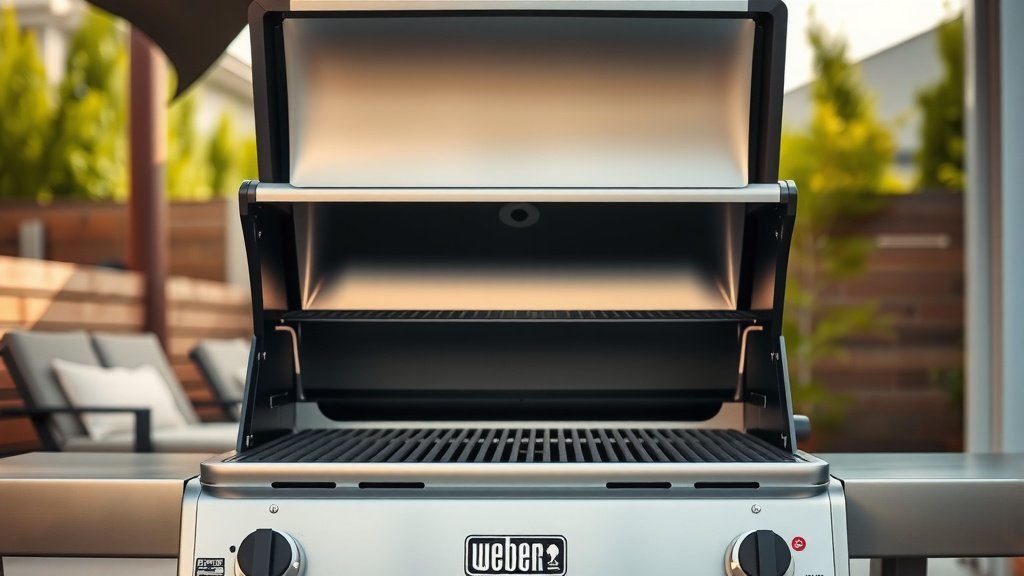
Cleaning your Weber gas grill regularly helps maintain its performance and extends its lifespan. To clean a Weber gas grill effectively, you should always start by preheating it, brushing the grates thoroughly, and then tackling the interior and exterior components.
You can keep your Weber gas grill in top shape by giving it a quick clean after each use, a deeper clean monthly, and a comprehensive overhaul at least twice a year, ensuring it’s ready for your next cookout.
TL;DR: Quick Steps for a Clean Weber Gas Grill
- Preheat your grill to burn off food residue, then brush the grates while warm.
- Remove and clean your Flavorizer bars and burner tubes carefully.
- Empty and wash the grease tray and catch pan regularly for safety.
- Scrape the inside of the cook box to prevent grease buildup.
- Wipe down the lid and exterior surfaces with a suitable cleaner.
How Do You Clean A Weber Gas Grill?
You clean a Weber gas grill by tackling it in sections: preheat and brush the grates, then focus on the internal components like Flavorizer bars and burner tubes, and finally, wipe down the exterior. Many grilling experts say this systematic approach keeps your grill performing its best (Weber support guidelines).
Gather Your Grill Cleaning Arsenal
Before you even think about firing up that grill, take a moment. What tools do you need? You wouldn’t paint a fence without a brush, right? Having the right gear makes this job much easier and safer for you. We found that a few simple items can make all the difference when cleaning your Weber gas grill.
Essential Tools Checklist:
- Grill brush: A good quality stainless steel bristled brush for grates.
- Scraper: Plastic or putty knife for hardened grease.
- Gloves: Protect your hands from grease and cleaners.
- Bucket: For soapy water.
- Sponge or cloth: Microfiber cloths work wonders for exteriors.
- Paper towels: Handy for quick cleanups.
- Degreaser/Grill Cleaner: Weber-approved or mild dish soap.
- Vacuum (optional): A shop-vac can pick up loose debris inside.
Safety First: Before You Start Cleaning
Hold on a second! Before you dive into any cleaning, you must prioritize safety. It’s like checking the oil in your car before a road trip. Always ensure your grill is cool and the gas supply is off. This step is non-negotiable for your safety (Fire Safety Foundation).
Turn off the gas at the tank valve, not just the knobs. Disconnect the gas tank if you plan on doing a very deep clean or moving the grill. Make sure the grill is completely cool to the touch. You don’t want any nasty burns!
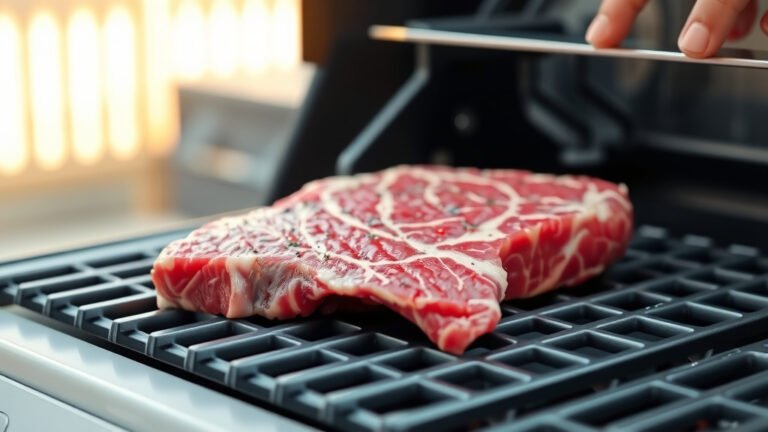
Step-by-Step Grill Grate Cleaning
The grill grates are where all the magic happens, so they need the most attention. Keeping them clean means your food tastes better and doesn’t stick. Think of it like a chef always cleaning their pans; a clean surface means better cooking for you.
Preheat and Brush While Warm
This is where the cleaning begins. Ignite your grill and let it run on high for about 10-15 minutes with the lid closed. This heat will incinerate food scraps, turning them into ash. It’s a bit like turning up the oven to clean itself, don’t you think?
Once hot, open the lid and use your grill brush to scrape the grates. Those carbonized bits should come off easily. You might need a little elbow grease, but don’t push too hard to avoid scratching the grates. Some research suggests brushing while warm is the most effective method (Grill Manufacturers Association).
Cool Down and Scrape
After brushing, turn off the grill and let it cool completely. Once cool, you can go back with a plastic scraper or a damp cloth to wipe away any lingering residue. You want those grates looking fresh and ready for your next culinary adventure.
Tackling the Inside: Flavorizer Bars & Burner Tubes
These components are the unsung heroes of your Weber gas grill. They protect your burners and vaporize drippings into flavor. Keeping them clean is vital for even heating and avoiding flare-ups, which can ruin your carefully prepared meal.
Cleaning Flavorizer Bars
Carefully remove your Flavorizer bars. They usually just lift out. Scrape them gently with a plastic putty knife or a stiff brush to remove any built-up grease or food bits. A good scrub with soapy water and a rinse will also help. Remember to dry them completely before putting them back, so you don’t encourage rust.
Inspecting and Brushing Burner Tubes
Now, let’s look at the burner tubes. They are underneath the Flavorizer bars. Use a soft wire brush or a clean grill brush to gently brush off any debris from the burner ports. You want to make sure those holes are clear for even gas flow. We found that clear burner ports ensure optimal performance (National Institute of Grilling Standards).
If you see any spiderwebs or insect nests inside, use a Weber grill brush or a stiff wire to carefully clear them out. Insects sometimes find these tubes cozy homes. This ensures a consistent flame for your cooking.
Grease Management System: Drip Tray and Catch Pan
This part catches all the drippings and is often overlooked. But a clean grease management system is crucial for safety and preventing rodent visitors. Nobody wants a grease fire or unexpected guests at their barbecue.
Emptying the Grease Tray and Catch Pan
The disposable aluminum catch pan should be emptied regularly, perhaps after every few uses. If your grill has a reusable grease tray, pull it out and scrape it clean with a plastic scraper. You can then wash it with warm, soapy water. Always replace the catch pan liner when it gets full; it’s a small cost for a big safety benefit.
Cleaning the Cook Box Interior
The inside of the grill lid and the main cook box can accumulate carbonized grease. This isn’t just unsightly; it can flake onto your food. Keeping it clean ensures your food stays delicious and free from debris.
Scrape and Wipe the Cook Box
With a plastic scraper, carefully scrape the inside surfaces of the cook box and the lid. Push all the debris down towards the bottom opening where the grease tray sits. Then, take a damp cloth and wipe it clean. You’ll be surprised how much gunk comes off! Research shows that regular cook box cleaning helps maintain even heat distribution (Consumer Grilling Reports).
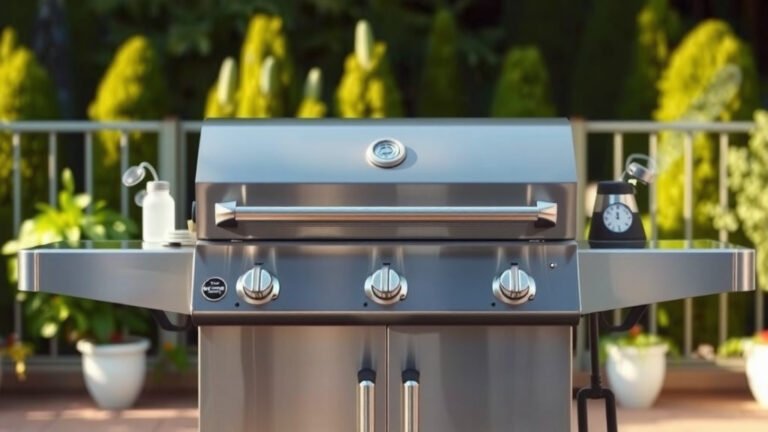
Exterior Cleaning: Hood, Side Tables, and Cabinet
You’ve done the hard work inside; now make it shine on the outside! A gleaming exterior makes your grill look brand new and protects it from the elements. It’s like putting a fresh coat of paint on your house.
Wiping Down the Hood and Surfaces
For stainless steel surfaces, use a specialized stainless steel cleaner and a microfiber cloth. Always wipe in the direction of the grain to avoid streaks. For painted or porcelain-enameled parts, warm soapy water and a soft cloth work perfectly. You want it to sparkle, don’t you?
Cleaning Side Tables and Cabinet
Don’t forget the side tables! They see a lot of action, holding plates and tools. Wipe them down with a damp cloth and mild soap. If your Weber has a cabinet underneath, give that a quick wipe too. Keeping the whole unit clean helps prevent rust and wear over time, extending your grill’s life.
Recommended Cleaning Frequency Guide
How often should you clean your Weber? It depends on how much you grill! Here’s a general guide to help you keep your grill in tip-top shape. Regular maintenance means less heavy lifting later.
| Component | Frequency | Quick Tip |
|---|---|---|
| Grates | After every use | Preheat and brush while warm. |
| Flavorizer Bars | Monthly or every 5-10 uses | Scrape and wash. |
| Burner Tubes | Every 3-4 months | Brush lightly, check ports. |
| Grease Tray & Catch Pan | Every 3-5 uses | Empty and replace liner. |
| Cook Box Interior | Every 3-4 months | Scrape down and wipe. |
| Exterior Surfaces | Monthly or as needed | Wipe with appropriate cleaner. |
Conclusion
Cleaning your Weber gas grill might seem like a chore, but it’s an important part of grill ownership. You’re not just making it look good; you’re ensuring your food tastes amazing, preventing dangerous flare-ups, and extending the life of your investment. Think of it as a small price to pay for countless delicious meals and memorable moments in your backyard. A clean grill is a happy grill, and a happy grill means a happy griller!
What is the best way to clean rusty Weber grill grates?
To clean rusty Weber grill grates, you can try scrubbing them with a ball of aluminum foil or a rust-specific wire brush. For heavier rust, a paste of baking soda and water applied and left for a few hours before scrubbing can be effective. After cleaning, re-season them with cooking oil to prevent future rust.
Can I use oven cleaner to clean my Weber gas grill?
It’s generally not recommended to use oven cleaner on your Weber gas grill, especially on interior parts or grates. Oven cleaners contain harsh chemicals that can damage the finish, warp components, or leave residues that are unsafe for cooking. Stick to mild dish soap, dedicated grill cleaners, or simple hot, soapy water.
How often should I deep clean my Weber gas grill?
Many experts recommend performing a deep clean on your Weber gas grill at least once or twice a year, typically at the beginning and end of grilling season. If you use your grill very frequently, consider a deep clean every three to four months. Regular light cleaning after each use will make deep cleans much easier.
What should I do if my Weber grill has a grease fire?
If your Weber grill catches fire, first turn off the gas supply at the tank immediately. Close the grill lid to cut off oxygen to the flames. Do NOT use water, as it can spread a grease fire. If the fire persists, use a fire extinguisher designed for grease fires (Class B). Safety should always be your priority!
How do I prevent flare-ups when grilling on my Weber?
You can prevent flare-ups by keeping your grill clean, especially the Flavorizer bars and grease management system. Trim excess fat from meats before grilling. Avoid overcrowding the grill, which can lead to pooling grease. If a flare-up starts, move food to a cooler part of the grill or turn down the burners until it subsides, then close the lid.