You can build an outdoor BBQ grill by carefully planning your design, gathering fire-resistant materials like concrete blocks or bricks, and securing an appropriate grill insert.
The process involves laying a solid foundation, constructing the walls and firebox, and then integrating your chosen grilling components for a custom cooking space.
Here’s a quick overview of what you’ll learn about building your own outdoor BBQ grill:
- Discover why a DIY outdoor grill can be a rewarding project.
- Understand the vital planning steps, from location to design.
- Learn about the essential materials needed for a durable build.
- Get a practical, step-by-step guide to construction.
- Find out how to ensure safety and maintain your new grill.
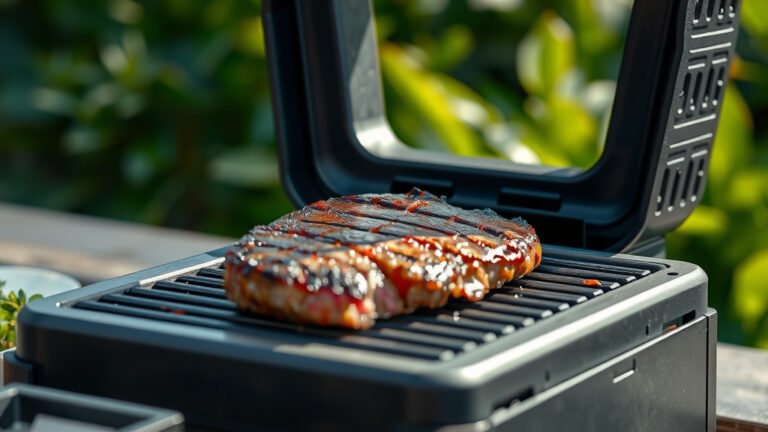
Imagine the satisfaction of grilling a perfect steak over a BBQ grill you built with your own hands. Pretty cool, right? Building your own outdoor BBQ grill might seem like a big project, but with the right guidance, it’s completely achievable. We’re here to walk you through every step, ensuring you have all the facts and practical advice you need. So, are you ready to transform your backyard into the ultimate grilling zone?
How To Build An Outdoor BBQ Grill?
Building an outdoor BBQ grill requires careful planning and the right materials to create a safe, functional, and durable cooking structure for your backyard.
It’s about more than just stacking bricks; it’s about creating a personal culinary hub.
Why Build Your Own Outdoor Grill?
Many homeowners choose to build their own grill because it offers unmatched customization. You get to decide the size, shape, and features, perfectly matching your outdoor living space and grilling habits. It’s truly tailored to your needs.
Plus, building it yourself can often be more cost-effective than buying a pre-built, high-end outdoor kitchen. We found that the long-term durability of a well-constructed masonry grill often surpasses many store-bought alternatives, offering years of reliable service.
Planning Your BBQ Grill Project
Before you lift a single brick, meticulous planning is your best friend. This stage is where you iron out all the details, preventing headaches down the road. Think of it as mapping your adventure before you set off.
Choosing the Right Location
Where will your grill live? This isn’t just about aesthetics; it’s about safety and convenience. We found that a spot at least 10 feet away from your home or any flammable structures is ideal (National Fire Protection Association). You also want it accessible but not in the main thoroughfare of your yard. Consider prevailing winds to keep smoke away from guests and windows.
Designing Your Grill
Will your grill be simple or grand? Do you want a basic firebox for charcoal, or will you integrate a gas burner? Think about counter space, storage for wood or tools, and even a small sink. Many experts suggest sketching out your design first to visualize the final product. A simple charcoal pit might just need a basic firebox, while a full outdoor kitchen needs more complex planning.
Permits and Regulations
Hold on! Before you start, check with your local municipality. Many areas have building codes and zoning restrictions for outdoor structures. We found that permits are often required for permanent outdoor kitchens or large masonry grills. A quick call to your local building department can save you a lot of trouble later.
Materials You’ll Need
Selecting the right materials is fundamental for a durable and safe grill. You’re building something that will withstand heat, weather, and repeated use. Quality materials ensure your grill lasts for many seasons.
Building the Foundation
A solid foundation is non-negotiable. You’ll need concrete mix, rebar, and gravel. Many experts emphasize that a foundation must be level and strong enough to support the entire weight of your masonry structure. This prevents settling and cracking over time, protecting your investment.
Constructing the Firebox and Walls
For the main structure, you’ll typically use concrete blocks, fire bricks, and mortar. Concrete blocks provide structural integrity, while fire bricks are vital for lining the firebox to withstand extreme temperatures. Standard mortar works for the outer walls, but refractory mortar is often recommended for the firebox itself due to its heat resistance.
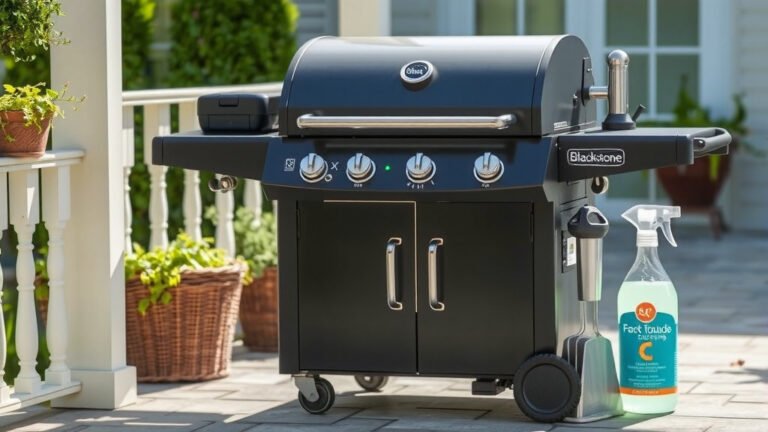
Selecting Your Grill Insert
This is where your grill gets its cooking power! You have options:
- Standard Grill Grates: Simple, affordable, and easy to replace.
- Cast Iron Grates: Excellent heat retention, creating great sear marks.
- Stainless Steel Grates: Durable, rust-resistant, and easy to clean.
- Gas Grill Inserts: For those who prefer the convenience of gas, these drop-in units fit into your custom masonry structure.
We found that stainless steel is often preferred for outdoor elements due to its longevity (Appliance Standards and Certification Management).
Step-by-Step Construction Guide
Ready to get your hands dirty? This is where your vision starts to take shape. Remember to take your time and check your work at each stage.
Laying the Foundation
First, dig your trench to the required depth, usually about 8-12 inches, and fill it with compacted gravel. Lay down rebar for reinforcement. Then, pour your concrete mix, making sure it’s level. Allow it to cure fully, which can take several days depending on conditions.
Building the Walls
Start laying your concrete blocks or bricks, using mortar to bind them together. Use a level frequently to ensure your walls are straight and plumb. You’ll build up the outer structure, creating the shape of your grill. Remember to leave openings for your firebox and any storage areas you designed.
Adding the Firebox Lining
Inside your main structure, line the cooking area with fire bricks using refractory mortar. This specialized mortar can handle the intense heat generated by charcoal or wood. The firebox lining protects your main structure from heat damage and helps retain heat for cooking. Many experts advise using a double-wall construction for maximum durability (Masonry Magazine).
Installing the Grill Components
Once your masonry is cured, it’s time to add the functional parts. Securely install your chosen grill grates or gas insert. You might need to create ledges or brackets within your masonry design to support the grates. Ensure everything is stable and fits snugly.
Curing and First Use
Before you fire it up, allow all the mortar and concrete to cure completely. This usually takes at least 7-10 days, sometimes longer. Then, perform a “break-in” burn with a small fire to gradually heat the new materials. This helps prevent cracking and ensures your grill is ready for delicious meals.
Safety First: Essential Considerations
Safety should always be your top priority when building and using your outdoor grill. You’re dealing with heat and fire, so attention to detail here is vital.
Fire Safety
Ensure adequate clearance from flammable materials, as we discussed earlier. Have a fire extinguisher or a garden hose readily available when grilling. Never leave a lit grill unattended, and always make sure embers are completely extinguished before walking away (Consumer Product Safety Commission).
Structural Integrity
A well-built grill is a safe grill. Double-check that your foundation is solid and your masonry work is secure. Any structural weakness could lead to collapse, which nobody wants. We found that proper mortar joints and thorough curing are key to a stable structure.
Troubleshooting Common Issues
Even with careful planning, sometimes little quirks pop up. Don’t worry, most are easily fixed.
| Issue | Possible Cause | Solution |
|---|---|---|
| Smoke blowing back | Improper chimney design, wind direction | Adjust chimney height, add wind deflector, consider grill placement relative to prevailing winds. |
| Grill not heating evenly | Uneven charcoal distribution, poor airflow | Distribute fuel evenly, ensure air vents are clear and properly adjusted. |
| Cracks in masonry | Improper curing, insufficient expansion joints, foundation settling | Allow full curing time, use refractory mortar for high-heat areas, check foundation. |
Many builders find that slight adjustments to airflow or fuel placement can make a big difference in performance.
Maintenance for Your New Grill
Just like any prized possession, your outdoor grill needs a little love to stay in top shape. Regular maintenance extends its life and keeps it performing beautifully. After each use, clean your grates thoroughly to prevent buildup. For masonry, inspect it annually for any cracks or loose mortar, making repairs promptly. Protect your grill from harsh weather with a cover if you don’t use it frequently.
Here’s a simple checklist to keep your grill in prime condition:
- Clean grates after every use.
- Remove ash and debris regularly.
- Inspect masonry for cracks or damage annually.
- Re-point mortar joints if needed.
- Consider a grill cover for protection.
Conclusion
Building your own outdoor BBQ grill is a rewarding project, giving you a custom cooking space perfectly suited to your needs. From careful planning and selecting materials to construction and safety, every stage builds a durable result. We hope this guide inspires you to create your own grilling oasis and enjoy many delicious meals!
How long does it take to build an outdoor BBQ grill?
The time to build an outdoor BBQ grill varies greatly depending on the complexity of your design and your skill level. A basic charcoal pit might take a dedicated weekend, while a more elaborate outdoor kitchen could span several weeks, including curing times for concrete and mortar.
What is the best material for an outdoor BBQ grill?
The best materials for an outdoor BBQ grill are generally concrete blocks or bricks for the main structure, and fire bricks with refractory mortar for the firebox. These materials offer excellent heat resistance and durability against the elements. Stainless steel grates are also a popular choice for longevity.
Can I use regular bricks for the firebox?
No, it’s not recommended to use regular bricks for the firebox. Regular bricks are not designed to withstand the extreme, sustained temperatures of a firebox and can crack, spall, or even explode under intense heat. Always use specialized fire bricks (also called refractory bricks) for the interior of your grill’s firebox.
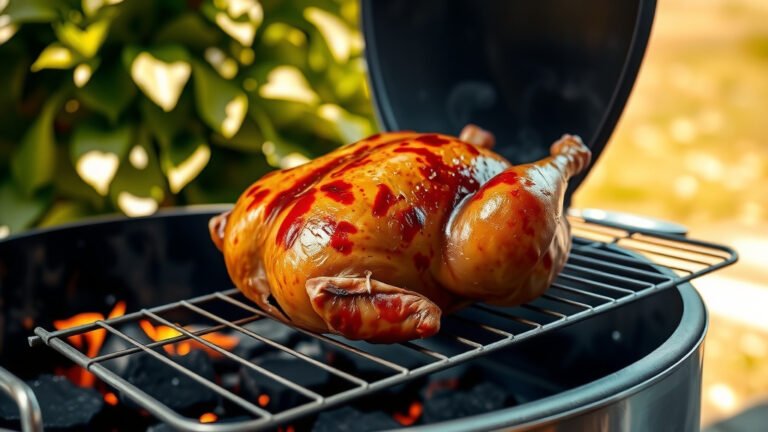
Do I need a chimney for my outdoor BBQ grill?
For a simple open-top charcoal grill, a full chimney might not be strictly necessary, though a taller back wall or side walls can help direct smoke. However, if you’re building a more enclosed grill, a smoker, or an outdoor fireplace, a properly designed chimney is essential for drawing smoke away effectively and ensuring good airflow for your fire.
What kind of foundation is needed for an outdoor grill?
An outdoor grill requires a strong, level, and well-drained foundation to prevent settling and cracking. A concrete slab, typically 8-12 inches deep with rebar reinforcement over a compacted gravel base, is highly recommended. This ensures your masonry structure has a stable and long-lasting base.