
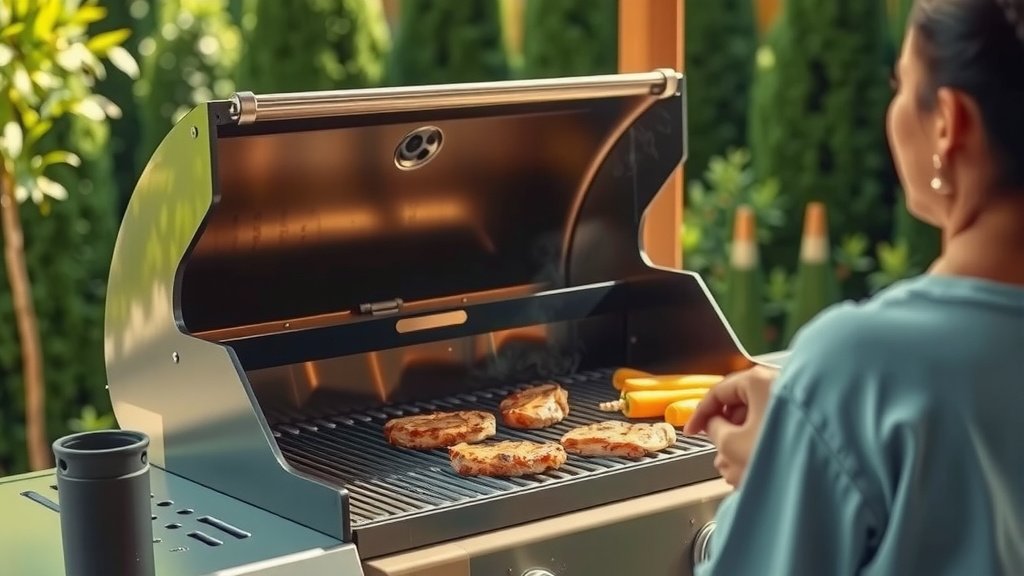
To cook on a gas grill, you first ignite the burners and preheat the grill to your target temperature, usually between 350-450°F, before adding any food. You then place food directly over active burners for searing or use indirect heat for slower, more even cooking, ensuring the lid stays closed.
You cook on a gas grill by controlling heat zones, using a preheating process, and monitoring food with a thermometer for safe, delicious results.
TL;DR: How to Grill with Gas
- Always preheat your gas grill thoroughly to the right temperature.
- Learn the difference between direct and indirect heat zones for various foods.
- Use a meat thermometer to ensure your food cooks safely and perfectly.
- Keep your grill grates clean for better cooking and to prevent sticking.
- Practice makes perfect; start with simple recipes and build your confidence.
How Do You Cook On A Gas Grill?
Cooking on a gas grill is all about heat management and good timing. It’s a bit like driving a car, you need to know how to use the pedals and steering wheel for the best ride.
We’ve found that mastering a gas grill gives you great control over your meals. It can truly turn you into a backyard cooking hero.
Igniting Your Gas Grill Safely
Before any cooking begins, you need to light your grill. Always open the lid first; this is a key safety step.
Then, turn one burner to high and hit the igniter button. Once that burner lights, you can turn on the other burners.
Many experts say to turn on just one burner and let it catch, then light others from that flame. This helps avoid gas build-up.
Preheating for Success
Why do we preheat? Think of it like a hot pan on the stove. You wouldn’t throw a steak into a cold pan, would you?
Preheating allows your grill grates to get nice and hot. This heat creates those beautiful sear marks and prevents food from sticking.
Aim for a preheat time of 10 to 15 minutes. We often find this gets your grill ready for action.
Setting Your Temperature
Different foods need different temperatures. For chicken, you might want a medium heat, while steak needs a really hot sear.
Your grill’s thermometer is a good guide, but remember, the temperature inside the grill can vary. It’s a good idea to know your grill well.
Many guidelines suggest 350-400°F for general grilling, and 450-500°F for searing (USDA).
Direct vs. Indirect Heat Zones
Understanding direct and indirect heat is like having two different ovens in one. This knowledge is really important for good grilling.
Direct heat means food sits right over an active burner. Use this for quick-cooking items like steaks, burgers, or thin vegetables.
Indirect heat means food sits over a burner that’s turned off, with heat coming from other lit burners. This is perfect for larger cuts or anything that needs to cook slowly without burning.
Making a Two-Zone Setup
To create these zones, simply light the burners on one side of your grill and leave the others off. You have hot and not-so-hot areas.
This setup allows you to sear a steak, then move it to indirect heat to finish cooking through. It prevents the outside from burning while the inside is still raw.
Research shows this method provides much more even cooking for thicker items. It’s a game-changer for backyard chefs.
Preparing Your Grill Grates
Clean grates are happy grates, and they make for happy food. Always clean them before and after each use.
Once hot, brush your grates vigorously with a wire brush. This removes any leftover food bits that could stick to your current meal.
After cleaning, lightly oil your grates. We found a paper towel dipped in cooking oil, held with tongs, works well. This further prevents sticking.
Placing Food on the Grill
When you place food, think about your heat zones. Quick-cook items go over direct heat.
Larger items, or anything needing a longer cook, start with a sear over direct heat, then move to indirect.
Don’t overcrowd the grill! Give each piece of food some space for proper airflow and even cooking. This often gets overlooked by beginners.
Flipping and Turning Food
Patience is a grill master’s best friend. Don’t flip too often; you want those good grill marks.
When the food naturally releases from the grate, that’s your cue to flip. It should lift easily.
Generally, one or two flips are enough for most foods. Too much handling can cool the grill and dry out your food.
Checking for Doneness
The best tool for checking doneness is a good instant-read meat thermometer. Don’t guess, always check the internal temperature.
Insert the thermometer into the thickest part of the food, avoiding bones. This ensures you get an accurate reading.
Many experts emphasize that this is the safest and most reliable way to know your food is ready to eat (FDA guidelines).
| Food Type | Internal Temp (F) | Notes |
|---|---|---|
| Beef, Pork, Lamb (steaks, roasts, chops) | 145°F (medium-rare) | Rest for 3 minutes |
| Ground Meats (beef, pork, lamb) | 160°F | No resting needed |
| Poultry (chicken, turkey) | 165°F | Includes ground poultry |
| Fish | 145°F | Cook until opaque and flakes easily |
Resting Your Meat
This step is often skipped, but it’s important. After taking meat off the grill, let it rest for 5-10 minutes.
Resting allows the juices to redistribute throughout the meat, making it more tender and flavorful. It’s like a little nap for your food.
We found that even a short rest makes a noticeable difference in taste and texture. Don’t rush this part.
Cleaning Your Gas Grill After Use
Cleaning after each cook is just as important as cleaning before. It keeps your grill ready for the next time.
Once the grill cools slightly, but is still warm, brush the grates again. This is when food bits are easiest to remove.
Don’t forget to clean the drip tray regularly to avoid grease fires. Many resources suggest cleaning it often (NFPA).
Pre-Grill Checklist
- Gas Tank Check: Do you have enough fuel?
- Grill Grate Cleanliness: Are they free of old food?
- Tools Ready: Tongs, spatulas, thermometer at hand?
- Food Prep: Is everything seasoned and ready to go?
- Safety First: Fire extinguisher or water nearby, just in case?
Conclusion
Cooking on a gas grill offers a fantastic blend of convenience and control, perfect for anyone who loves to cook outdoors. By understanding how to ignite, preheat, manage heat zones, and properly clean your grill, you’re well on your way to becoming a grilling pro.
Remember that practice makes perfect, so don’t be afraid to experiment with different foods and techniques. With a little care and attention, your gas grill will be a reliable friend for many delicious meals to come.
How do I know what temperature my gas grill is at?
Most gas grills have a thermometer built into the lid, which gives you a general idea of the internal temperature. For more precise readings, especially near the grates, you can use a separate grill thermometer placed on the cooking surface. We found that these external thermometers provide more accurate information where your food actually cooks.
Can I use wood chips or chunks on a gas grill for smoke flavor?
Yes, you can add a smoky flavor to food cooked on a gas grill. The best way is to use a smoker box filled with wood chips or chunks. Place the smoker box directly over a lit burner, under the grates, and close the lid until it starts smoking. Then, move it to an indirect heat zone or keep it over low heat for continuous smoke. Many experts say this is a great way to combine the convenience of gas with the taste of smoke.
How do I prevent food from sticking to the grill grates?
To prevent food from sticking, make sure your grill grates are clean and hot before you add food. After preheating, brush the grates thoroughly to remove any residue. Then, lightly oil the clean, hot grates with a high smoke point oil, like canola or grapeseed oil, using a paper towel held with tongs. This creates a non-stick barrier. We found that a hot, clean, and oiled grate is the best defense against sticking.
Is it okay to open the grill lid often while cooking?
It’s generally not ideal to open the grill lid too often. Each time you lift the lid, a significant amount of heat escapes, which can lower the grill’s temperature and extend cooking times. Think of it like baking in an oven; consistency is key. We often advise checking on your food only when necessary, perhaps once for flipping, to keep the temperature stable and achieve better results.
What kind of accessories are most useful for gas grilling beginners?
For beginners, a few key accessories can make a big difference. An instant-read meat thermometer is essential for food safety and perfect doneness. A good quality grill brush keeps your grates clean. Long-handled tongs and a spatula are must-haves for handling food safely. We found that these basic tools cover most grilling needs without overwhelming new grillers with too many gadgets.
