
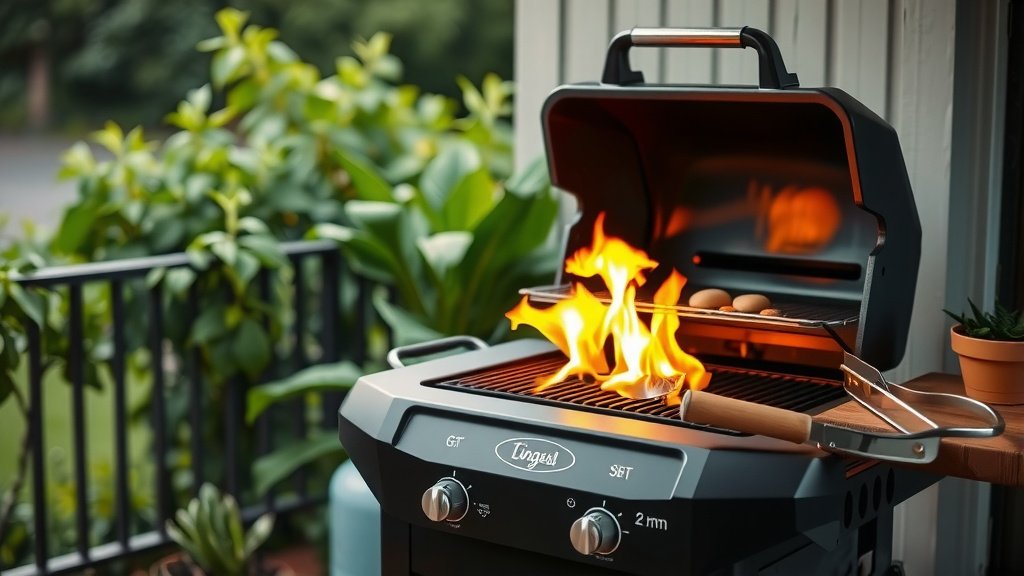
To use a propane grill, you first need to connect the propane tank, check for leaks, and then open the tank valve and light the burners according to your grill’s instructions.
Always ensure good ventilation, preheat your propane grill for 10-15 minutes, and clean the grates before and after each cooking session for optimal results and safety.
- Get started by making sure your grill is on a flat, open surface.
- Connect your propane tank carefully and always perform a quick leak test.
- Light your grill safely, following the exact steps in your owner’s manual.
- Preheat your grill to the right temperature before placing any food on the grates.
- Clean your grill after each use to keep it ready for your next delicious meal.
How Do You Use A Propane Grill?
Using a propane grill involves a few simple steps, focusing on safety and proper heat management for delicious results.
You’ll connect your tank, light the burners, and then cook your food with precision.
Getting Started: Your Grill’s First Date
So, you’ve got a shiny new propane grill or you’re ready to fire up an old friend. Exciting, right?
Before any flame touches food, placement matters a lot. Find a flat, stable surface that’s away from anything flammable.
Think about a clear 10-foot radius from your house, garage, or even overhanging branches. We found that this distance greatly reduces fire risks (Propane Education & Research Council).
Safety First, Always!
Before you even think about lifting the tank, take a moment to check your grill’s condition. Are the hoses free of cracks?
Are the connections secure? A quick visual inspection can save a lot of trouble later on. You wouldn’t drive a car with flat tires, would you?
Connecting the Propane Tank
This is where the magic fuel source meets your grill. Position the tank upright on its base, typically located underneath the grill.
Locate the large black connector on the end of your grill’s gas line. It screws directly onto the valve of your propane tank.
Turn the connector clockwise until it’s hand-tight and snug. Avoid overtightening, but make sure there’s no wiggle room. Many experts say a secure, hand-tight connection is key.
The Leak Test: Don’t Skip It!
This step is non-negotiable, truly. It’s a simple process that keeps you safe. First, open the propane tank valve slowly, turning it counter-clockwise.
Next, mix a small amount of dish soap with water to create a soapy solution. Apply this solution to all connections, especially where the hose meets the tank and the grill.
If you see bubbles forming, you have a leak. Immediately close the tank valve and tighten connections. If bubbles persist, do not use the grill and seek professional help or replace faulty parts.
Lighting Your Grill Safely
Now for the fun part! Ensure your grill lid is open. If you try to light it with the lid closed, gas can build up, which is dangerous.
Turn one burner control knob to high. Then, push the igniter button if your grill has one. You should hear a ‘click’ and see a flame.
If it doesn’t light after a few tries, turn off the gas, wait five minutes, and try again (Consumer Reports).
Understanding Heat Zones
Modern propane grills usually have multiple burners, letting you create different heat zones. This is incredibly useful for cooking a variety of foods.
You can have one side blazing hot for searing steaks and another side on low for gently cooking vegetables. Think of it as having multiple ovens on one surface.
Preheating for Success
Once you’ve got a flame, close the grill lid and let your grill preheat. This usually takes about 10 to 15 minutes, reaching temperatures between 400-500°F (200-260°C) for most grilling.
Preheating ensures your food cooks evenly and prevents sticking. It’s like warming up your car before a long drive; it just performs better.
Cleaning Your Grill Grates
After preheating, the grates will be hot. Use a wire brush or a grill cleaning tool to scrape off any leftover bits from previous cooks.
This provides a clean, non-stick surface for your food. A clean grate also helps create beautiful sear marks, making your food look as good as it tastes.
Grilling Techniques for Delicious Food
With your grill hot and clean, it’s time to cook! Place your food on the grates, using tongs for easy handling.
Keep the lid closed as much as possible to maintain consistent temperatures and cook food thoroughly. Resist the urge to constantly flip or poke!
Direct vs. Indirect Heat
Direct heat is when you cook food directly over a lit burner. This is great for searing, grilling thinner cuts of meat, and foods that cook quickly.
Indirect heat means cooking food on a part of the grill where the burner below is off, but adjacent burners are on. This method is perfect for larger roasts, whole chickens, or anything that needs longer, slower cooking to avoid burning.
| Food Item | Recommended Temperature | Cooking Time (Direct Heat) |
|---|---|---|
| Steak (1-inch thick) | 450-500°F | 4-6 min per side (Med-Rare) |
| Chicken Breast | 350-400°F | 6-8 min per side |
| Hamburger (1/2 inch) | 400-450°F | 3-5 min per side |
| Fish Fillet | 350-400°F | 3-4 min per side |
When Your Grill Is Finished
Once all your delicious food is cooked and off the grill, it’s time to safely shut things down. Don’t just walk away!
Proper shutdown procedures are just as important as the setup for safety and grill longevity.
Shutting Down Safely
First, turn off all the burner control knobs on your grill. Then, and this is important, turn off the valve on your propane tank by rotating it clockwise until it’s completely closed.
Allow the grill to cool down completely before covering it or moving it. You don’t want any accidental burns or melted covers!
Keeping Your Grill Clean and Ready
After the grill has cooled, give the grates another quick scrape to remove any cooked-on bits. You can also wipe down exterior surfaces with a damp cloth.
Regular cleaning prevents grease buildup and keeps your grill looking good and working efficiently. Many guidelines point to regular cleaning as a good first step in grill maintenance (BBQGuys).
- Post-Grill Maintenance Checklist:
- Scrape grates clean with a brush.
- Empty and clean the grease trap regularly.
- Wipe down the exterior surfaces.
- Check burner ports for blockages (from food bits or spiders!).
- Cover your grill to protect it from the elements.
Conclusion
Using a propane grill is a straightforward process once you understand the basic steps and safety precautions. From connecting the tank and performing a leak test to preheating and proper shutdown, each stage plays a vital role in a successful grilling experience.
By following these guidelines, you’ll not only cook fantastic food but also ensure your grilling sessions are safe and enjoyable. Happy grilling!
How do I properly connect a propane tank to my grill?
To properly connect your propane tank, place it upright, then screw the grill’s gas line connector clockwise onto the tank valve until it is hand-tight and secure. Always confirm it’s snug but not overtightened.
What should I do if my grill doesn’t light with the igniter?
If your grill’s igniter doesn’t work, turn off the burner and tank valve, wait about five minutes for any gas to dissipate, then try again. If it still doesn’t light, you can use a long grill lighter or a match lit with a holder to light the burner manually, always keeping your face and hands away from the burner area.
How long should I preheat my propane grill before cooking?
You should preheat your propane grill for approximately 10 to 15 minutes with the lid closed. This allows the grates to reach the ideal temperature for cooking, preventing food from sticking and ensuring even heat distribution.
Is it better to grill with the lid open or closed?
Generally, it’s better to grill with the lid closed as much as possible. This helps maintain consistent temperatures, cooks food more evenly, and speeds up cooking times by trapping heat inside, similar to an oven.
How often should I clean my propane grill grates?
You should clean your propane grill grates after every use. A quick scrape with a grill brush while the grates are still hot after preheating, and again after cooking and cooling, helps prevent buildup and keeps your grill ready for the next meal.
