To season a gas grill for the first time, you need to first burn off manufacturing residues, then clean the grates, apply a high smoke point oil like flaxseed or grapeseed oil, and heat the grill at medium-high for about 30-60 minutes.
This process creates a non-stick, rust-resistant barrier, essential for better cooking performance and extending the life of your gas grill.
TL;DR: Here’s the quick rundown:
- Before first use, always perform an initial burn-off to remove factory oils.
- Clean your grill grates thoroughly with warm, soapy water after the burn-off.
- Apply a very thin, even layer of high smoke point oil to all cooking surfaces.
- Heat your grill to medium-high (around 350-400°F) for at least 30 minutes.
- Let it cool completely, then repeat the oiling and heating process one or two more times.
How To Season A Gas Grill For The First Time?
Seasoning your new gas grill is a lot like preparing a new cast iron pan; it’s a vital step for its longevity and your grilling success. You are essentially baking oil onto the metal, creating a protective layer.
Why Even Bother Seasoning Your New Grill?
You just brought home a shiny new gas grill. It looks ready to go, right? Not quite. Think of seasoning as giving your grill a warm welcome and preparing it for a long, happy life of delicious meals. Many experts agree it is a simple habit that pays off big.
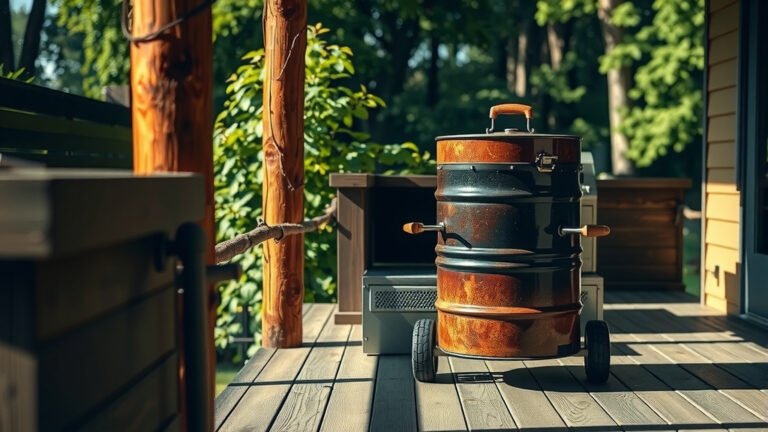
Protection from the Elements
Even though gas grills live outside, their metal parts, especially the grates, are vulnerable. Seasoning provides a thin, baked-on layer of oil. This layer acts as a shield, helping to protect against rust and corrosion that can quickly degrade your grill over time.
Creating a Non-Stick Surface
Imagine your perfectly seared steak not sticking to the grates. That’s the magic of seasoning! A properly seasoned grill offers a much smoother, less sticky cooking surface. This means your food releases more easily, leading to better grill marks and less mess to clean up later.
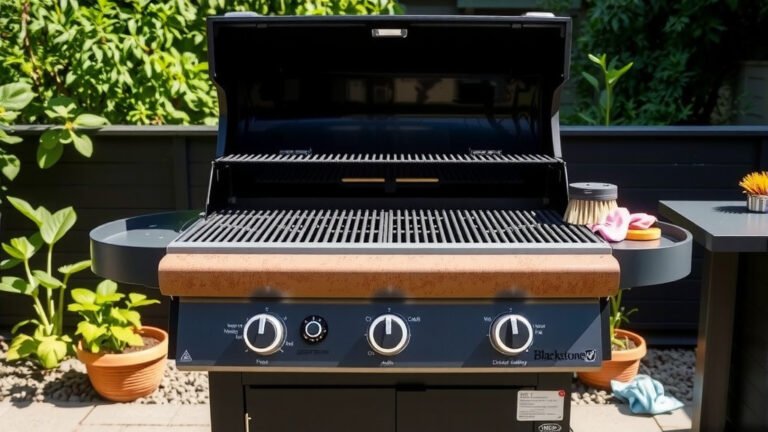
Gather Your Seasoning Supplies
Before you start, make sure you have everything ready. This isn’t a complex process, but having your tools at hand makes it much smoother. You’ll need some basic items from your kitchen or garage.
- Warm, soapy water and a sponge or soft cloth.
- A sturdy grill brush (brass or nylon is often recommended for grates).
- A clean cloth or paper towels.
- High smoke point cooking oil.
- Grill mitts or heat-resistant gloves.
Choosing the Right Oil
This is where it gets a little specific. You need an oil that can handle high heat without burning off too quickly or leaving a sticky residue. Research shows certain oils work better than others for this task.
| Oil Type | Smoke Point | Best Use for Seasoning |
|---|---|---|
| Flaxseed Oil | 350°F (177°C) | Often cited as the best for a durable, hard seasoning. |
| Grapeseed Oil | 420°F (216°C) | A great all-around choice, widely available and effective. |
| Vegetable Oil | 400°F (204°C) | A decent, readily available option for general seasoning. |
| Canola Oil | 400°F (204°C) | Similar to vegetable oil, good for a basic seasoning coat. |
Oils to Avoid
Steer clear of olive oil, butter, or low smoke point oils. These can burn quickly at high grill temperatures, leaving a gummy residue or even imparting an unpleasant flavor to your grill. We found that these options are simply not suited for the heat needed for proper seasoning.
Your Step-by-Step Grill Seasoning Guide
Ready to get started? This guide will walk you through each step. Take your time, and soon your grill will be perfectly primed for its first official cookout.
Step 1: The Initial Burn-Off
Even new grills might have manufacturing oils or dust. Before anything else, turn on all your gas grill burners to high. Close the lid and let it run for about 15-20 minutes. This helps to burn off any factory residues that might be present.
Step 2: Clean the Grates Thoroughly
After the burn-off, let the grill cool down completely. Once it’s cool, remove the grates. Wash them with warm, soapy water and a sponge. Rinse them well and dry them completely. You want a clean, dry surface for the oil to adhere to.
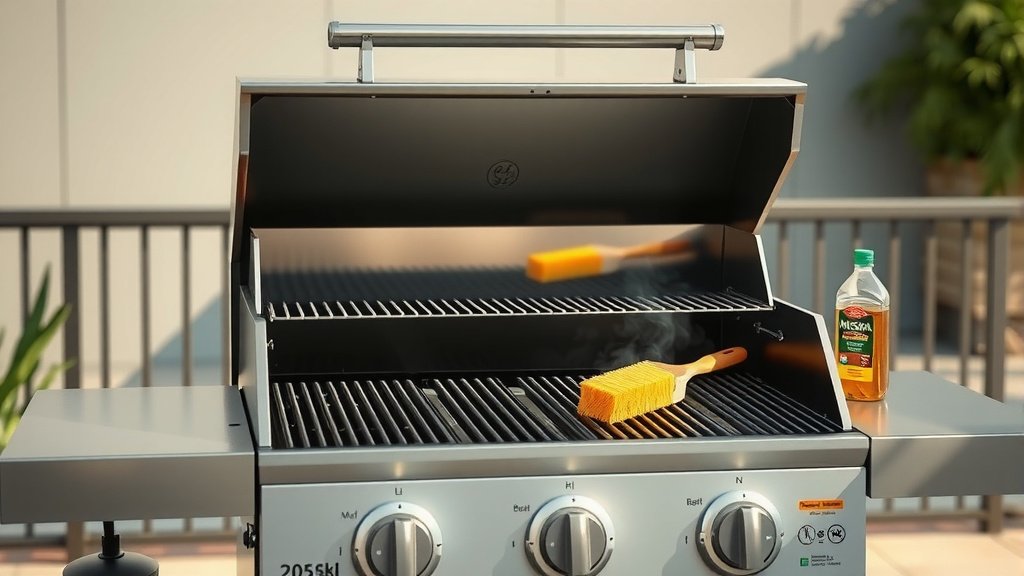
Step 3: Apply a Thin Layer of Oil
This is a key step. Dip a clean cloth or paper towel into your chosen high smoke point oil. Apply a very thin, even layer of oil over all surfaces of the grates. Don’t drench them; a little goes a long way. Make sure to coat every part of the cooking surface.
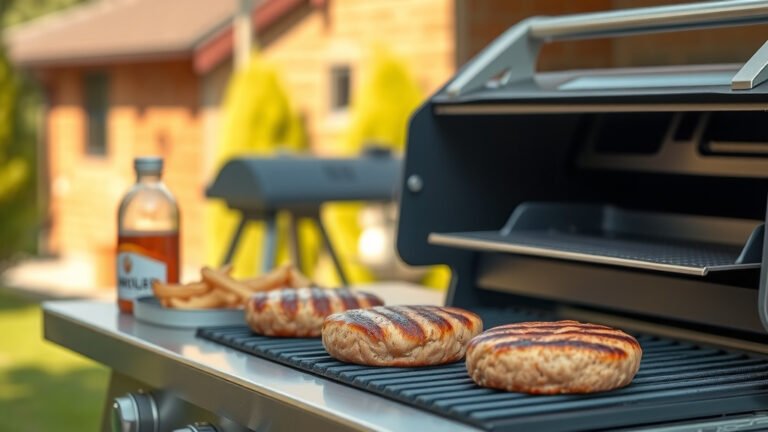
Step 4: Heat It Up!
Place the oiled grates back into the grill. Turn on all burners to medium-high heat, aiming for a temperature between 350-400°F. Close the lid and let it heat for 30-60 minutes. You might see some smoke; that’s normal. This heat helps the oil to polymerize and bond with the metal surface.
Step 5: Cool Down and Repeat
After the heating cycle, turn off the grill and allow it to cool down completely. Once cool, repeat steps 3 and 4 at least one or two more times. Many experts suggest doing this 2-3 times for a durable, lasting seasoned surface. The more layers, the better the protection.
Gas Grill Seasoning Checklist
To ensure you’ve hit all the critical points, here’s a quick checklist:
- Did you perform an initial burn-off?
- Are the grates thoroughly cleaned and dry?
- Is your chosen oil a high smoke point type?
- Did you apply a very thin layer of oil?
- Was the grill heated to medium-high for 30-60 minutes each cycle?
- Did you repeat the oiling and heating process 2-3 times?
Common Seasoning Mistakes to Sidestep
It’s easy to make small errors, especially when you’re excited about a new grill. Knowing these pitfalls can save you frustration later. One common mistake we’ve found is using too much oil; a thin coat is always best.
Using Too Much Oil
Applying too much oil creates a sticky, gummy mess instead of a hard, protective layer. It’s counterproductive and can be difficult to clean. Remember, you want a barely visible film, not a thick coating.
Not Heating Long Enough
The oil needs sufficient time at high heat to polymerize. If you cut the heating time short, the seasoning won’t properly bond to the metal. We found that at least 30 minutes per cycle is important for good results.
Skipping the Initial Cleaning
Ignoring the initial burn-off and cleaning means you’re trying to season over factory oils or debris. This prevents proper adhesion and can lead to uneven seasoning. Always start with a clean slate.
How Often Should You Re-Season?
Once your initial seasoning is complete, you won’t need to do a full re-seasoning often. Typically, after every few cooks, you can apply a light coat of oil to the grates before heating. Many guidelines point to regular light oiling as good ongoing maintenance (Cook’s Illustrated).
Conclusion
Seasoning your new gas grill is a foundational step that sets the stage for countless enjoyable grilling sessions. It protects your investment, makes cooking easier, and ensures your food tastes its best. By following these simple steps, you’ll be well on your way to becoming a grill master. So, fire it up, get that seasoning done, and let the delicious cooking begin!
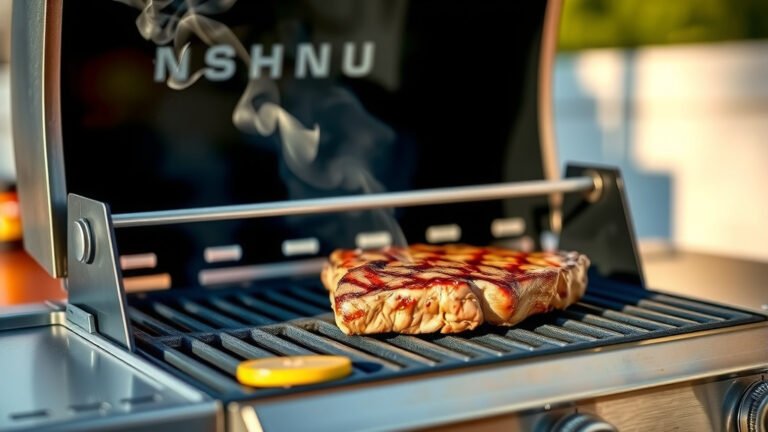
FAQ: Is It Okay to Grill Immediately After Seasoning?
Yes, absolutely! Once your final seasoning cycle is complete and the grill has cooled, it’s ready for its first culinary adventure. The seasoning process prepares the grates perfectly for immediate use, often making your first cook even better.
FAQ: How Many Times Should I Season My New Gas Grill?
For best results, aim for two to three seasoning cycles before your first cook. This builds up a durable, effective layer that offers good protection and creates a more non-stick surface. More layers often translate to better performance.
FAQ: Can I Use Cooking Spray to Season My Grill?
While convenient, most cooking sprays contain propellants and additives that aren’t ideal for seasoning. They might leave a sticky residue or burn unevenly. It’s generally better to use a liquid high smoke point oil applied with a cloth for the most effective seasoning.
FAQ: What Happens If I Don’t Season My Gas Grill?
Skipping seasoning can lead to food sticking more often, making cleanup tougher, and increasing the risk of rust on your grates. Without that protective layer, your grill’s longevity might be reduced, and cooking might be less enjoyable.
FAQ: Does Seasoning Affect the Taste of Food?
A properly seasoned grill should not impart any off-flavors to your food. In fact, by preventing sticking and allowing for better searing, it can indirectly contribute to better-tasting food. The oil bakes onto the metal, creating a neutral cooking surface.