
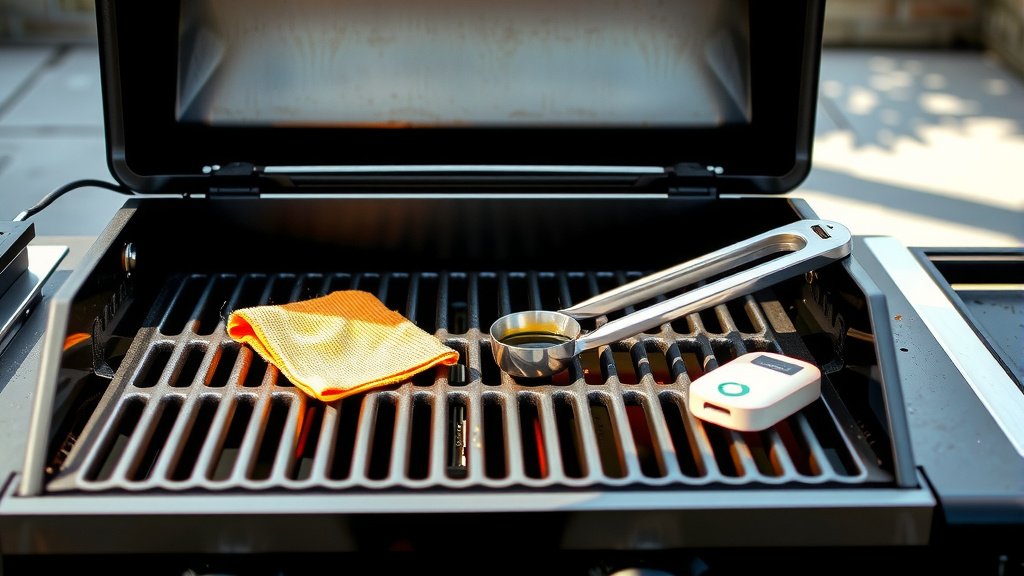
To season a gas grill, you apply a thin layer of high smoke point oil to the grates, then heat the grill to a high temperature for about 15-20 minutes until the oil polymerizes.
This process creates a protective, non-stick surface, preventing rust and ensuring your food cooks beautifully without sticking.
TL;DR: Seasoning your gas grill is simple and vital for great grilling. Here’s the short scoop:
- Always start with a clean grill.
- Use a high smoke point oil like flaxseed, canola, or vegetable oil.
- Apply a very thin, even layer to all cooking surfaces.
- Heat your grill to its highest setting for 15-20 minutes.
- Let it cool naturally and repeat a few times for the best results.
How To Season A Gas Grill?
Seasoning a gas grill involves coating the grates with oil and heating them to create a non-stick, protective layer.
This process is key to preventing rust and ensuring your food releases easily.
Why Is Gas Grill Seasoning Important?
Think of seasoning as giving your grill a superhero shield. It creates a barrier, helping to protect the metal from moisture and rust.
Beyond protection, a well-seasoned grill provides a smoother cooking surface, meaning less food sticks to the grates (National Barbecue Association).
Many grill masters also report that a good seasoning helps enhance the flavor of your grilled foods over time.
Understanding The Grates
Different grill grates have different needs. Cast iron grates definitely need regular seasoning to prevent rust.
Stainless steel grates are more rust-resistant, but they still benefit from seasoning to create a better non-stick surface and ensure even cooking.
Gathering Your Seasoning Supplies
Before you begin, get everything ready. It makes the process smooth and easy.
You’ll need a suitable oil, some old cloths or paper towels, and a grill brush.
The Best Oils for Gas Grill Seasoning
Choosing the right oil is a big part of successful seasoning. We found that oils with a high smoke point work best because they can withstand the high heat without breaking down quickly.
Here’s a quick look at some popular choices:
| Oil Type | Smoke Point (approx.) | Notes for Grilling |
|---|---|---|
| Flaxseed Oil | 225°F (107°C) | Creates a very hard, durable layer; can be a bit tricky due to lower smoke point. |
| Canola Oil | 400°F (204°C) | Widely available, neutral flavor, good all-rounder for seasoning. |
| Vegetable Oil | 400-450°F (204-232°C) | Similar to canola, often a blend, effective and affordable. |
| Grapeseed Oil | 420°F (215°C) | Clean, light, and excellent for high heat applications. |
| Avocado Oil | 520°F (270°C) | Very high smoke point, great for a durable seasoning, but usually more expensive. |
Many experts say to avoid olive oil, especially extra virgin, because its low smoke point can cause it to burn and leave a sticky residue (Cleveland Clinic).
Step-by-Step Gas Grill Seasoning Process
Ready to get your grill in top shape? Follow these simple steps for a perfect seasoning.
It’s easier than you might think, and the results are worth it.
Step 1: Clean The Grill Thoroughly
Before you season, your grill grates need to be clean. Any old food bits or grease will bake onto the surface and interfere with the new seasoning.
Lightly preheat your grill for about 10-15 minutes, then use a sturdy grill brush to scrape off all residue. Many guidelines point to starting with a clean surface as a good first step (Weber Grill Guide).
Cleaning Checklist
Make sure you hit these points for a super clean grill:
- Preheat the grill for easier cleaning.
- Brush grates vigorously with a wire brush.
- Scrape off any baked-on bits.
- Wipe down with a damp cloth to remove debris.
- Let the grates dry completely before oiling.
Step 2: Apply A Thin Layer of Oil
Once clean and dry, it’s time for the oil. Dip a paper towel or an old cloth into your chosen high smoke point oil.
Wipe a thin, even layer over all surfaces of the grates, including the sides. We found that less is more here; too much oil will lead to a sticky, gummy mess.
You want just enough to give it a slight sheen.
Step 3: Heat The Grill To High Temperature
Now, close the grill lid and turn all burners to their highest setting. Let the grill heat up for about 15-20 minutes.
You’ll see some smoke as the oil bakes onto the metal, a process called polymerization. This is exactly what you want – the oil is bonding with the grate, creating that non-stick layer.
Step 4: Let It Cool Down
After the heating cycle, turn off the burners and let the grill cool down completely with the lid closed.
Once cool, you can apply another thin coat of oil and repeat the heating process. Many grill experts recommend repeating the oiling and heating steps two to three times for the best, most durable seasoning (Traeger Grills).
How Often Should You Season Your Gas Grill?
When you get a brand new grill, always season it before your first cook. It sets the stage for future grilling success.
You should also re-season your grill after any deep cleaning session where you use strong degreasers that might strip the existing seasoning.
For general maintenance, many people find seasoning every few months, or as needed, works well to keep things in top shape.
Signs Your Grill Needs Seasoning
How do you know it’s time for another round? Your grill will often tell you.
If food starts sticking more than usual, or if you notice any small rust spots appearing on the grates, it’s a clear signal.
Dull, dry-looking grates can also mean the seasoning is wearing thin.
Common Mistakes To Avoid When Seasoning
Even seasoned grillers can make simple errors. One common mistake is using too much oil. This creates a gummy, sticky surface instead of a smooth one.
Another error is choosing the wrong type of oil – remember to stick with high smoke point options. And never skip the initial cleaning; a dirty grill won’t season properly.
Maintenance Tips After Seasoning
After all that effort, you want your seasoning to last. Always do a quick brush-down of your grates after each use, while they are still warm.
A light wipe with a paper towel dipped in a little cooking oil after each cook can also help maintain the surface. Lastly, always keep your grill covered when not in use to protect it from the elements.
Conclusion
Seasoning your gas grill is a simple, yet powerful step that significantly impacts your grilling experience. It’s about protecting your investment and making every meal a little bit better.
By following these steps, you’ll enjoy years of great cooking and perfectly seared food that releases effortlessly. Happy grilling!
Can I use butter or olive oil to season my gas grill?
It’s best to avoid butter and most olive oils for seasoning. They have low smoke points, meaning they will burn and create a sticky, hard-to-clean residue rather than a proper seasoned layer.
How long does grill seasoning usually last?
The lifespan of your grill seasoning depends on how often you grill and how you clean it. With regular use and proper care, a good seasoning can last several weeks or even months before needing a touch-up or reapplication.
What if my grill grates are already rusty? Can I still season them?
If your grates have rust, you need to remove the rust first. Use a wire brush or a rust remover designed for grills. Once the rust is gone and the grates are clean and dry, then you can proceed with the seasoning process.
Do all gas grills need to be seasoned, even new ones?
Yes, all new gas grills benefit from an initial seasoning, especially if they have cast iron grates. Even stainless steel grates get a better non-stick performance and protection with seasoning. Always check your grill’s manual for specific recommendations.
Is it possible to over-season a grill?
While you can’t truly “over-season” in terms of applying too many layers, applying too much oil at once can lead to issues. Using too much oil in a single application results in a gummy, sticky surface instead of a hard, smooth one. Thin, even layers are key.
