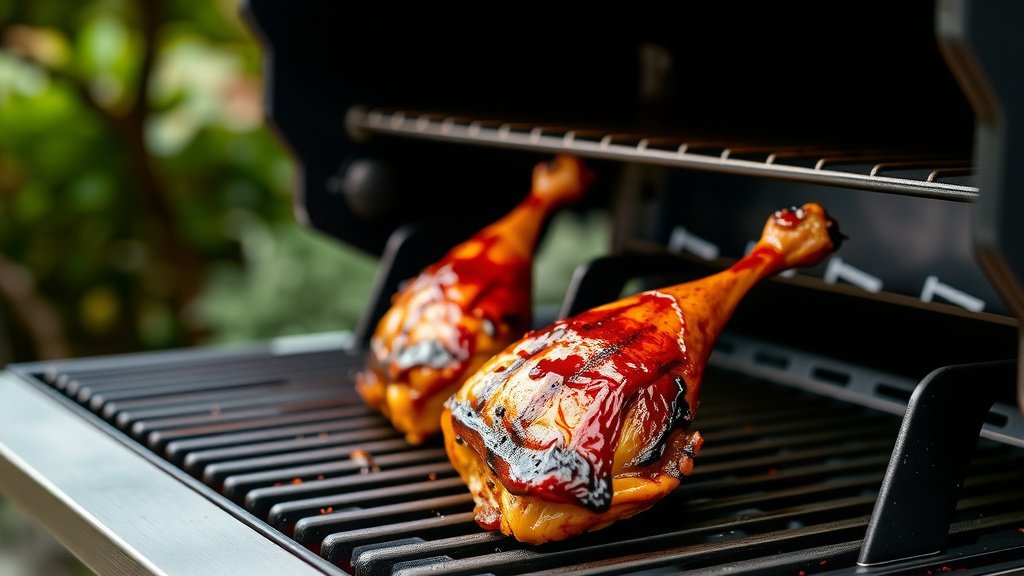
To grill BBQ chicken legs on a gas grill, start by preheating your grill to medium-high (around 400°F or 200°C), then reduce one burner to low or off to create a two-zone cooking setup.
Season the chicken legs generously, sear them over direct heat for a few minutes per side until browned, then move them to the indirect side to finish cooking slowly and evenly with the lid closed, aiming for an internal temperature of 175°F (79°C) before adding sauce.
Here’s a quick overview of how to get those perfect, juicy BBQ chicken legs:
- Achieve crispy skin by searing first over direct heat.
- Prevent burning with two-zone grilling, moving chicken to indirect heat.
- Ensure tenderness by cooking to the right internal temperature of 175°F (79°C).
- Flavor layering happens when you add BBQ sauce towards the end.
- Mastering your gas grill means consistent heat and amazing results every time.
How To Grill BBQ Chicken Legs On Gas Grill?
Grilling BBQ chicken legs on a gas grill is easier than you think when you understand heat zones and timing.
It’s all about getting that beautiful char without drying out the meat, creating a perfect balance.
Gather Your Gear: What You’ll Need
Before you even think about firing up that grill, let’s make sure you have the right tools. Having everything ready simplifies the process, don’t you agree?
You’ll want to be prepared to make this experience smooth and enjoyable.
- Gas Grill: A clean one is always best, right?
- Tongs: Long-handled tongs are your best friend for flipping.
- Instant-Read Thermometer: This is non-negotiable for food safety.
- Basting Brush: For applying that delicious BBQ sauce.
- Mixing Bowl: To season your chicken.
Choosing the Perfect Chicken Legs
When you’re at the store, what should you look for? Many experts recommend selecting fresh chicken legs that are plump and have a good color (USDA).
Avoid any chicken that looks discolored or smells off; freshness makes a big difference.
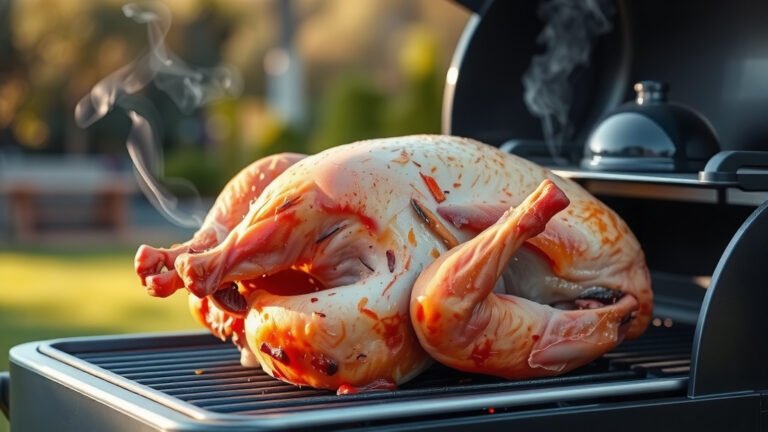
Prepping Your Chicken Legs for Success
Prepping is where flavor begins. It’s like setting the stage for a great performance, isn’t it?
You want to give your chicken the best start possible.
Pat Them Dry, Please!
Why pat the chicken dry? Research shows that drier chicken skin crisps better on the grill.
Moisture creates steam, which prevents that lovely crunch we all desire.
Seasoning: Your Flavor Foundation
This is your chance to infuse incredible flavor. Don’t be shy with your seasoning.
A good rub adheres better to dry chicken.
Making Your Own Rub (Optional)
You can mix salt, pepper, garlic powder, onion powder, paprika, and a touch of cayenne. We find that a homemade rub gives custom flavor.
It’s also fun to experiment with different spice combinations.
Setting Up Your Gas Grill for Two-Zone Cooking
This is a game-changer for chicken legs. Why two zones? Think of it like a oven, but outside.
It gives you both high heat for searing and lower heat for gentle cooking.
Understanding Direct vs. Indirect Heat
Direct heat is for searing, browning, and initial crisping. Indirect heat is for cooking through slowly without burning.
Many guidelines point to this method for poultry (National Chicken Council).
How to Create Two Zones
Turn two burners to medium-high. Once hot (around 400°F or 200°C), turn one burner down to low or off.
This creates your hot zone and your cooler, indirect zone.
The Grilling Process: Step-by-Step
Now for the fun part! Let’s get those chicken legs cooking perfectly.
Follow these steps for juicy, flavorful results.
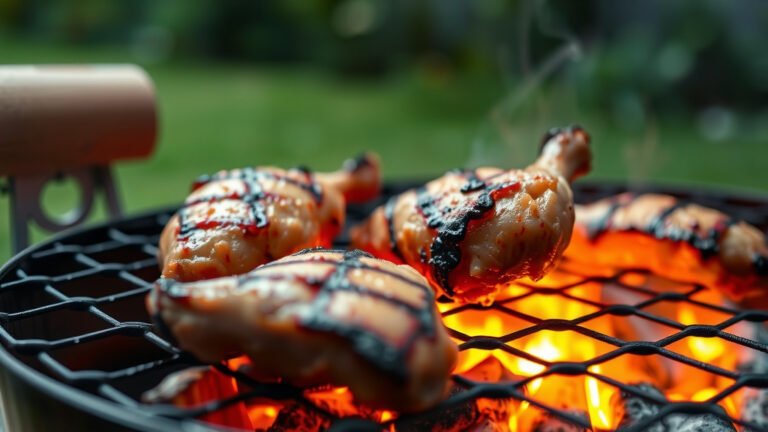
Step 1: Sear for Golden Skin
Place your seasoned chicken legs over the direct heat zone. Close the lid for about 3-4 minutes per side.
You want a nice golden-brown crust, not burnt.
Step 2: Move to Indirect Heat
Once seared, move the legs to the cooler, indirect heat zone. Close the lid.
This is where they will slowly cook through.
Step 3: Monitor Temperature and Flipping
Cook for about 30-40 minutes, flipping every 10-15 minutes to ensure even cooking. We found that frequent turning prevents sticking and promotes uniform heat distribution.
Remember to keep the lid closed as much as possible to maintain temperature.
| Cooking Stage | Grill Zone | Approx. Time | Purpose |
|---|---|---|---|
| Initial Sear | Direct Heat | 3-4 min per side | Crispy skin, flavor development |
| Slow Cook | Indirect Heat | 30-40 min total | Cook through, keep juicy |
| Sauce Glaze | Indirect Heat | Last 10-15 min | Caramelize BBQ sauce |
When to Add BBQ Sauce
Timing your BBQ sauce is important. If you add it too early, the sugars can burn, leaving a bitter taste.
Research suggests applying sauce when chicken is almost cooked (Cook’s Illustrated).
The 10-15 Minute Rule
Apply your favorite BBQ sauce during the last 10-15 minutes of cooking. Brush it on generously.
Continue to cook over indirect heat, turning occasionally, until the sauce is slightly tacky and caramelized.
Checking for Doneness: Internal Temperature is Key
How do you know when they’re truly done? You need an instant-read thermometer.
Don’t guess; food safety is paramount.
The Magic Number: 175°F (79°C)
Chicken legs are safe and most tender when they reach an internal temperature of 175°F (79°C) in the thickest part of the thigh, not touching bone (USDA).
Many experts say this higher temperature makes dark meat fall-off-the-bone tender.
Resting Your Chicken Legs
Once cooked, remove the chicken legs from the grill and let them rest. Why rest?
It allows the juices to redistribute throughout the meat, keeping it incredibly moist.
A Short Nap for Juicy Results
A rest of 5-10 minutes under loose foil is perfect. Think of it as a short nap for your chicken, ensuring every bite is juicy.
This small step makes a big difference in texture.
Quick Checklist for Grilling BBQ Chicken Legs
- Preheat grill to 400°F (200°C), creating two zones.
- Pat chicken legs dry and season well.
- Sear over direct heat for 3-4 minutes per side.
- Move to indirect heat and cook for 30-40 minutes.
- Apply BBQ sauce during the last 10-15 minutes.
- Check internal temperature for 175°F (79°C).
- Rest chicken for 5-10 minutes before serving.
Conclusion
Mastering BBQ chicken legs on a gas grill is all about understanding heat management and patience. By using two-zone grilling, you can achieve crispy skin and wonderfully juicy meat every time. Remember, the internal temperature is your best friend for food safety and deliciousness. Go ahead, fire up that grill and enjoy some amazing chicken!
What is the ideal internal temperature for grilled chicken legs?
The ideal internal temperature for grilled chicken legs is 175°F (79°C). This ensures the dark meat is fully cooked and incredibly tender, allowing it to easily pull away from the bone.
Should I keep the grill lid open or closed when grilling chicken legs?
Keep the grill lid closed as much as possible when grilling chicken legs, especially during the indirect cooking phase. Closing the lid helps maintain a consistent internal temperature, promoting even cooking and juicier results, much like an oven.
How do I prevent BBQ sauce from burning on chicken legs?
To prevent BBQ sauce from burning, apply it only during the last 10-15 minutes of grilling. The sugars in the sauce can burn quickly over high heat, so applying it towards the end over indirect heat allows it to caramelize without charring.
Can I marinate chicken legs before grilling them on a gas grill?
Yes, you can definitely marinate chicken legs before grilling! Marinating for a few hours or overnight can add incredible flavor and help tenderize the meat, giving your chicken an extra delicious boost.
Why is it important to rest chicken legs after grilling?
Resting chicken legs after grilling is crucial because it allows the meat’s juices to redistribute evenly throughout the muscle fibers. This simple step ensures your chicken remains wonderfully moist and tender, rather than having the juices run out when you cut into it.