How to BBQ grill chicken successfully involves creating distinct direct and indirect heat zones on your grill, searing the chicken quickly over high heat, then moving it to a cooler zone to finish cooking until it reaches a safe internal temperature of 165°F (74°C).
For juicy and flavorful BBQ grilled chicken, always start with a clean, preheated grill, use a reliable meat thermometer, and allow the chicken to rest for several minutes after cooking to lock in its juices.
- Learning to BBQ grill chicken is easier than you might think and incredibly rewarding.
- You need a few basic tools and an understanding of how your grill works.
- Setting up two heat zones, direct and indirect, is key for perfect results.
- Always rely on a meat thermometer to ensure your chicken is safely cooked to 165°F.
- A short resting period after grilling makes all the difference for juicy, tender chicken.
How To BBQ Grill Chicken?
To BBQ grill chicken, you must first prepare your grill with two heat zones, sear the chicken over direct heat to create a crust, then finish cooking it gently over indirect heat until it reaches a safe internal temperature of 165°F (74°C). This approach helps achieve both crispy skin and wonderfully juicy meat.
Why Choose Grilled Chicken? The Irresistible Charm
Grilling chicken just hits differently, doesn’t it? The smoky flavor and tender texture are hard to beat. It’s often a healthier cooking method too, and surprisingly versatile for quick weeknight dinners or big backyard parties. Who can resist those grill marks?
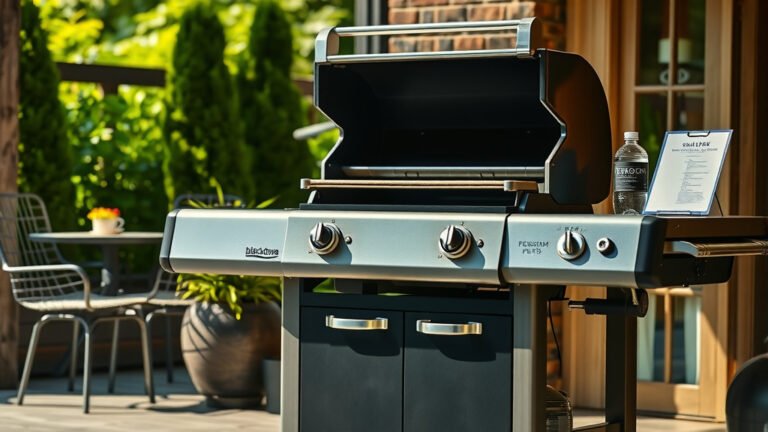
Essential Tools for Your Grill Masterpiece
Before you even think about lighting the coals or pressing the igniter, let’s talk gear. Having the right tools makes your grilling life so much simpler. Think of it as preparing your artist’s palette.
Your Grilling Arsenal
You will definitely need a good meat thermometer; it’s your best friend for food safety (USDA). Long-handled tongs, a sturdy grill brush, and heat-resistant gloves are also must-haves. A small spray bottle filled with water helps manage unexpected flare-ups.
Getting Your Chicken Ready: Prep Steps
The magic of great grilled chicken truly begins before it touches the grates. Thoughtful preparation ensures amazing flavor and texture. It sets the stage for success.
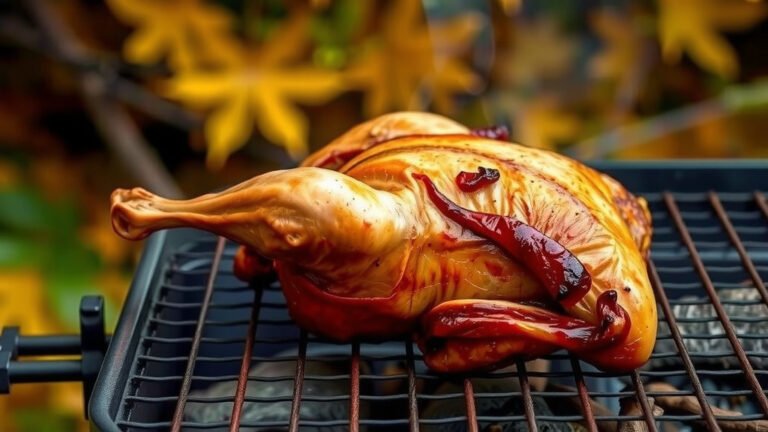
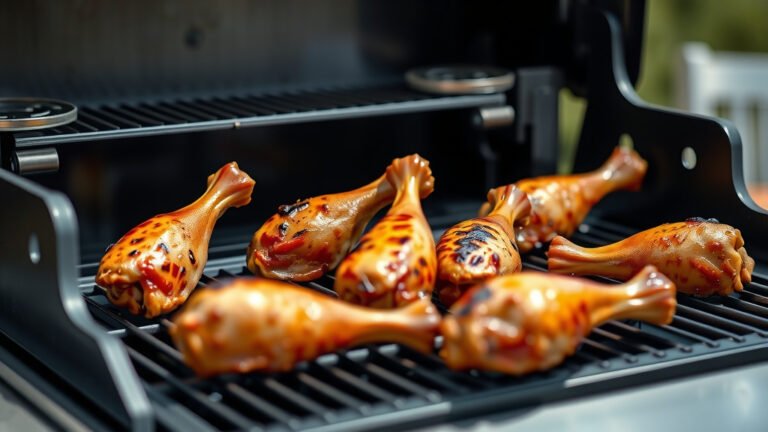
Selecting the Right Chicken Cut: What chicken parts do you enjoy most? Breasts are lean and cook quickly. Thighs and drumsticks are more forgiving, often staying juicier due to natural fat. Whole or half chickens also grill beautifully but require more time.
Marinades and Brines: Your Flavor Secret: To supercharge flavor and moisture, consider marinating or brining. A marinade adds zest and helps tenderize. Brining, using a salt solution, ensures the chicken stays incredibly juicy. Many experts say brining significantly reduces dryness (America’s Test Kitchen).
Seasoning for Success: Even without a marinade, good seasoning is vital. Salt and pepper are your foundation. Boost the flavor with garlic powder, paprika, or a touch of chili powder. Apply seasonings generously just before grilling.
Setting Up Your Grill: The Two-Zone Method
This technique is a game-changer for grilled chicken. It allows you to control the cooking process precisely. You need two distinct heat zones on your grill.
Understanding Heat Zones
One zone should be for direct, high heat, where the flame is directly beneath the food. This is for searing. The other zone should be for indirect, lower heat, where the food is off to the side of the flame. This acts like an oven, cooking the chicken through gently.
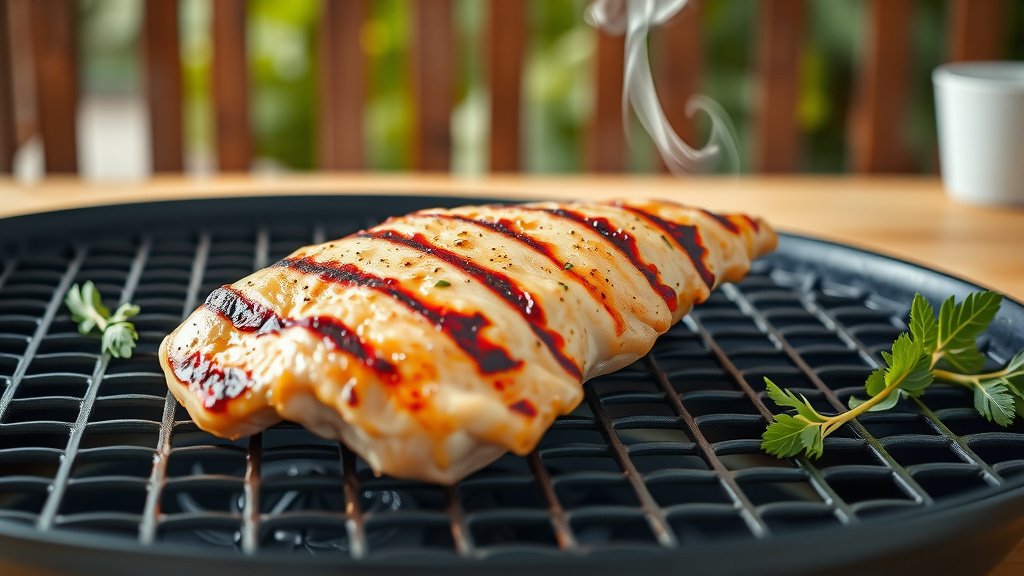
Grilling Chicken: The Process
You’re ready to cook! With your chicken prepped and grill set up, follow these steps for fantastic results. This is where your efforts truly shine.
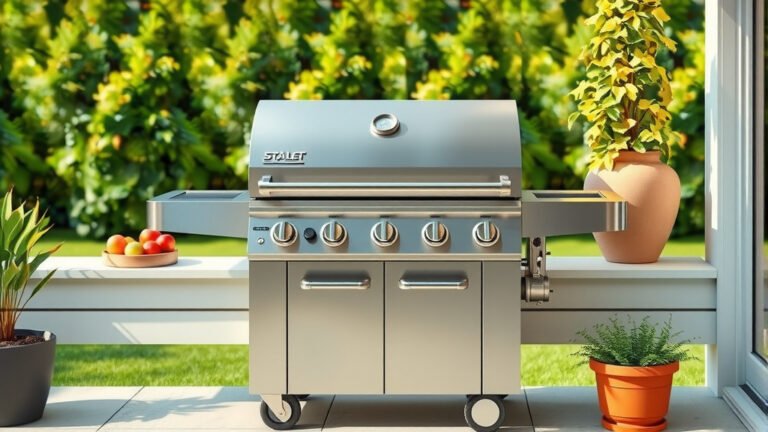
Preheat Your Grill to Perfection: Always start with a clean, preheated grill. Aim for a medium-high temperature, about 375-400°F (190-204°C). This takes 10-15 minutes for gas grills and 20-30 minutes for charcoal. A hot grill helps prevent sticking.
Monitor Cooking Times and Temperatures: Grilling chicken is about temperature, not just time. Sear your chicken over direct heat for 2-3 minutes per side to get color, then move it to the indirect zone. Continue cooking until it reaches 165°F (74°C) internally. Chicken breasts often need 10-15 minutes per side over indirect heat. Thighs and drumsticks can take a bit longer.
How to Check for Doneness
Always use your meat thermometer for accurate results. Insert it into the thickest part of the chicken, away from any bones. The target is always 165°F (74°C) for food safety (USDA).
| Chicken Cut | Target Internal Temp | Approx. Indirect Grill Time |
|---|---|---|
| Breast | 165°F (74°C) | 10-15 minutes per side |
| Thigh | 165°F (74°C) | 15-20 minutes per side |
| Drumstick | 165°F (74°C) | 15-20 minutes per side |
| Whole Chicken (Halved) | 165°F (74°C) | 30-45 minutes total |
Avoiding Common Grilling Mistakes
Even experienced grillers sometimes make small errors. Knowing these pitfalls can save your chicken from an unfortunate fate. No one wants dry or burnt chicken!
- Not cleaning your grill grates before cooking.
- Placing cold chicken directly from the fridge onto the grill.
- Flipping the chicken too often or too soon.
- Grilling without a meat thermometer for safety.
- Overcrowding the grill, which drops the temperature.
Troubleshooting Quick Fixes
Sometimes, things don’t go perfectly, and that’s okay. Here’s a quick checklist for common grilling issues. You can fix almost anything!
- Is your chicken sticking? Make sure the grill is hot and clean.
- Chicken burning? Move it to the cooler, indirect zone right away.
- Worried about dry chicken? You might be overcooking; check the temperature.
- Still undercooked? Return it to the indirect heat to finish slowly.
- Dealing with flare-ups? Spritz with water to calm the flames.
The Perfect Finish: Resting and Serving
Your chicken is perfectly cooked to 165°F (74°C)! Take it off the grill, but hold on a moment before slicing. Let the chicken rest for 5-10 minutes, loosely tented with foil. This critical step allows the juices to redistribute, guaranteeing a moist and incredibly tender bite.
Conclusion
Learning how to BBQ grill chicken is a skill that opens up a world of delicious possibilities. By understanding your grill, taking care in preparation, and mastering the two-zone cooking method, you can consistently achieve juicy, flavorful, and perfectly cooked chicken. So, fire up your grill with confidence and enjoy the fantastic meals you will create!
How do I prevent chicken skin from becoming rubbery?
To prevent rubbery chicken skin, ensure your grill is hot enough when you first put the chicken on. Sear the skin side over direct heat until it’s golden and crisp. This renders the fat and prevents a rubbery texture.
Can I use frozen chicken for BBQ grilling?
No, you should never attempt to grill chicken that is still frozen. Frozen chicken cooks unevenly, meaning the outside might char while the inside remains undercooked or dangerously cold. Always thaw chicken completely before grilling (USDA).
What’s the ideal thickness for chicken breasts to grill well?
For best results, aim for chicken breasts that are about 1-inch thick. If your chicken breasts are much thicker, consider pounding them lightly to an even thickness. This ensures more even cooking and prevents one part from drying out while another is still cooking.
How do I add smoky flavor to chicken on a gas grill?
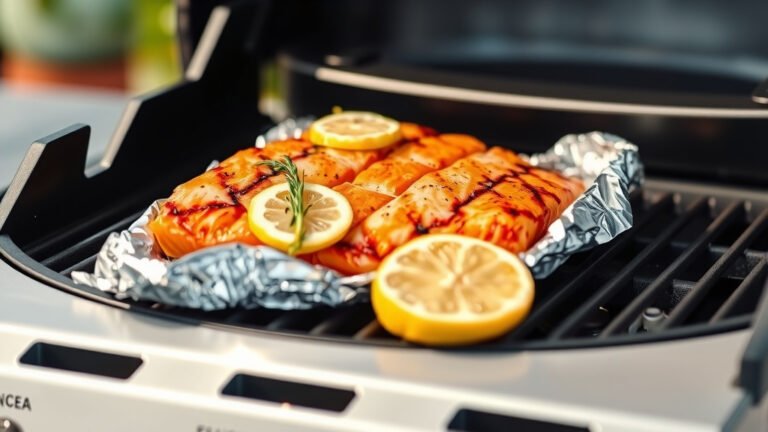
To get a smoky flavor on a gas grill, you can use a smoker box or a foil packet filled with wood chips (like hickory or applewood). Place this directly over one of your lit burners, under the grate, to create smoke. Close the lid and let the smoke infuse the chicken.
What kind of wood chips are best for grilling chicken?
Many experts suggest fruitwoods like apple, cherry, or pecan for grilling chicken. These provide a milder, sweeter smoke that complements chicken well. Hickory is also a popular choice for a stronger, classic BBQ flavor (Weber Grills).