To make ribs on a charcoal grill, you primarily use indirect heat to slowly cook them until tender, often following the popular 3-2-1 method.
You achieve fantastic flavor by selecting the right ribs, applying a great rub, and maintaining a consistent low temperature on your charcoal grill with wood chunks for smoke.
Here’s a quick summary for making perfect charcoal grilled ribs:
- Choose either baby back or spare ribs for best results.
- Always remove the tough membrane from the back of the ribs.
- Set up your charcoal grill for indirect heat, aiming for 225-250°F.
- Follow the 3-2-1 method: 3 hours smoke, 2 hours foil, 1 hour sauced (adjust for baby backs).
- Use wood chunks for smoke and rest your ribs after cooking for ultimate tenderness.
How To Make Ribs On A Charcoal Grill?
Making ribs on a charcoal grill involves slow cooking with indirect heat and wood smoke, transforming tough cuts into wonderfully tender, flavorful meat.
You will achieve a delicious bark and moist interior by controlling your grill’s temperature and using a tested method like the 3-2-1 approach.
Why Charcoal Grilling Ribs?
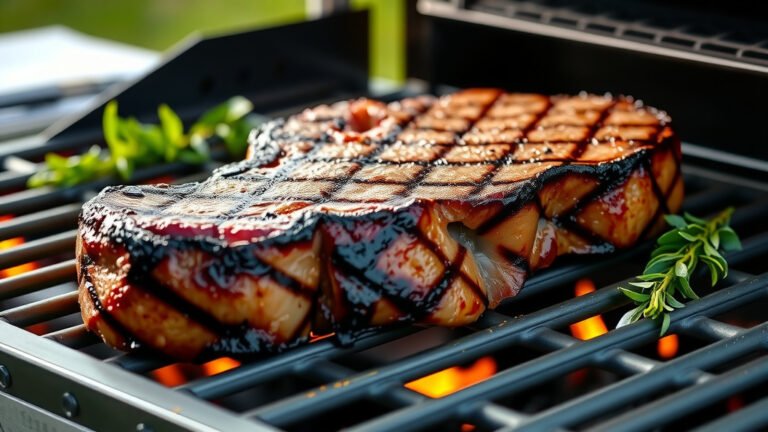
Grilling ribs with charcoal brings a special depth of flavor that gas grills often miss. You get that authentic smoky taste people crave.
Many grill masters agree that charcoal creates a unique char and crust, making your ribs truly stand out (BBQ Institute).
Choosing Your Ribs: What Type Works Best?
Your rib choice sets the stage for your grilling success. We found that baby back and spare ribs are the top contenders.
Each type offers a different cooking experience and final texture, so picking the right one matters for your preference.
Baby Back Ribs Explained
Baby back ribs come from the loin section and are shorter, leaner, and more curved. They cook faster than spare ribs.
These ribs are generally very tender with less fat, perfect if you prefer a meatier, smaller portion.
Spare Ribs: The Bigger Cut
Spare ribs are cut from the belly section, just below the loin. They are larger, flatter, and contain more fat and connective tissue.
This extra fat translates to more flavor and moisture when cooked low and slow, often preferred for a richer taste.
Essential Tools for Rib Perfection
Having the right gear makes your rib cooking much easier and more enjoyable. You’ll want these items ready before you begin:
- A reliable charcoal grill (kettle or smoker style)
- Good quality lump charcoal or briquettes
- Wood chunks for smoke (hickory, apple, or cherry)
- Long-handled tongs and a sturdy spatula
- Aluminum foil and a spray bottle for apple cider vinegar
- An accurate meat thermometer
- A sharp boning knife for trimming
- Heat-resistant gloves for handling hot items
Preparing Your Ribs: The First Steps
Proper preparation is a game-changer for tender, delicious ribs. Don’t skip these simple but crucial initial steps.
You want your ribs ready to absorb all that smoky flavor and cook evenly on the grill.
The Membrane Removal Secret
The thin membrane on the back of the ribs can become tough and chewy when cooked. You need to remove it.
Simply slide a butter knife under a corner, lift it, and then grip with a paper towel to pull the membrane off cleanly.
Trimming for Even Cooking
Trimming your ribs means squaring them up. This helps them fit better on the grill and cook more uniformly.
Cut off any loose, thin pieces of meat or excess fat; these often just burn and don’t add much to the final product.
The Power of a Good Rub
A dry rub is your ribs’ flavor foundation. It creates a delicious bark and infuses the meat with spices.
Apply your favorite rub generously, ensuring all surfaces are coated, then let it sit for at least 30 minutes, or even overnight in the fridge.
Setting Up Your Charcoal Grill for Ribs
The way you set up your grill controls the cooking temperature and smoke distribution. This is where indirect heat comes in.
Achieving a consistent, low temperature is key to tender ribs, not burnt ones.
Indirect Heat Explained
For ribs, you want indirect heat. This means placing charcoal on one side of the grill and the ribs on the other, away from direct flame.
This setup allows the ribs to cook slowly through ambient heat, similar to an oven, but with added smoke from the charcoal.
Maintaining Grill Temperature
Aim for a grill temperature between 225-250°F for ribs. You control this by adjusting your bottom and top air vents.
A partially open bottom vent feeds oxygen to the coals, while the top vent lets heat and smoke escape, helping maintain stable temperatures (Weber Grill Guide).
The 3-2-1 Method: A Rib Classic
Many experts consider the 3-2-1 method the go-to for incredibly tender spare ribs. It breaks the cook into three distinct phases.
You can adjust this to 2-2-1 for leaner baby back ribs, which cook faster due to their size.
| Phase | Duration | Description |
|---|---|---|
| 1 (Smoke) | 3 hours | Ribs on indirect heat with wood chunks, uncovered. Develops smoke ring and bark. |
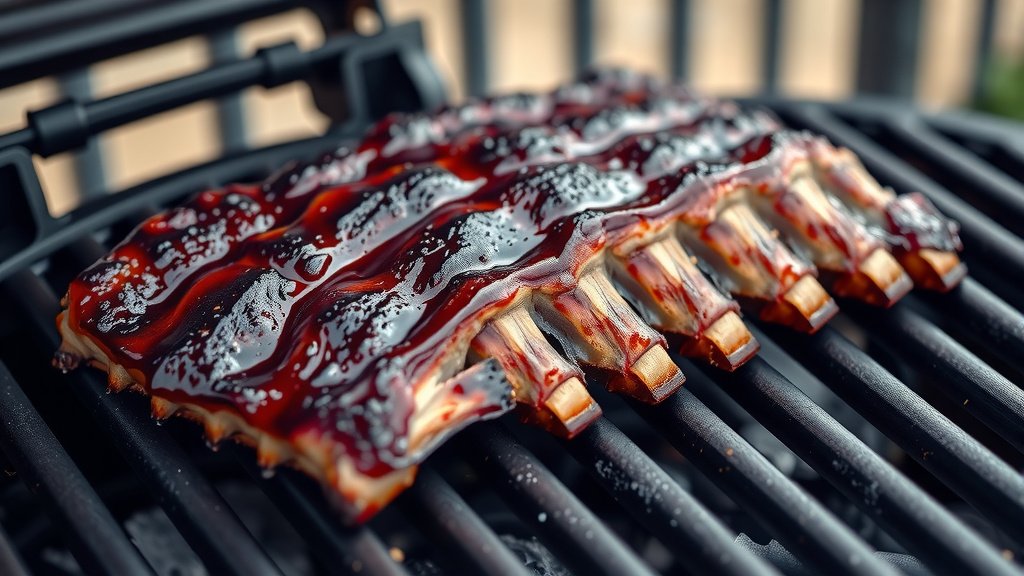
| 2 (Wrap) | 2 hours | Ribs wrapped tightly in foil (with liquid like apple juice or cider vinegar). Tenderizes the meat significantly. |
| 3 (Sauce/Bark) | 1 hour | Ribs unwrapped, back on indirect heat. Apply BBQ sauce if desired. Firms up bark and glazes the sauce. |
Smoking Woods for Flavor
Adding wood chunks to your charcoal creates that signature smoky flavor. Different woods offer distinct profiles.
You can experiment to find your favorite, but a mix often provides a balanced and complex taste:
- Hickory: Strong, traditional BBQ flavor.
- Apple: Milder, fruity, and sweet; great for pork.
- Cherry: Sweet, mild, with a beautiful reddish tint to the meat.
- Oak: Medium intensity, versatile, and popular.
When Are Ribs Done? Don’t Guess!
Knowing when your ribs are perfectly cooked is crucial. You want them tender but not falling off the bone completely, which means they are overcooked.
A good test ensures you don’t serve tough or mushy ribs.
The Bend Test
Pick up one end of a rack of ribs with tongs. If the rack bends significantly and the meat cracks on the surface, they are likely done.
This shows the connective tissue has broken down, creating that desired tender texture.
The Probe Test
Another reliable method involves using a meat thermometer or a skewer. It should slide into the meat between the bones with very little resistance.
You’re looking for a texture similar to that of soft butter, not a struggle to insert the probe.
Resting Your Ribs: A Must-Do Step
After all that cooking, it’s tempting to dig right in. But resting your ribs is a non-negotiable step for the best results.
This allows the juices to redistribute throughout the meat, resulting in maximum tenderness and moisture.
Wrap the cooked ribs loosely in foil and let them rest for 15-20 minutes before slicing. You’ll thank yourself for the patience.
Conclusion
Making ribs on a charcoal grill might seem like a project, but it’s a truly rewarding experience when you taste the results. By choosing the right ribs, prepping them well, and controlling your grill’s temperature, you’re set for success.
Following methods like the 3-2-1 ensures tender, smoky ribs every time. You’re not just cooking; you’re crafting a meal that brings people together and delivers amazing flavor.
How do I keep my charcoal grill at a consistent low temperature for ribs?
To keep your charcoal grill at a low temperature (225-250°F), arrange coals for indirect heat and use both your bottom and top vents to control airflow. A mostly closed bottom vent starves the coals of oxygen, lowering the temperature, while the top vent helps regulate overall heat flow.
Can I use liquid smoke instead of wood chunks?
While liquid smoke can add a smoky flavor, it won’t replicate the depth and aroma achieved from burning wood chunks. Many grill enthusiasts prefer genuine wood smoke for its complex profile and the “smoke ring” it creates on the meat.
What kind of charcoal is best for grilling ribs?
For ribs, many recommend natural lump charcoal because it burns hotter and cleaner, offering a more pure smoke flavor. Briquettes can also work well, especially if you need a longer, more consistent burn, but ensure they are all-natural without added chemicals.
Do I really need to remove the membrane from the back of the ribs?
Yes, removing the membrane is strongly recommended. It becomes tough and rubbery when cooked, creating a barrier that prevents your rub and smoke from fully flavoring the meat. It’s a small step that makes a big difference in tenderness and enjoyment.
How long should I let my ribs rest after cooking?
You should let your ribs rest for at least 15 to 20 minutes after taking them off the grill. This resting period allows the juices within the meat to redistribute, ensuring each bite is moist and tender instead of dry.