
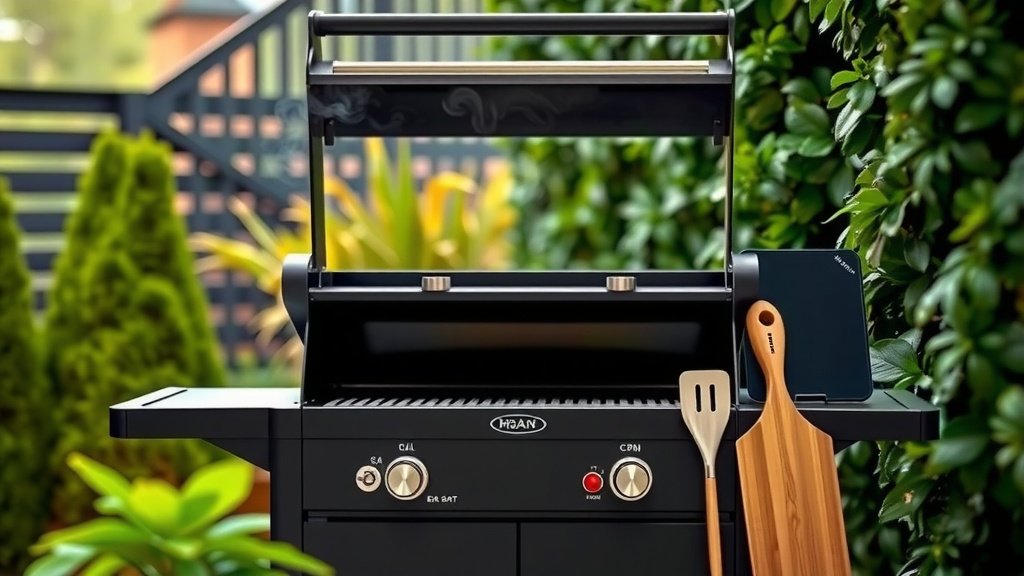
Turning a BBQ grill involves understanding its specific type, whether it’s gas, charcoal, or electric, and then following the manufacturer’s safety guidelines for ignition and shutdown. Always ensure proper ventilation and check for leaks if using propane or natural gas.
You can turn on your BBQ grill by preparing it for ignition, safely lighting the burners (for gas) or coals (for charcoal), and then allowing it to preheat to your desired cooking temperature.
TL;DR: How to Turn On Your BBQ Grill
- Identify your grill type (gas, charcoal, electric).
- For gas, connect the tank, open the valve, and ignite burners one by one.
- For charcoal, arrange coals, add starter, and light carefully.
- For electric, plug in and set the temperature.
- Always prioritize safety, ventilation, and preheating.
How Turn BBQ Grill?
Turning on your BBQ grill is a simple task once you know the right steps for your specific grill type. This guide helps you get started safely and effectively, ensuring your grilling experience is both delicious and worry-free.
Understanding Your Grill Type
Before anything else, you need to know what kind of grill you have. Is it a gas grill with propane or natural gas? Maybe it’s a classic charcoal kettle, or perhaps a modern electric unit. Each type has a slightly different startup procedure, so let’s break them down.
Gas Grills: Propane or Natural Gas
Gas grills are popular for their convenience and quick heating. You get instant flame and easy temperature control. They typically run on either a refillable propane tank or a natural gas line connected to your home.
Charcoal Grills: The Classic Choice
For many grill masters, charcoal is the only way to go. It offers that smoky flavor and intense heat. Lighting charcoal requires a bit more patience, but the results are often worth the effort, creating a unique taste profile.
Electric Grills: Simple and Convenient
Electric grills are fantastic for small spaces, balconies, or areas where open flames are restricted. They plug into an outlet and heat up quickly. You don’t deal with gas tanks or charcoal mess, making them very user-friendly.
Turning On a Gas Grill: Step-by-Step
Lighting a gas grill is straightforward. Always follow these steps for safety and efficiency. This process applies to most propane or natural gas models, though variations can occur between brands.
Propane Tank Connection and Checks
First, make sure your propane tank is securely connected. Check the hose for any kinks or damage. Many experts suggest a quick soapy water test on connections to spot tiny leaks; if bubbles appear, you have a leak (Consumer Product Safety Commission).
Opening the Gas Valve
Slowly turn the gas valve on your tank counter-clockwise until it’s fully open. This ensures a steady flow of gas to your burners. Opening it too fast can sometimes trigger safety features that restrict gas flow.
Igniting the Burners
Open your grill lid before lighting any burners. This prevents gas from building up inside, which can cause a flash. Start with one burner, usually labeled “Ignition,” and turn it to high. Press your igniter button immediately. Once lit, you can turn on other burners.
If your igniter doesn’t work, you can use a long match or lighter. Carefully reach through the cooking grates to the burner. Many grill manufacturers design a specific lighting hole for this purpose. Always be careful with open flames.
Preheating for Optimal Results
Once your burners are lit, close the lid and let the grill preheat. Aim for about 10-15 minutes to reach temperatures between 400-500°F (200-260°C). This burns off any residue and ensures even cooking. We find that a good preheat prevents food from sticking.
Turning On a Charcoal Grill: The Flavor Journey
Charcoal grilling is an art form. Getting those coals just right takes a bit more effort, but the smoky goodness is truly unmatched. There are a few popular methods for lighting charcoal.
Arranging Your Coals
Start by arranging your charcoal. A charcoal chimney starter is widely recommended. Fill it with briquettes or lump charcoal. If you don’t have one, pile your coals into a pyramid shape in the center of your grill’s charcoal grate.
Using a Chimney Starter
Place crumpled newspaper or a fire starter cube beneath your chimney. Light the paper or cube. The chimney design funnels heat, getting coals hot quickly and evenly. In about 15-20 minutes, you’ll see glowing red coals at the bottom and ash forming on top (Weber Grills).
Other Lighting Methods
If you don’t have a chimney, you can use lighter fluid. Spray it evenly over the charcoal pile, wait about 30 seconds for it to soak in, then light. Never add lighter fluid to already burning coals. Electric starters are another clean, flameless option; they heat the coals until they ignite.
Spreading the Coals and Preheating
Once coals are mostly ash-covered, carefully spread them out using long-handled tongs. You can arrange them for direct or indirect heat, depending on what you’re cooking. Put the cooking grate back on, close the lid, and let it preheat for 5-10 minutes. This helps burn off any ash and gets the grates hot.
Turning On an Electric Grill: Plug and Play
Electric grills are all about ease. There’s no gas to connect or coals to light. You just plug it in and set your temperature.
Placement and Power Connection
Place your electric grill on a stable, heat-resistant surface. Make sure it’s near an outdoor GFCI outlet. Plug it in firmly. Many experts recommend avoiding extension cords if possible, or using a heavy-duty outdoor-rated cord if necessary to prevent power issues (UL Standards).
Setting the Temperature
Most electric grills have a simple dial or digital control. Turn the dial to your desired temperature setting. You’ll usually see an indicator light come on, telling you it’s heating up. We found that electric grills often reach cooking temperature faster than charcoal but can take a few minutes longer than gas.
Preheating and Ready-to-Cook
Allow your electric grill to preheat fully. The indicator light might turn off or change color when it’s ready. This ensures your grates are hot enough to sear and cook food effectively. This process usually takes 5-10 minutes, depending on the model.
Safety First: Essential Tips
No matter what type of grill you have, safety is always your top priority. A bit of caution goes a long way in preventing accidents and ensuring a great time.
| Grill Type | Key Safety Tip | Common Pitfall to Avoid |
|---|---|---|
| Gas Grill | Always open lid before lighting burners. | Lighting burners with the lid closed. |
| Charcoal Grill | Never add lighter fluid to hot coals. | Using lighter fluid as a fire accelerant during cooking. |
| Electric Grill | Use a GFCI outlet and avoid flimsy extension cords. | Plugging into an overloaded circuit or non-rated extension. |
Here’s a quick checklist to help you maintain safety around your BBQ grill:
- Keep your grill clean; built-up grease can cause flare-ups.
- Place the grill on a stable, level surface away from flammable materials.
- Have a fire extinguisher or a bucket of sand nearby.
- Never leave a lit grill unattended, even for a moment.
- Keep children and pets a safe distance from the grill.
Troubleshooting Common Startup Issues
Sometimes, your grill might not light on the first try. Don’t worry, it happens! Here are a few common issues and quick fixes. Most of these are simple checks you can do yourself.
Gas Grill Not Lighting?
Check your propane tank. Is it full? Is the valve fully open? Sometimes, opening the tank valve too quickly can engage a safety device, reducing gas flow. Try turning the tank valve off, waiting 30 seconds, then slowly reopening it. Also, check igniter batteries if your grill uses them.
Charcoal Not Igniting?
Are your coals getting enough air? Charcoal needs oxygen to burn. Make sure your grill’s bottom vents are open. If using a chimney, ensure enough newspaper or fire starter is beneath. Sometimes, coals can get damp, making them harder to light.
Electric Grill Not Heating?
Ensure it’s firmly plugged into a working outlet. Check your home’s circuit breaker to see if it’s tripped. Sometimes, the temperature dial might be set too low, or the grill needs a few extra minutes to warm up fully. We found that cold weather can sometimes slow down electric grill heating.
Conclusion
Turning on your BBQ grill is the first step to enjoying delicious outdoor meals. Whether you prefer the convenience of gas, the smoky flavor of charcoal, or the simplicity of electric, understanding your grill and following safe startup procedures are key. Remember to always prioritize safety, preheat your grill, and enjoy the process of cooking your favorite foods.
FAQ: Is it better to light all burners at once on a gas grill?
No, it’s generally better to light one burner first, typically the one with the igniter, and then turn on the other burners sequentially. This ensures proper ignition and prevents a buildup of gas, which could be dangerous.
FAQ: How long should I let charcoal burn before cooking?
You should let charcoal burn until most of the briquettes are covered in a light gray ash. This usually takes about 15-20 minutes in a chimney starter or 25-30 minutes if lighting directly in the grill. Ash-covered coals indicate they are hot and ready.
FAQ: Can I use an electric grill indoors?
Many electric grills are designed for indoor and outdoor use. Always check your specific model’s manual to confirm. If designed for indoor use, ensure proper ventilation, especially if cooking fatty foods that can create smoke.
FAQ: What’s the best way to clean my grill before turning it on?
Before turning on your grill, use a sturdy wire brush to scrape off any leftover food particles or grease from the grates. This helps prevent sticking and flare-ups. Many experts suggest doing this when the grates are slightly warm, as residue comes off more easily.
FAQ: Should I oil my grill grates before cooking?
Yes, it’s a good practice to lightly oil your grill grates after they’ve preheated and before adding food. Use a high smoke point oil, like vegetable or grapeseed, applied with a paper towel held by tongs. This helps prevent food from sticking.
