
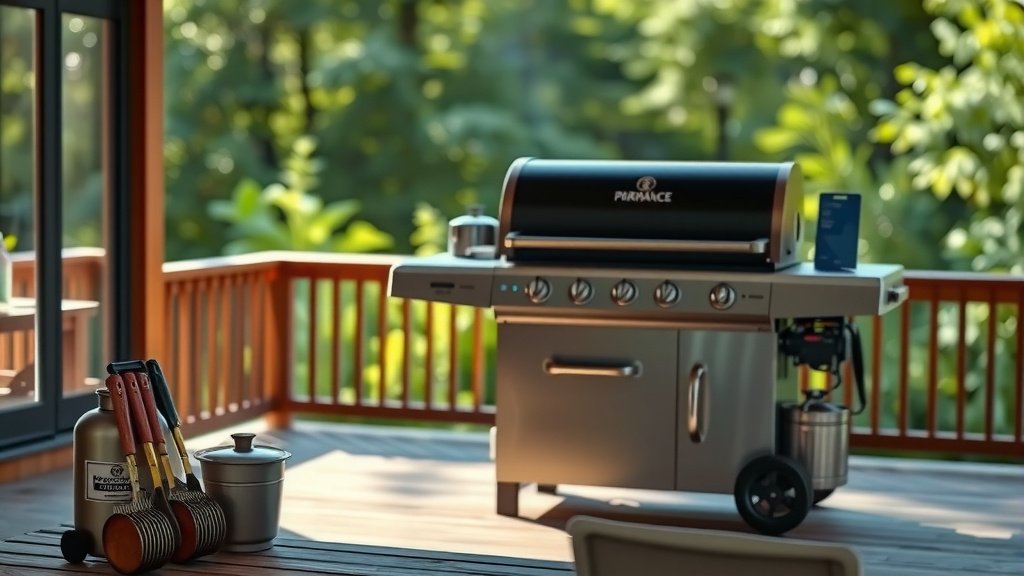
To use a propane gas grill safely and effectively, first ensure your propane tank is securely connected and checked for leaks with soapy water. Then, open the tank valve slowly, turn on a burner to high, and press the igniter button until the flame lights.
Once lit, close the lid and allow the grill to preheat to your desired temperature before placing food on the grates, typically for 10-15 minutes.
Here’s a quick overview of how to get the best out of your propane grill:
- Always check for leaks before lighting.
- Preheat your grill thoroughly for even cooking.
- Understand direct and indirect heat zones.
- Clean your grates after each use for longevity.
- Store your propane tank correctly to keep everyone safe.
How To Use Propane Gas Grill?
Using a propane gas grill involves simple steps from setup to cooking, primarily focusing on safety and heat control for delicious results.
Safety First: Your Top Priority
Before you even think about lighting a flame, safety must come first. Many experts say that a quick safety check can prevent serious issues. You wouldn’t drive a car without checking the oil, right? Your grill deserves the same care.
Choosing the Right Spot
Find a safe place for your grill. It should be on a level, non-combustible surface. Keep it well away from anything that can catch fire, like house walls, fences, or overhanging branches. We found that a distance of at least ten feet is a good rule of thumb (National Fire Protection Association).
Checking for Leaks
This step is non-negotiable. Even a tiny leak can turn a fun cookout into a scary situation. Luckily, it’s super easy to do.
Getting Started: What You’ll Need
You’re ready to grill, but do you have everything? A little preparation goes a long way. Make sure your grill is clean from its last adventure and that your propane tank is full.
Connecting the Propane Tank
First, make sure all burner knobs on your grill are in the “off” position. Align the tank valve with the regulator on your grill. Thread the coupling nut clockwise onto the tank valve. Tighten it by hand as much as you can. No need for a wrench here; overtightening can cause problems, we found.
The Leak Test: A Must-Do Step
Now, for that crucial leak test. Grab a spray bottle or a small bowl of soapy water. Mix about one part dish soap with one part water. Open the main valve on your propane tank slowly, all the way.
Spray or brush the soapy water onto the regulator and hose connections. If you see bubbles forming, that means you have a leak. Turn off the tank valve immediately. Do not attempt to light the grill. Tighten the connection or replace the faulty part.
Igniting Your Grill: The First Spark
Once you’ve confirmed no leaks, it’s time to fire up your grill. This is often the most exciting part, where the magic begins!
Lighting Your Burners
With the tank valve open, turn one burner knob to the “high” position. Then, press the igniter button. You should hear a clicking sound and see the burner light up. If it doesn’t light after a few tries, turn the burner off and wait a few minutes before trying again. Some experts suggest trying a different burner if one doesn’t light initially.
Manual Ignition (Just in Case)
What if the igniter fails? Don’t fret! Many grills come with a manual ignition hole. Use a long BBQ lighter or a match in a holder. Turn on one burner to “high,” then carefully light it through the hole. Once that burner is lit, you can turn on other burners as usual.
Preheating: The Secret to Great Grilling
You wouldn’t bake cookies in a cold oven, right? Grilling is no different. Preheating is essential for even cooking and those beautiful sear marks.
Getting to Temperature
After lighting your burners, close the grill lid. Allow your grill to preheat for 10-15 minutes. This lets the grates get hot enough to cook food properly and kill any lingering bacteria (USDA guidelines). Aim for these general temperatures:
| Cooking Type | Target Temperature | Preheat Time |
|---|---|---|
| Searing Steaks | 450-550°F (232-288°C) | 10-15 minutes |
| Grilling Chicken/Fish | 350-450°F (177-232°C) | 10-15 minutes |
| Slow Roasting | 250-350°F (121-177°C) | 5-10 minutes |
Grilling Techniques You’ll Love
Once your grill is hot, it’s time to cook! Knowing a few basic techniques will elevate your grilling game.
Direct vs. Indirect Heat
Direct heat is for foods that cook quickly, like burgers, hot dogs, and thinner cuts of steak. This means cooking directly over the lit burners. Indirect heat is for larger cuts or delicate items that need longer, gentler cooking, like whole chickens or roasts. For indirect cooking, you light burners on one side and place the food on the unlit side.
Controlling Grill Temperature
You’re the boss of the heat. Use the burner knobs to adjust the flame size, which changes the temperature. Keep the lid closed as much as possible to maintain consistent heat, especially for indirect cooking. Opening the lid frequently lets heat escape, making cooking times longer.
When to Flip Your Food
Patience is a virtue in grilling. Many experts agree that you should only flip food once per side. Look for visual cues: for steaks or burgers, you’ll see juices pooling on top, or a nice crust forming on the bottom. Don’t rush it; letting food sit helps it develop flavor and those coveted grill marks.
Cleaning Up: Keeping Your Grill Ready
The cooking is done, but your job isn’t quite finished. A clean grill is a happy grill, and it ensures your next cookout is just as good.
Post-Grill Cleaning Routine
After you remove the food, turn the burners to high for about 10-15 minutes with the lid closed. This will burn off most of the food residue. Then, use a stiff wire brush to scrape the grates clean. Many grill masters suggest doing this while the grill is still warm.
Emptying the Grease Tray
Don’t forget the grease tray! Allowing grease to build up is a fire hazard. After the grill cools, remove and clean the grease tray or drip pan regularly. This simple act keeps your grill safer and cleaner.
Storing Your Propane Tank Safely
Proper storage of your propane tank is just as important as safe usage. Think of it as putting your grill to bed.
Disconnecting the Tank
When you’re finished grilling and the tank is off, it’s a good idea to disconnect it, especially if the grill won’t be used for a while. Turn the valve clockwise until it’s tight. Then, unscrew the coupling nut from the regulator by turning it counter-clockwise.
Where to Keep Your Tank
Store your propane tank upright in a cool, dry, and well-ventilated outdoor area. Never store it indoors, in a garage, or in direct sunlight. Research found that heat can increase pressure inside the tank, which is something you want to avoid.
Common Propane Grill Hiccups (And Fixes!)
Even seasoned grillers run into snags. Here are a few common issues and quick ways to handle them.
- Grill won’t light: Check your propane tank level. Is the valve fully open? Is the igniter sparking? Try manual ignition.
- Low flame: You might have a “bypass” problem, where the tank’s safety feature activates. Turn everything off, disconnect the tank, wait a minute, and reconnect slowly.
- Uneven heating: Clean the burner ports. Food debris can block the gas flow.
Your Propane Grill Checklist
Before you start your grill, a quick mental check can save you headaches. It’s like a pilot’s pre-flight routine!
- Is the propane tank full and valve open?
- Are all connections tight and leak-free?
- Are burner knobs in the OFF position before connecting?
- Is the grill placed safely away from combustibles?
- Are the grates clean from the last use?
Conclusion
Using a propane gas grill is a straightforward and rewarding experience when approached with a focus on safety and proper technique. From securely connecting your tank and performing crucial leak tests to mastering preheating and temperature control, each step builds confidence. Remember to keep your grill clean and store your propane tank responsibly. With these practical tips, you’re well-equipped to enjoy countless delicious meals outdoors, creating memorable moments with every flame.
Frequently Asked Questions
How often should I check my propane grill for leaks?
It’s best practice to perform a leak test with soapy water every time you connect a new propane tank or if you suspect any issues with your existing connections. Regular checks ensure your grilling experience remains safe and worry-free.
Can I use my propane grill in a garage or enclosed area?
No, you should never use a propane grill in an enclosed space like a garage, shed, or indoors. Propane grills produce carbon monoxide, an odorless and colorless gas that can be fatal. Always grill in a well-ventilated outdoor area.
What should I do if my grill flame is yellow instead of blue?
A yellow or orange flame often indicates incomplete combustion, which means your grill isn’t burning propane efficiently. This can be caused by clogged burner ports, a faulty regulator, or sometimes a “bypass” issue with the tank. Cleaning the burner ports is usually the first step, or try resetting the regulator by disconnecting and slowly reconnecting the tank.
How do I know when my propane tank is almost empty?
A simple way to check your propane tank level is to pour hot water down the side of the tank. The metal will feel cool to the touch where the liquid propane is, and warm above that level. You can also purchase a tank gauge for more precise readings.
Is it okay to leave my propane tank attached to the grill between uses?
While many people do leave tanks attached, it’s generally safer to turn off the tank valve after each use, even if you keep it connected. For longer periods of inactivity, or if you’re moving the grill, disconnecting the tank and storing it properly is highly recommended for added safety (Propane Education & Research Council).
