To use a Traeger Pellet Grill, you begin by filling the pellet hopper with wood pellets, plugging it in, and then turning the dial to the “Smoke” setting to initiate the ignition process.
Once the grill ignites and smoke appears, you’ll set your desired cooking temperature, allowing the grill to preheat before carefully placing your food on the grates.
Here’s a quick summary of how to get grilling with your Traeger:
- Fill the hopper with your preferred wood pellets.
- Plug in the grill and power it on.
- Turn the dial to the “Smoke” setting for initial ignition.
- Set your desired cooking temperature once it starts smoking.
- Preheat the grill fully before adding your food.
- Monitor your cook, then perform the shutdown cycle when done.
- Clean up the grill after each use for best performance.
How To Use A Traeger Pellet Grill?
Learning to use a Traeger pellet grill is simpler than you might think. Many users find it a very rewarding experience once you understand the basic steps.
It combines the convenience of gas grilling with the amazing flavor of wood-fired cooking. Let’s walk through it together.
Getting Started with Your Traeger
Before you even think about food, you need to set up your Traeger properly. This ensures safety and the best cooking experience.
Think of it like preparing your kitchen before cooking a big meal. You want everything in its place.
Unboxing and Setup
When you first get your Traeger, take your time with assembly. We found that a careful setup prevents many headaches later on.
Follow the instructions in your manual step-by-step. It’s usually a pretty straightforward process, but worth double-checking every connection.
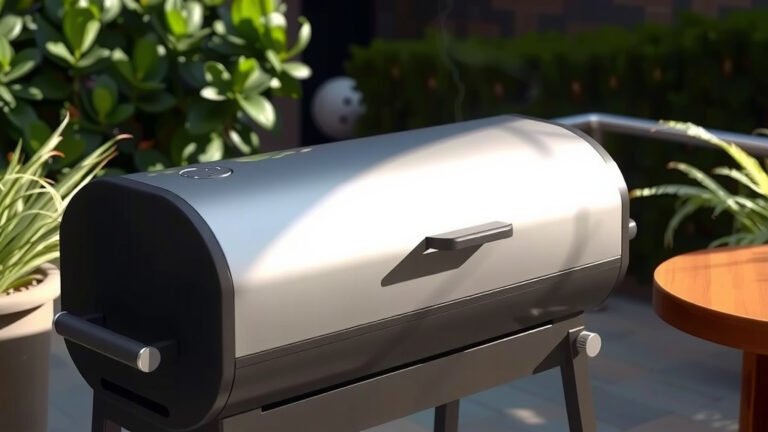
Where to Place Your Grill
Placement matters significantly. Always choose a flat, stable, non-combustible surface for your Traeger.
Keep it away from anything flammable, like curtains or low-hanging tree branches. Many experts say to allow at least 18 inches of clearance around the grill (Traeger Manual).
Fueling Your Flavor Journey
The heart of a Traeger is its wood pellets. These aren’t just any pellets; they’re made from 100% natural hardwood, designed to give your food that distinctive smoky taste.
Choosing the right type is like selecting the perfect spice for a dish.
Choosing the Right Pellets
Different wood pellets impart different flavors. For instance, apple pellets are great for poultry and pork, while hickory adds a stronger, more traditional BBQ flavor.
You can experiment! We found that starting with a mild blend often helps you discover what you like best.
Filling the Pellet Hopper
Open the lid of the hopper on the side of your Traeger. Pour in your chosen wood pellets.
Make sure you have enough for your entire cook, especially for longer smokes. Running out mid-cook can affect your temperature and flavor profile.
The Start-Up Sequence (The “Initial Fire-Up”)
This is where the magic begins! Getting your Traeger to ignite properly is a simple process, but it has specific steps to follow for success.
It’s a bit like turning the key in your car; a specific sequence gets you going.
Plugging In and Powering On
First, plug your Traeger into a grounded electrical outlet. Then, locate the main power switch, usually on the back or side, and flip it to the “on” position.
You should see the digital display light up, ready for your commands.
The “Smoke” Setting: Ignition Explained
Turn the temperature dial to the “Smoke” setting. This unique setting feeds a small amount of pellets into the firepot and ignites them.
You’ll hear the fan and auger working, and after a few minutes, you’ll see white, thin smoke emerging from the chimney.
Mastering Temperature Control
Once your Traeger is smoking, it’s time to take control of the heat. The digital controller makes this part incredibly easy and precise.
It’s like setting your oven, but with the added bonus of wood-fired flavor.
Setting Your Desired Temp
After about 5-10 minutes on the “Smoke” setting and seeing consistent smoke, turn the dial to your desired cooking temperature.
The grill will begin to climb to that temperature, adjusting pellet feed and fan speed to maintain it (Traeger Support).
The Importance of Preheat
Just like your indoor oven, preheating your Traeger is vital. We found that letting it reach the set temperature and stabilize for 10-15 minutes ensures an even cook.
This also helps to burn off any lingering smells from previous cooks and gets the grates hot for searing.
Cooking Like a Pro
Now for the fun part: putting food on the grill! Knowing when and how to add your ingredients will greatly impact your results.
Patience and monitoring are your best friends here.
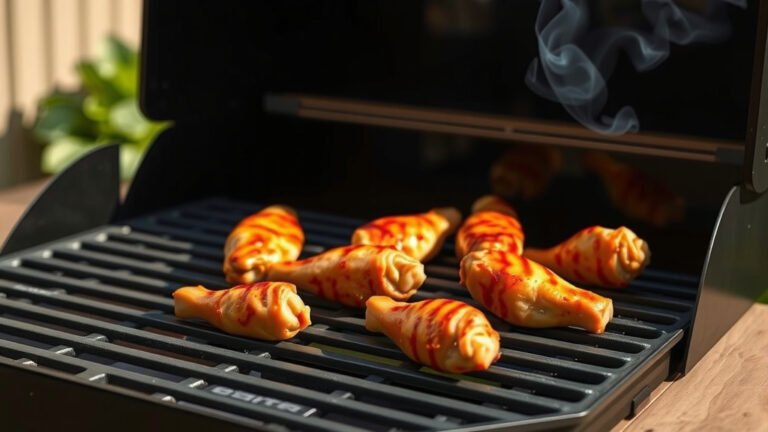
When to Add Your Food
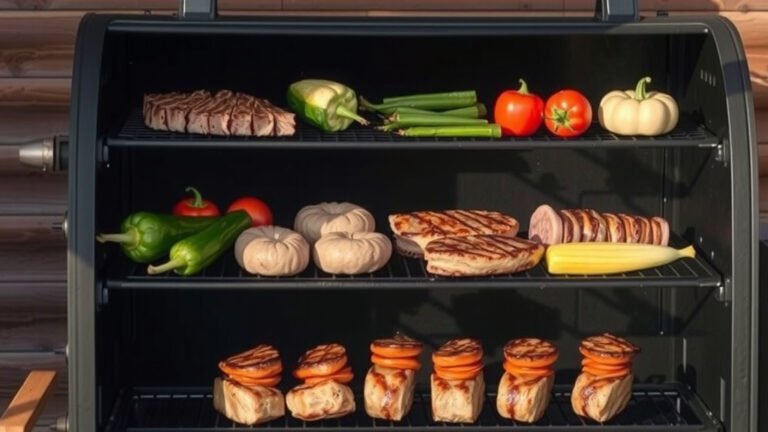
Once your Traeger has fully preheated and is holding a steady temperature, it’s time to add your food.
Arrange your items on the grates, leaving a little space between each for better air circulation and even cooking.
Monitoring Your Cook
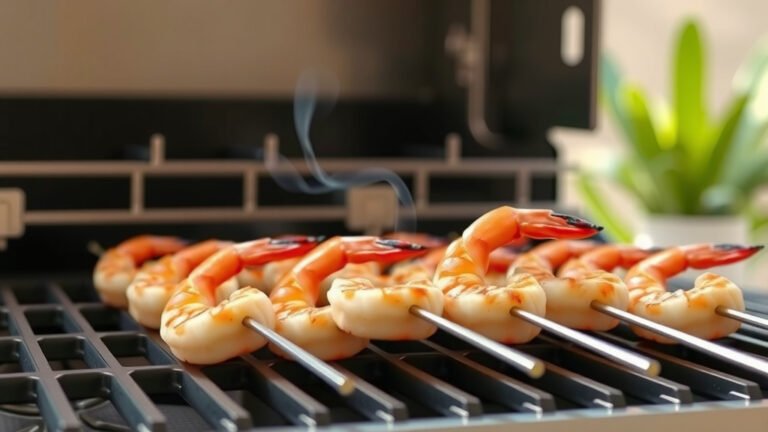
Many Traeger models come with meat probes. Use them! They offer precise internal temperature readings, taking the guesswork out of cooking.
Avoid frequently opening the lid, as this drops the internal temperature and extends cooking times. “If you’re looking, it ain’t cooking!” as the old saying goes.
Here’s a simple guide for some common Traeger cooking temperatures:
| Food Type | Recommended Temp Range | Notes |
|---|---|---|
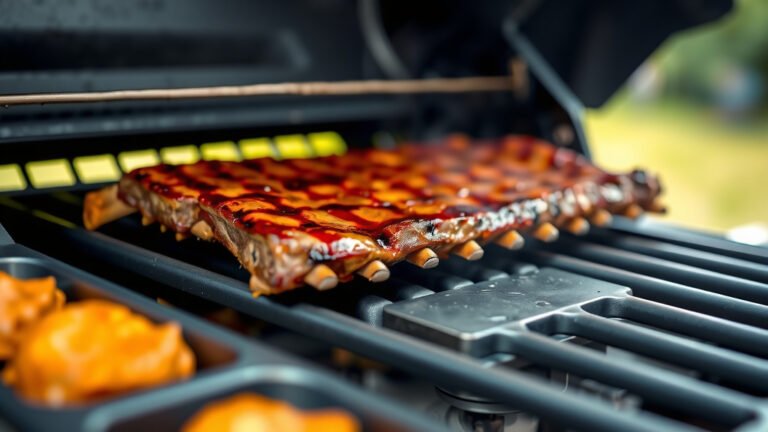
| Smoking Brisket/Pork Butt | 225-275°F (107-135°C) | Low and slow for tenderness. |
| Roasting Chicken/Turkey | 325-375°F (163-190°C) | Higher heat for crispy skin. |
| Grilling Burgers/Steaks | 400-500°F (204-260°C) | Searing temperatures for crust. |
| Baking Pizza/Bread | 350-450°F (177-232°C) | Similar to a conventional oven. |
Safe and Sound Shutdown
After your delicious meal is cooked, proper shutdown is important for safety and the longevity of your grill.
It’s not just about turning it off; there’s a specific process to clear the firepot.
When you finish cooking, simply turn the temperature dial to the “Shut Down Cycle” setting. The grill will run its fan for about 10-15 minutes to burn off any remaining pellets in the firepot.
Once this cycle is complete, the grill will turn off automatically. Then you can flip the main power switch.
Keeping Your Traeger Clean
A clean grill is a happy grill, and it performs better too! Regular maintenance ensures your Traeger lasts for many years.
It also prevents flare-ups and keeps your food tasting great.
Post-Cook Cleanup
After each use, once the grill has cooled, scrape down your grill grates. You can also empty the grease bucket.
We found that using a grill brush works wonders to remove cooked-on residue quickly.
Regular Maintenance Checks
Every few cooks, empty the pellet hopper entirely and vacuum out the ash from the firepot and around the grill bottom.
Many guidelines point to checking your auger and fan for obstructions regularly (Traeger Support).
Pro Tips for Traeger Success
Here are a few extra pointers to make your Traeger experience even better:
- Always use Traeger-brand pellets. They are designed specifically for your grill.
- Keep your pellet hopper lid closed to protect pellets from moisture.
- Invest in a good meat thermometer for accuracy, even if you have probes.
- Allow your grill to reach temperature before putting food on.
- Clean the grates after every cook for easy maintenance.
Here’s a quick pre-cook checklist to get you ready:
- Is the pellet hopper filled?
- Is the grease bucket empty?
- Are the grill grates clean?
- Is there anything blocking the chimney?
- Is the grill plugged into a grounded outlet?
Conclusion
Using a Traeger pellet grill is a fantastic way to enjoy delicious, smoky food with minimal effort. By understanding the basic setup, start-up, cooking, and shutdown procedures, you’re well on your way to becoming a grill master.
Remember, practice makes perfect. Don’t be afraid to experiment with different pellets and recipes. Soon, you’ll be creating incredible meals that your family and friends will rave about. Happy grilling!
FAQs About Using a Traeger Pellet Grill
How long does it take for a Traeger to heat up?
Generally, a Traeger pellet grill takes about 10-15 minutes to reach its set temperature and stabilize, depending on the ambient temperature and how high you set the dial. For best results, allow it to preheat for at least 15 minutes.
Do I need to clean the ash out of my Traeger after every use?
While you don’t need to clean the ash after every single cook, it’s a good practice to vacuum out the ash from the firepot and around the grill bottom every 2-3 cooks, or after any long smoking session. Too much ash can hinder proper airflow and ignition.
Can I use any brand of wood pellets in my Traeger?
Many experts and the manufacturer recommend using only Traeger-brand wood pellets. They are specifically formulated to work optimally with your grill’s auger and firepot system, ensuring consistent heat, smoke production, and preventing potential issues like jams or poor performance.
What is the “Smoke” setting on a Traeger used for?
The “Smoke” setting is used for the initial ignition of your Traeger grill. It feeds a small amount of pellets to start the fire and produce a rich, smoky flavor at a lower temperature, often between 160-200°F (71-93°C). It’s also great for adding extra smoke flavor to foods.
How do I prevent flare-ups on my Traeger?
Flare-ups are less common on Traegers compared to gas grills, but they can still happen, usually from excessive grease buildup. To prevent them, regularly clean your grill grates and empty the grease bucket. Also, ensure your drip tray is free of large debris and lined with foil for easier cleanup.