How To Start A Gas Grill With Ignition?
On this page (8 sections)
To start a gas grill with ignition, first, make sure your propane tank is connected and its valve is open. Then, open your grill’s lid, turn one burner knob to a low setting, and immediately press the igniter button until you hear a whoosh or see the flame.
Always keep the lid open when igniting to prevent gas buildup, which is a key safety measure for starting any gas grill (National Fire Protection Association).
- Getting your gas grill fired up with the igniter is a quick process if you follow a few key steps.
- Always begin by checking your propane tank and opening the lid for safety.
- Then, turn a burner knob and hit that igniter button right away.
- If the igniter fails, don’t worry, there’s a simple manual lighting method too.
- Mastering these basics means you’ll be grilling delicious meals in no time.
How To Start A Gas Grill With Ignition?
Starting your gas grill with the built-in ignition system is usually quite simple and takes only a few moments. It’s about following a specific sequence of actions to ensure safety and success every time you grill.
You might feel a little nervous the first time, but it’s just like turning on a gas stove. With a bit of practice, you’ll be firing up your grill like a seasoned backyard chef.
Why Your Gas Grill Needs An Ignition System
Think of the ignition system as the spark plug for your car. It creates a small spark that lights the gas flowing from your propane tank. This convenience means you don’t need matches or a lighter every time you want to grill, making it much safer and quicker.
Many experts say a reliable igniter system is a mark of a good quality gas grill, offering peace of mind. We found that most modern grills come with this feature built right in for your ease of use.
Safety First: Before You Ignite
Before you even think about lighting that burner, safety must be your top priority. Gas grills involve propane, which is highly flammable. Taking a few seconds to check things can prevent big problems, keeping your family and your grilling setup safe.
Do you always check your car’s oil before a long trip? Think of this as the grilling equivalent. It’s a quick habit that makes a huge difference in your grilling experience.
Your Essential Pre-Ignition Checklist
Taking these small steps helps ensure a smooth, safe start. This quick checklist is your best friend before every grilling session, similar to a pilot doing a pre-flight inspection.
- Is the Lid Open? This is absolutely critical to avoid gas buildup.
- Propane Tank Connected Securely? Tighten it by hand, never overtighten.
- Gas Lines Clear and Undamaged? Look for cracks or fraying.
- No Obstructions in Burner Tubes? Spiderwebs can block gas flow.
- Have a Manual Lighting Backup? Keep long matches or a long lighter nearby.
Understanding Your Grill’s Components
Knowing the basic parts of your gas grill helps you understand how it works and what to do if you encounter issues. It’s not just a big metal box; it’s an intelligent cooking machine. Each component plays a specific role in bringing heat to your food.
The Propane Tank
This is your grill’s fuel source. It contains liquid propane under pressure, which turns into gas as it leaves the tank. Always ensure your tank has enough fuel for your cooking session; running out mid-sear is no fun.
Connecting and Opening the Valve
The tank connects to your grill via a hose. Twist the connector until it’s snug, then turn the main valve on the top of the tank counter-clockwise to open it fully. You’re now letting the gas flow towards your burners.
Burner Control Knobs
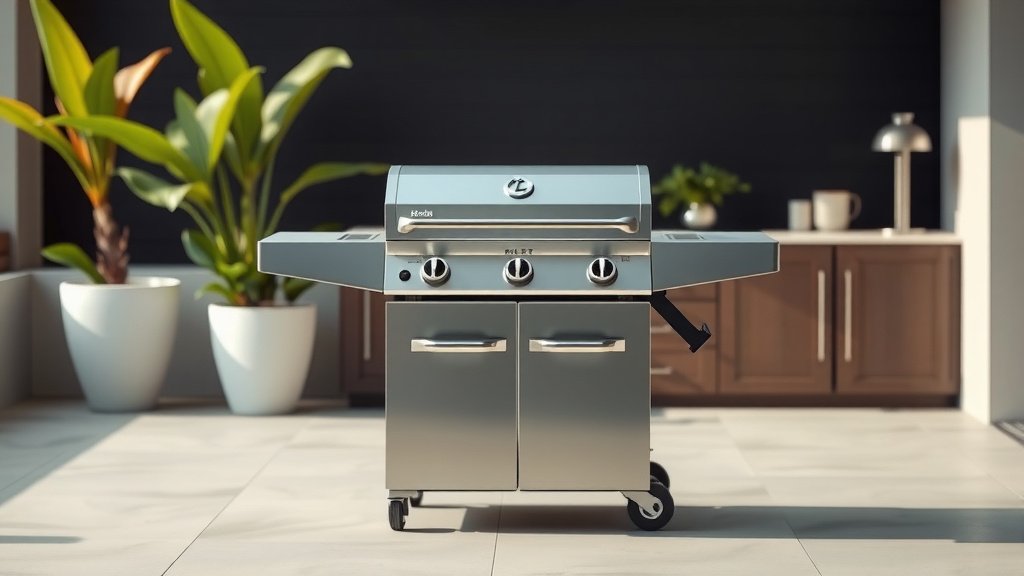
Each knob controls the gas flow to a specific burner. Turning a knob from OFF to a heat setting allows gas into the burner tube. Most grills have at least two or three burners, giving you control over different cooking zones.
The Igniter Button
This button is your magic spark! When pressed, it sends an electrical charge or creates a mechanical spark near the burner. This spark ignites the gas, bringing your grill to life. It’s usually a red or black button located on the control panel.
Step-by-Step: The Ignition Process
Ready to light it up? Follow these steps precisely. This sequence is designed for both efficiency and your safety, based on guidelines from various grill manufacturers (Weber Grills, Char-Broil).
1. Open the Grill Lid
Do this first, always. Leaving the lid closed can cause gas to accumulate, creating a dangerous flash of flame when ignited. An open lid allows any stray gas to dissipate harmlessly.
2. Check Your Propane Tank Connection
Confirm the tank is firmly attached to your grill’s hose. We found that a loose connection is a common reason for ignition failures or weak flames. A quick check here saves frustration later.
3. Open the Propane Tank Gas Valve
Turn the valve on top of your propane tank fully counter-clockwise. You want the gas to have a clear, unrestricted path to your grill’s burners. Think of it as opening the floodgates for flavor!
4. Turn ONE Burner Control Knob to “Low” or “Ignite”
Choose just one burner, typically the one closest to the igniter, and turn its knob. Many experts suggest starting with a low setting to control the initial flame. Don’t turn on all burners yet.
5. Press the Igniter Button Immediately
With the burner knob turned, press and hold the igniter button. You should hear a clicking sound and perhaps a faint “whoosh” as the gas ignites. Hold the button for a few seconds to ensure ignition.
6. Confirm Ignition
Look for a flame in the burner you just turned on. If you see it, great! Your grill is starting. If not, release the igniter, turn off the burner knob, wait a few minutes, and try again, perhaps with a different burner.
What If It Doesn’t Light? Troubleshooting Common Issues
Don’t panic if your grill doesn’t ignite on the first try. It happens! Most issues are minor and easy to fix. We found that a bit of systematic troubleshooting can often resolve these quirks quickly.
Troubleshooting Your Igniter
Sometimes the igniter itself might be the problem. Is it clicking? If not, it could be a battery issue, or perhaps the wire is disconnected. Many experts say checking the battery is your first step for a non-clicking igniter.
We often see that a loose igniter wire is the culprit. Just reattach it firmly. Sometimes, the igniter’s spark electrode just needs a quick clean to work effectively. Grease buildup can prevent a good spark.
Manual Ignition: Your Backup Plan
If the igniter still isn’t cooperating, you can light your grill manually. This is why having a long lighter or matches on hand is so important. Safety guidelines often advise this backup method (Underwriters Laboratories).
| Step | Action | Important Note |
|---|---|---|
| 1 | Open the grill lid completely. | Crucial for safety to prevent gas buildup. |
| 2 | Open propane tank valve. | Ensure gas is flowing to the grill. |
| 3 | Hold a long lighter/match next to burner. | Position it directly over the burner port. |
| 4 | Turn the closest burner knob to “Low”. | Gas should ignite almost instantly. |
| 5 | Remove lighter once lit. | Never leave an open flame unattended. |
Always ignite only one burner at a time. Once the first burner is lit, you can then turn on other burners as needed, and they will usually light from the flame of the adjacent burner.
After Ignition: Getting Ready to Cook
Once your grill is lit, the fun part begins! But before you throw on those steaks, there are a couple more steps. Think of it as warming up a race car before hitting the track – it performs better when properly prepared.
Preheating Your Grill
With the first burner lit, turn on the remaining burners to your desired cooking temperature. Close the lid and let the grill preheat for 10-15 minutes. This ensures a consistent cooking surface and helps burn off any leftover residue.
Adjusting Heat for Cooking
Once preheated, you can adjust the burner knobs to achieve your target temperature. Use your grill’s built-in thermometer or an external thermometer for accuracy. Some dishes need high heat, while others require a gentle touch.
Maintaining Your Ignition System
A little care goes a long way in keeping your ignition system working flawlessly. Regular maintenance prevents those annoying moments when your grill just won’t light. It’s about keeping things clean and functional.
Cleanliness is Key
Grease and food debris can block the igniter’s spark. Regularly clean around the igniter electrode with a wire brush or a damp cloth. We found that many igniter failures are due to simple build-up, not a broken part.
Battery Check
Many electronic igniters are powered by a single AA or AAA battery. If your igniter clicks weakly or not at all, try replacing the battery. This is a quick and cheap fix that often solves the problem immediately.
Conclusion
Starting your gas grill with its ignition system is a straightforward process once you know the steps. Always prioritize safety by checking your propane, opening the lid, and following the correct sequence of turning on gas then sparking. Remember that a bit of regular cleaning and maintenance can keep your igniter sparking reliably for many delicious meals to come. If your igniter ever fails, the manual lighting method is a simple and effective backup. So, fire up that grill and enjoy your outdoor cooking!
How do I know if my propane tank is empty?
You can check the propane level by pouring warm water over the side of the tank and feeling for a cold spot, which indicates the liquid propane level. Alternatively, some tanks have a built-in gauge, or you can weigh the tank (tare weight is usually stamped on it) to estimate remaining fuel.
Can I use a gas grill if the igniter is broken?
Yes, absolutely. If your igniter is broken, you can still start your gas grill safely using a long lighter or long match. Just follow the manual ignition steps: open the lid, turn on the gas, hold the flame near a burner, and then turn on that burner.
Why does my gas grill make a loud whoosh sound when I light it?
A loud “whoosh” sound is usually normal and indicates that the gas is igniting properly. It’s the sound of the propane gas catching fire rapidly. However, if the whoosh is accompanied by an unusually large flare-up, you might have too much gas accumulated, suggesting you should wait a bit longer after opening the lid before igniting.
How often should I clean my grill’s igniter?
We found that cleaning your grill’s igniter about once a month, or every 5-10 uses, can prevent common ignition problems. If you grill very frequently or cook greasy foods often, more frequent cleaning might be beneficial to maintain optimal performance.
What if my gas grill ignites, but the flame is very low or inconsistent?
If your grill ignites but has a low or inconsistent flame, the most common culprit is a partially open propane tank valve or an activated safety feature called the “bypass mode.” Try turning off all burners, closing the tank valve, waiting a minute, then reopening the tank valve slowly and fully before re-igniting your grill.