To reseason a Blackstone Grill, you need to clean the griddle thoroughly, heat it until it smokes, and then apply thin layers of high smoke point oil, wiping excess between layers, until a dark, non-stick surface forms.
Properly reseasoning your Blackstone Griddle ensures its non-stick properties, prevents rust, and protects your investment, giving you years of delicious, evenly cooked meals for your family and friends.
TL;DR: Here’s a quick overview of how to get your Blackstone back in top shape, ready for your next culinary adventure:
- Clean your griddle completely to remove old food, gunk, and rust.
- Heat the griddle to a medium-high temperature until it begins to smoke lightly.
- Apply a very thin layer of high smoke point oil, like flaxseed or avocado oil, across the entire surface.
- Let the oil smoke off completely, then repeat this oiling and smoking process at least 3-5 times.
- Cool it down naturally and store it properly. Your griddle is now ready to create some amazing dishes!
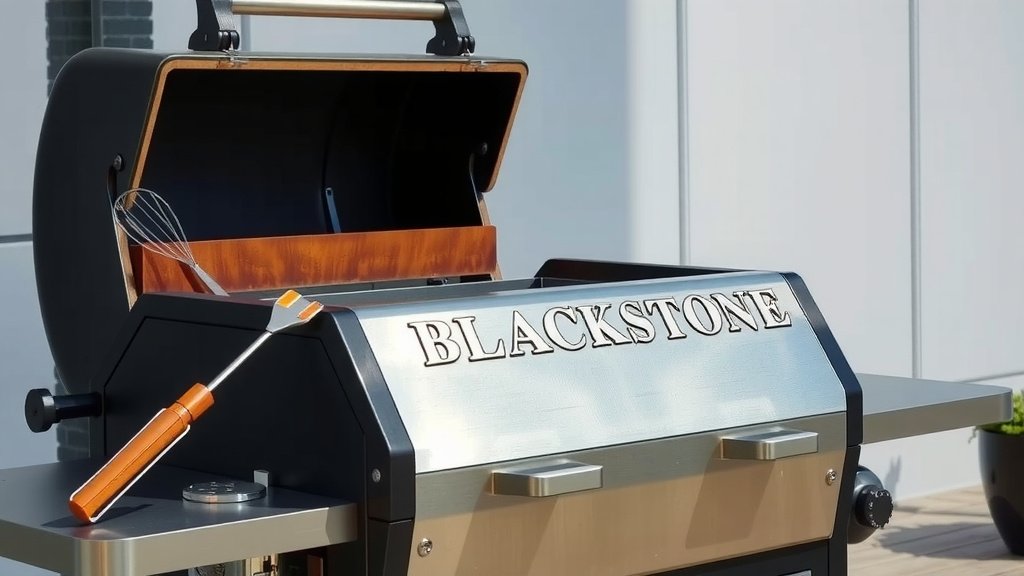
How To Reseason A Blackstone Grill?
Reseasoning your Blackstone Grill means applying new, thin layers of oil and heating them until they polymerize, creating a strong, protective, and non-stick surface.
This process is essential for maintaining the griddle’s top performance and preventing rust, ensuring your outdoor cooking stays enjoyable and hassle-free for years to come.
Understanding Your Griddle’s Seasoning
Think of your griddle’s seasoning like a protective shield or a perfectly seasoned cast iron pan. It keeps food from sticking and wards off rust, making cooking a joy.
Over time, with heavy use and cleaning, this shield can start to wear thin. It’s a normal part of griddle ownership, and it’s easy to fix!
When to Consider Reseasoning
Are you noticing food sticking more than usual to your griddle? Does the cooking surface look dull, uneven, or have light spots where the dark seasoning used to be?
Rust spots, even small ones, also indicate an immediate need for attention. We found that addressing rust early can prevent more extensive damage later on (Cookware Care Guides).
Preparing for Reseasoning Success
Before you jump into the reseasoning process, having all your tools and supplies ready makes the job much smoother. It’s like gathering ingredients before a big recipe.
You’ll likely find most of these items already in your kitchen or garage, making the task quite convenient and straightforward.
Your Essential Tool and Oil List
Here’s what you’ll want to have on standby for a successful reseasoning session:
- Metal scraper or sturdy spatula
- Plenty of paper towels or clean, lint-free cloths
- High smoke point oil (e.g., flaxseed, avocado, grapeseed)
- Water and dish soap (for initial deep cleaning only)
- Griddle cleaning kit (optional, but can be helpful)
- Safety gloves (for heat protection and clean hands)
The Complete Reseasoning Process
Ready to bring your griddle back to life and make it perform like new? Follow these steps carefully, and you’ll be cooking up a storm again in no time. Paying attention to details here pays off!
Many experts say that patience and very thin oil layers are the core secrets to creating a lasting and effective griddle seasoning (Griddle Master Forums).
Clean Off the Old Layers
First things first: we need a clean slate. Remove any old food, built-up grime, or rust. This critical step sets the perfect stage for your new seasoning to bond properly.
Start by scraping off loose debris. For stuck-on bits, add a small amount of water to the warm griddle and scrub with your scraper or a scour pad. For any rust, a mix of vinegar and water can help.
After scrubbing, rinse the griddle well and dry it completely. We found that immediate and thorough drying prevents new rust from taking hold before you even begin seasoning.
Achieve the Right Griddle Temperature
Once your griddle is sparkling clean and dry, turn on your Blackstone. Set the burners to medium-high heat. You’re looking for the entire griddle surface to get nice and hot.
You’ll know it’s ready when you see a slight wisp of smoke, or the griddle surface starts to change color slightly, often getting a darker, uniform appearance across the metal.
Apply Thin Oil Coats
Now for the key step! Pour a small amount of your chosen high smoke point oil onto the hot griddle. Think of a quarter-sized puddle for a larger griddle.
Using a paper towel or a clean cloth, spread this oil evenly across the entire cooking surface, including the edges. Make it incredibly thin – almost like you’re trying to wipe all the oil off the surface.
A thin, even coat is absolutely essential here. Too much oil can lead to a sticky, gummy seasoning that chips easily, which we definitely want to avoid for the best results.
Let Each Layer Polymerize Fully
With that ultra-thin oil layer applied, let the griddle continue heating. You’ll soon see it begin to smoke. This smoking is the oil polymerizing, transforming into that hard, non-stick layer.
Keep the heat on until the griddle stops smoking completely. This process typically takes about 10-15 minutes, depending on your griddle’s heat setting. The surface will likely darken.
Repeat for a Strong Bond
This is where consistency really pays off. After the first layer stops smoking and the griddle darkens, repeat the oil application and smoking process.
Apply another *thin* layer of oil, spread it evenly, and let it smoke off completely. We recommend doing this at least 3-5 times. For maximum durability, some griddle enthusiasts even suggest 7-10 layers. The goal is to build up a deep, dark, even, and non-stick finish.
Cool Down and Protect
Once you’re satisfied with the dark, uniform seasoning you’ve created, turn off all the burners. Let your griddle cool down completely and naturally. It’s best to resist the urge to cool it quickly with water.
Once cool, you can wipe the griddle with another *very light* coat of cooking oil for extra protection before storing it in a dry place, perhaps with a griddle cover to keep it safe.
Quick Checklist Before You Start
- Griddle Cleaned: Is all old gunk, food, and rust completely removed?
- Oil Selected: Is your high smoke point oil ready and within reach?
- Tools Handy: Are your scraper, paper towels, and gloves nearby?
- Ventilation: Is your cooking area well-ventilated to handle the smoke?
- Patience Ready: Are you prepared for multiple thin layers and the waiting time?
Keeping Your Seasoning Pristine
Reseasoning is a fantastic reset for your griddle, but good everyday care keeps that seasoning strong and effective. A little attention after each cook goes a very long way.
Think of it as preventative medicine for your griddle; consistent, simple steps can prolong its life and performance. Many guidelines point to simple post-cook cleaning as a good first step (Outdoor Cooking Experts).
After-Cook Care Tips
After cooking, while the griddle is still warm, scrape off any food bits. Add a bit of water to the warm surface and scrape again. This helps lift stuck-on residue without harsh chemicals.
Wipe the griddle dry with paper towels. You might finish with a *very thin* wipe of cooking oil to replenish any used seasoning and protect it until next time. Avoid using harsh soaps for daily cleaning, as they can strip your hard-earned seasoning.
Choosing the Right Oils
The best oils for seasoning have a high smoke point. These oils polymerize well under heat, forming a durable and long-lasting coating on your griddle surface.
| Oil Type | Smoke Point (approx.) | Notes for Seasoning |
|---|---|---|
| Avocado Oil | 520°F | Excellent choice, very high smoke point, durable. |
| Grapeseed Oil | 420°F | Great all-rounder, popular and effective option. |
| Flaxseed Oil | 225°F | Lower smoke point, but forms a very tough polymer. Use extremely thinly. |
| Canola Oil | 400°F | Widely available, economical, and works well. |
What to Steer Clear Of
Stay away from oils like olive oil or butter for seasoning your griddle. Their low smoke points mean they burn easily, often leaving a sticky, gummy residue instead of a hard, protective layer.
Also, skip abrasive cleaners or steel wool for regular cleaning. These can quickly strip away your hard-earned seasoning, unfortunately sending you right back to square one with your griddle.
Conclusion
Reseasoning your Blackstone Grill isn’t just a chore; it’s an investment in countless delicious meals, happy family gatherings, and enjoyable outdoor cooking experiences. It’s about restoring that smooth, non-stick surface you love and depend on.
By carefully following these clear steps, from deep cleaning to meticulously layering oil, you can bring your griddle back to its prime performance. A well-seasoned griddle truly makes all the difference for a fantastic cooking experience every time. Keep it oiled, keep it clean, and keep on creating amazing food!
FAQ: My griddle is sticky after seasoning. What went wrong?
If your griddle feels sticky, it usually means you applied too much oil in each layer, or you didn’t let each layer smoke off completely during the heating process. The oil didn’t fully polymerize and harden. You can try to scrub off the sticky layer with a bit of salt and oil, then re-season the area with much thinner coats of oil.
FAQ: How often should I reseason my Blackstone?
The frequency depends on how often you use your griddle and how you clean it. For regular users, a light re-seasoning or touch-up might be needed every few months, or whenever you notice food sticking, dull spots, or uneven cooking. A full re-seasoning is always necessary after rust removal.
FAQ: Can I use cooking spray to season my griddle?
While convenient, cooking sprays often contain additives like propellants and emulsifiers that can sometimes create a sticky or uneven seasoning layer. It’s generally better to use pure, high smoke point oils applied with a cloth for the best results and a more durable, long-lasting seasoning on your griddle.
FAQ: What if my griddle smokes a lot during seasoning? Is that normal?
Yes, absolutely! The smoking is a normal and important part of the seasoning process. It means the oil is reaching its smoke point and polymerizing, transforming into that protective, non-stick surface. Just ensure you have good ventilation in your cooking area to manage the smoke effectively.
FAQ: Do I need to clean my griddle with soap every time I reseason?
You only need to use soap if you are doing a deep clean, especially to remove stubborn food residues or rust. For routine re-seasoning or maintenance, simply scraping off debris and wiping the griddle dry is usually enough. Many experts agree that avoiding soap for general cleaning helps preserve your griddle’s seasoning (Grill Maintenance Manuals).