To make ribs on the grill gas, set up your grill for indirect heat, maintaining a consistent temperature around 250-275°F (120-135°C).
Cook the ribs using a modified 3-2-1 method, starting with 2-3 hours of indirect grilling, followed by wrapping them in foil for 1-2 hours, and finishing with 30-60 minutes unwrapped.
- Get meaty ribs, such as baby back or spare ribs.
- Always remove the tough membrane from the back of the ribs.
- Use a flavorful dry rub before cooking to build flavor.
- Set your gas grill for two-zone cooking and low, indirect heat.
- Cook low and slow for truly tender, juicy ribs.
- Let your cooked ribs rest briefly before slicing.
How To Make Ribs On The Grill Gas?
Making ribs on a gas grill involves balancing consistent, low heat with moisture. You will aim for smoky flavor and fall-off-the-bone tenderness, even without a dedicated smoker.
Choosing Your Ribs Wisely
The type of ribs you pick makes a difference. We found that baby back ribs are leaner and cook faster. Spare ribs have more meat and fat, needing longer cook times. Pick what suits your taste.
Look for racks that are meaty, with good marbling. A good rack of ribs feels substantial. Avoid those with visible bone fragments or too much loose fat.
Prepping Your Ribs for Success
Preparation is key for great ribs. You want to give your ribs the best start. This means a few simple but important steps.
First, always remove the membrane on the bone side of the ribs. This thin, silver-colored layer gets tough when cooked. You can loosen it with a knife and peel it off with a paper towel for grip.
Next, trim any large, hanging pieces of fat. Some fat is good for flavor, but excessive amounts can cause flare-ups or become chewy. Keep a clean, even rack.
Then, apply your dry rub. This seasoning blend creates a flavorful crust. Don’t be shy; cover all surfaces generously. Many experts say to let the rub sit on the ribs for at least 30 minutes, or even overnight in the fridge.
Your Dry Rub Essentials
- Brown Sugar (for sweetness and crust)
- Paprika (color and mild flavor)
- Garlic Powder
- Onion Powder
- Salt and Black Pepper
- Chili Powder (for a little kick)
Setting Up Your Gas Grill
A gas grill needs a specific setup for low-and-slow ribs. You want to create a two-zone cooking area. This gives you precise control over temperature.
Turn on one or two burners on one side to low heat. Leave the other burners off. This creates an indirect cooking zone over the unlit burners. Aim for a grill temperature between 250-275°F (120-135°C).
We found that using a grill-safe thermometer near the ribs gives the most accurate reading. Your grill’s built-in thermometer might be off. Maintaining a consistent temperature is vital for tender ribs.
Indirect Heat Explained
Indirect heat means the food cooks from the ambient warmth, not direct flames. This mimics a smoker. It cooks food slowly and evenly, preventing burning. Think of it like a convection oven for your grill.
The Modified 3-2-1 Method for Gas Grill Ribs
The 3-2-1 method is popular for smoking ribs. We can adapt it for a gas grill. It breaks the cook into three phases for perfect tenderness and flavor. This method generally takes about 5 to 6 hours total.
| Phase | Description | Time (Approx.) | Goal |
|---|---|---|---|
| 1 (Bare) | Indirect cook on the grill, adding smoke. | 2-3 hours | Develop smoke ring, render some fat. |
| 2 (Wrapped) | Ribs wrapped tightly in foil with liquid. | 1-2 hours | Tenderize, steam, keep moist. |
| 3 (Sauced) | Unwrapped, sauced, finish on indirect heat. | 30-60 minutes | Tack up sauce, final tenderization. |
Phase 1: Bare Ribs and Smoke
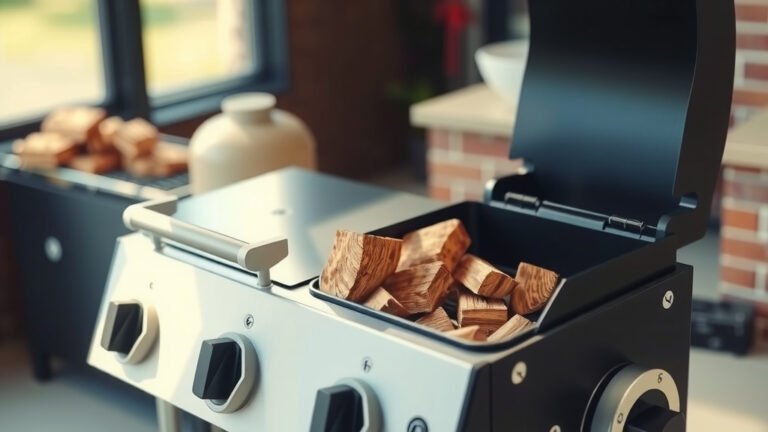
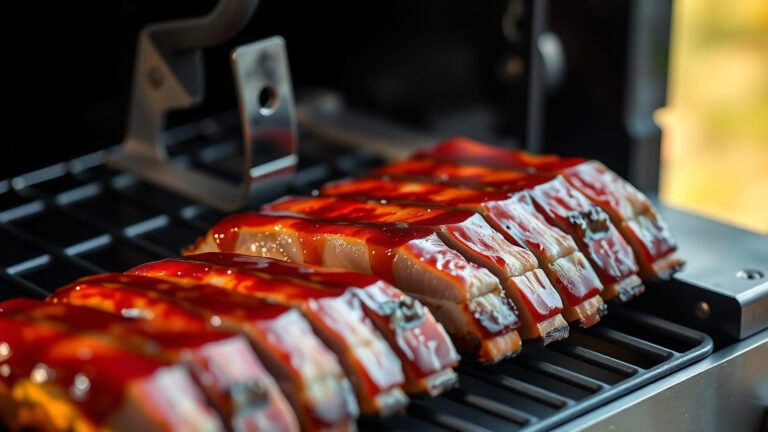
Place your seasoned ribs, bone-side down, over the unlit burners. Close the lid. For a smoky flavor, place a foil packet of wood chips (hickory or apple work well) over a lit burner. You want a gentle wisp of smoke, not a roaring fire. Cook for 2 to 3 hours, maintaining that 250-275°F range.
During this stage, the rub forms a bark. The meat begins to tenderize. Resist the urge to open the lid too often; you lose heat and smoke. Only check the temperature and wood chips as needed.
Phase 2: The Foil Wrap
After the first phase, take the ribs off the grill. Wrap each rack tightly in heavy-duty aluminum foil. Before sealing, add a splash of liquid inside the foil. Apple juice, beer, or even a little broth works wonders. This liquid creates steam, further tenderizing the ribs.
Return the wrapped ribs to the indirect heat zone. Cook for another 1 to 2 hours. This steaming period makes the ribs incredibly tender. The foil also protects them from drying out.
Phase 3: Finishing and Sauce
Carefully unwrap the ribs after phase two. Discard the foil and any leftover liquid. Return the bare ribs to the indirect heat. At this point, you can start applying your favorite barbecue sauce. Brush on a thin layer every 15-20 minutes.
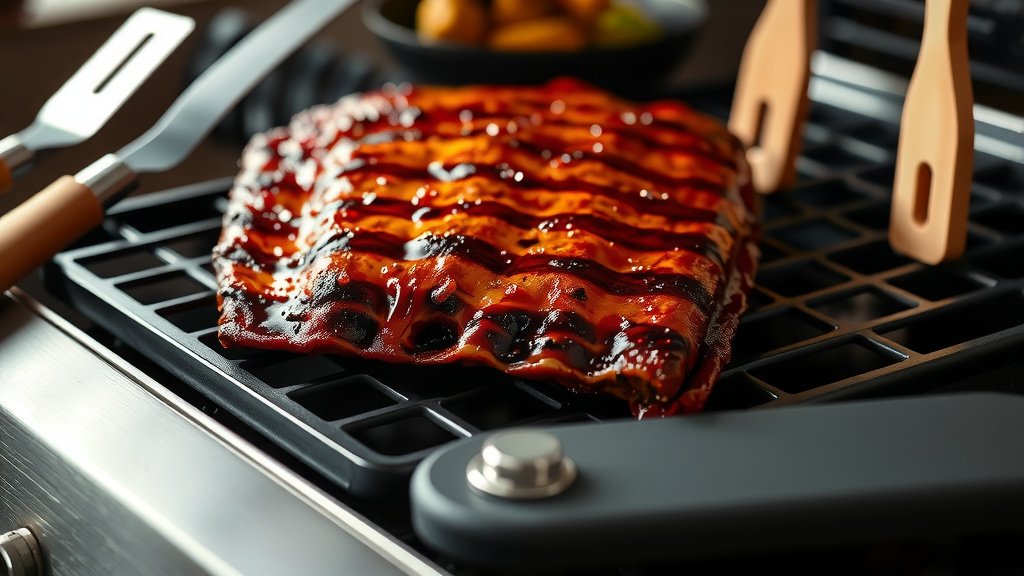
Cook for an additional 30 to 60 minutes. This lets the sauce caramelize and tack up. The ribs will also finish their final tenderization. Watch closely to prevent the sauce from burning.
When Are Your Ribs Done?
Knowing when ribs are perfectly cooked comes with practice. The meat should be tender, but not completely falling off the bone. You want a slight tug.
The “bend test” is a great indicator. Pick up one end of a rib rack with tongs. If it bends easily and the meat cracks on top, it’s ready. Another sign is when the meat pulls back from the ends of the bones, exposing about a quarter inch of bone.
Resting Your Ribs
Just like any cooked meat, ribs benefit from resting. Remove them from the grill and loosely tent them with foil. Let them rest for 10-15 minutes. This allows the juices to redistribute, resulting in a moister, more flavorful bite. Then, slice and serve!
Common Gas Grill Rib Mistakes to Avoid
It’s easy to make small errors when grilling ribs. Avoiding these common pitfalls helps you create amazing results. We found that many beginners struggle with consistent heat.
Don’t cook over direct high heat. This will burn the outside before the inside is tender. Always use your indirect setup. Another mistake is not adding moisture during the foil stage. This can lead to dry ribs, even with low heat. And remember, don’t rush the process. Good ribs take time.
Gas Grill Ribs Checklist
- Ribs selected and membrane removed.
- Dry rub applied thoroughly.
- Gas grill set for indirect, low heat (250-275°F).
- Wood chips ready for smoke (optional).
- Foil and liquid prepared for wrapping phase.
- BBQ sauce on hand for finishing.
- Meat thermometer for accurate checks (if desired).
Conclusion
Making delicious ribs on your gas grill is totally achievable. It requires patience and attention to detail. By using the right preparation, setting up your grill correctly for indirect heat, and following a modified 3-2-1 method, you can create ribs that are tender, juicy, and full of flavor. Don’t be afraid to experiment with different rubs and sauces. Your backyard cookouts will never be the same!
FAQs
Can I use a rib rack on a gas grill?
Yes, you can absolutely use a rib rack on a gas grill. It helps hold multiple racks upright, saving space on your indirect cooking zone. This ensures even cooking and good air circulation around each rack of ribs.
What’s the best wood chip flavor for ribs on a gas grill?
For ribs on a gas grill, popular wood chip choices include hickory, apple, and cherry. Hickory offers a strong, smoky flavor, while apple and cherry provide a milder, sweeter smoke. Many people enjoy blending these for a unique profile.
How do I prevent my ribs from drying out on a gas grill?
To prevent ribs from drying out, always cook them over indirect, low heat. Wrapping them tightly in foil with a splash of liquid during the middle phase, often called the “crutch,” is also very effective at maintaining moisture.
Can I add barbecue sauce early in the cooking process?
It’s best to add barbecue sauce during the last 30-60 minutes of cooking. Applying it too early can cause the sugar in the sauce to burn and create a bitter taste or tough crust on your ribs. Let the dry rub build the initial flavor.
How do I get a smoke ring on ribs without a smoker?
While a deep, vibrant smoke ring is harder to get without a dedicated smoker, you can achieve a light one on a gas grill. Place a foil packet of damp wood chips directly over a lit burner during the first hour or two of cooking. The low temperature and smoke exposure help create this pink ring.