You can make delicious ribs on a gas grill by using a two-zone cooking method: sear them briefly over direct heat, then move them to indirect heat for slow cooking until tender.
Achieving fall-off-the-bone ribs on a gas grill involves temperature control, moisture, and patience, transforming your everyday grill into a backyard smoker.
- Get started by choosing good ribs and trimming them.
- Apply your favorite dry rub generously for flavor.
- Set up your gas grill for two-zone cooking, one side hot, one side cool.
- Sear the ribs quickly, then move them to the cooler side for slow, indirect heat.
- Maintain a consistent low temperature and check tenderness often.
How To Make Ribs On A Gas Grill?
Making ribs on a gas grill is totally achievable, even without a smoker! You’ll want to create a two-zone setup for proper indirect cooking, which mimics the low-and-slow style that ribs love.
Choosing Your Ribs: A Good Start Matters
The journey to great ribs begins at the butcher shop. You’ll typically find two main types: baby back ribs or spareribs. Baby backs are leaner and cook faster. Spareribs, including St. Louis cut, are meatier and richer.
We found that St. Louis cut spareribs often yield a more satisfying bite for those who love a meaty rib. Look for ribs with good marbling and consistent thickness. This helps them cook evenly.
Preparation: The Foundation of Flavor
Before any heat hits the meat, a little prep goes a long way. This isn’t just about cleaning; it’s about setting the stage for flavor and tenderness. Don’t skip these steps.
Removing the Membrane: A Crucial Step
Have you ever had tough, chewy ribs? The membrane on the back of the ribs is often the culprit. It’s a thin, papery layer that prevents seasoning from penetrating and can make ribs rubbery.
To remove it, just slip a butter knife under one end, lift it with a paper towel for grip, and pull it off. It usually comes off in one go, like tearing a sticker. Many experts say this step is non-negotiable for tender ribs.
Applying Your Dry Rub: Flavor Magic
A good dry rub is like the secret handshake of barbecue. It adds deep flavor that a sauce alone can’t replicate. Apply it generously to all sides of your ribs, really massaging it in.
You can use a store-bought rub or make your own. We found that a good rub balances salt, sugar, and savory spices. Let the ribs sit with the rub for at least 30 minutes, or even a few hours in the fridge.
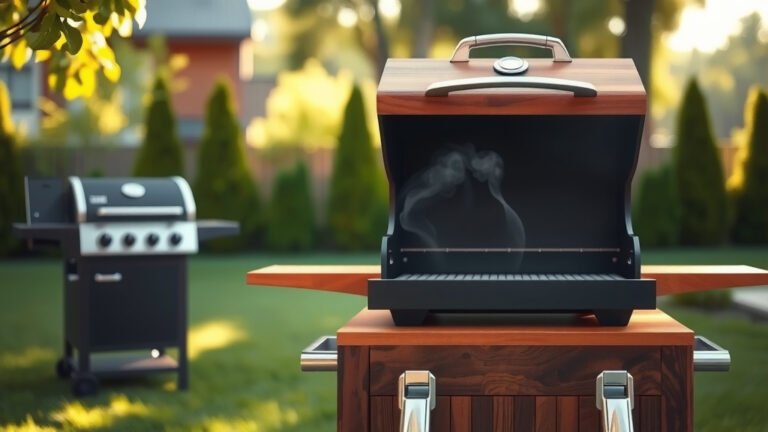
Setting Up Your Gas Grill for Rib Success
Your gas grill needs to think it’s a smoker for ribs. This means creating a two-zone cooking environment. It’s simpler than it sounds, trust us.
The Two-Zone Method: Indirect Heat is Key
Turn on one or two burners on one side of your grill to medium-low. Keep the other burners off. This creates a hot zone and a cool zone. You’ll place your ribs over the unlit burners.
Aim for a grill temperature of around 275°F to 300°F in the indirect zone (the side with the ribs). This low and slow heat is what breaks down the tough connective tissues in the ribs, making them tender.
Adding Smoke (Optional but Recommended)
You can still get a smoky flavor on a gas grill! Use a smoker box or a foil packet filled with wood chips. Place this over your lit burner. As it heats, it will produce smoke to infuse your ribs.
Hickory, apple, or cherry wood chips all pair wonderfully with pork ribs. Research often connects genuine smoke flavor with a much richer rib experience (Meathead Goldwyn).
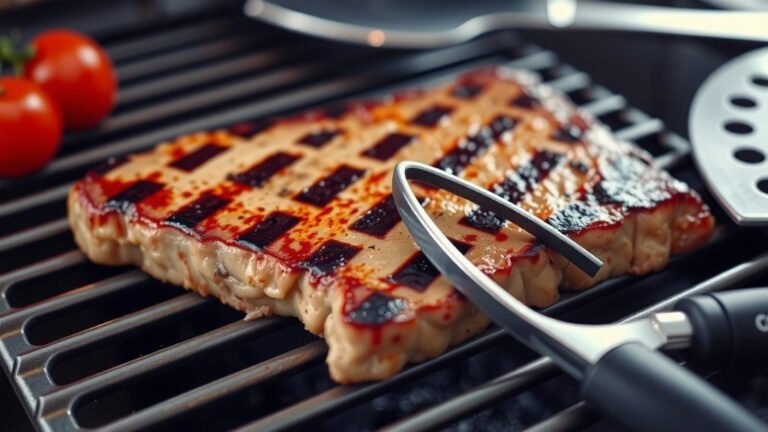
The Grilling Process: Patience Wins the Rib Race
Once your grill is ready and ribs are seasoned, it’s time to cook. This is where patience truly shines. Don’t rush this step!
Initial Cook: Low and Slow
Place your ribs, bone-side down, over the unlit burners. Close the lid and let them cook. Check the grill temperature every 30-45 minutes and adjust your lit burner as needed to maintain 275-300°F.
This first stage can take anywhere from 2 to 3 hours, depending on the thickness of your ribs. You’re looking for a good color change and some pull-back from the bone.
The 3-2-1 Method (A Common Guideline)
Many backyard grillers use the 3-2-1 method for spareribs (or 2-2-1 for baby backs). This breaks down the cooking into three stages:
- 3 hours: Unwrapped, bone-side down, indirect heat.
- 2 hours: Wrapped tightly in foil with a little liquid (apple juice, broth, or beer).
- 1 hour: Unwrapped again, often with sauce, back on indirect heat.
This method helps keep ribs moist and tender. Wrapping in foil creates a steaming effect, speeding up the tenderizing process.
When to Wrap Ribs?
After a few hours unwrapped, the ribs should have a nice, deep mahogany color. This is typically when you’d consider wrapping them. We found that wrapping too early can sometimes prevent bark formation.
Wrap them in heavy-duty foil, adding a splash of liquid like apple cider vinegar or apple juice. This keeps them super moist during the middle cooking phase. Some people like to add a pat of butter or a drizzle of honey in the foil as well.
Finishing Strong: Sauce and Rest
You’re almost there! The final steps are all about locking in that final layer of flavor and ensuring maximum tenderness.
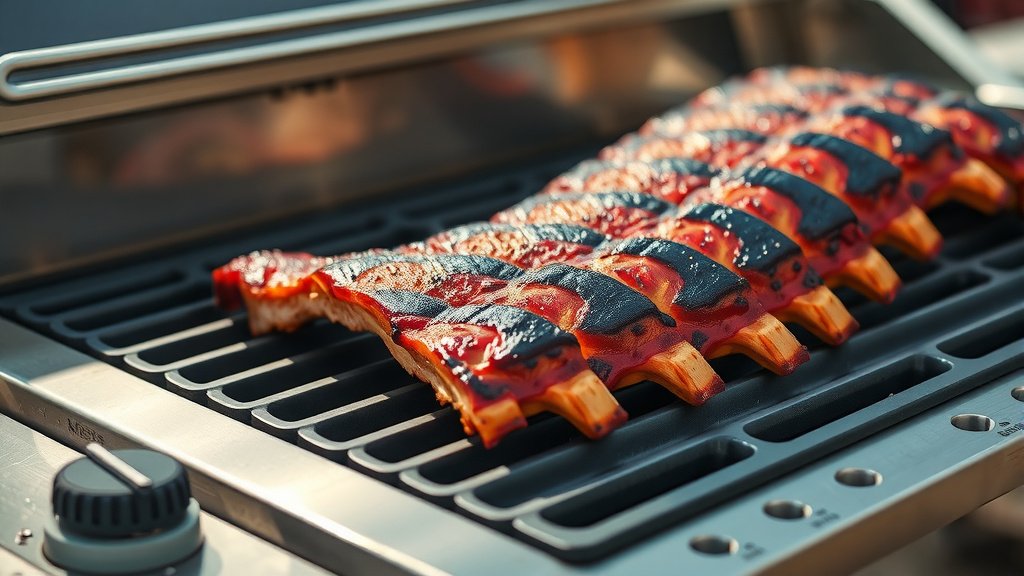
Saucing Your Ribs: Timing is Everything
If you like saucy ribs, apply your barbecue sauce during the last 30-60 minutes of cooking. This allows the sauce to caramelize and become sticky without burning.
Painting it on too early can lead to burned sugars in the sauce. Some grill masters prefer to serve sauce on the side, letting the dry rub flavors truly shine. It’s all about your personal preference!
Checking for Doneness: The Bend Test
How do you know when ribs are truly done? The “bend test” is a popular method. Pick up a rack of ribs with tongs in the middle.
If they bend easily and start to crack, almost breaking, they are ready. You’re looking for tender, not mushy. They should hold together but offer little resistance.
The Importance of Resting
Just like a good steak, ribs need to rest after coming off the grill. Loosely tent them with foil for 15-20 minutes. This allows the juices to redistribute throughout the meat.
Skipping this step can result in dry ribs, no matter how perfectly you cooked them. Resting makes all the difference in moisture and overall eating experience.
Troubleshooting Common Rib Issues
Even experts run into little snags sometimes. Here are some quick fixes for common rib grilling problems:
| Issue | Possible Cause | Solution |
|---|---|---|
| Ribs are Dry | Too high heat, cooked too long, not enough moisture | Lower grill temp, use foil wrap, spritz regularly |
| Ribs are Chewy | Not cooked long enough, membrane not removed | Cook longer at low temp, always remove membrane |
| Sauce Burns | Applied too early, too high heat during saucing | Apply sauce only in the last 30-60 minutes on indirect heat |
| No Smoke Flavor | Not enough wood chips, chips not smoking | Use a smoker box, pre-soak chips (some say this helps) |
Your Gas Grill Rib Checklist
Ready to make your own masterpiece? Here’s a quick rundown to keep you on track:
- Choose quality ribs (baby back or spareribs).
- Remove the tough membrane.
- Apply your favorite dry rub liberally.
- Set up your gas grill for two-zone cooking (275-300°F).
- Add wood chips for smoke flavor.
- Place ribs on indirect heat, bone-side down.
- Cook for 2-3 hours (unwrapped).
- Wrap in foil with liquid for 1-2 hours.
- Unwrap, apply sauce (if desired), and cook for 30-60 minutes.
- Perform the bend test for doneness.
- Rest ribs for 15-20 minutes before slicing.
Conclusion
Making delicious, tender ribs on a gas grill is not only possible but also incredibly rewarding. By understanding the principles of indirect heat, managing your grill’s temperature, and following a few key steps like membrane removal and proper resting, you can achieve barbecue excellence in your own backyard. So, fire up that grill, grab some ribs, and enjoy the process. Your taste buds will thank you!
Can I really make “fall-off-the-bone” ribs on a gas grill?
Yes, absolutely! The key is maintaining a consistent low temperature (around 275-300°F) using indirect heat, and allowing enough time for the connective tissues to break down. The 3-2-1 method, or a variation of it, helps achieve that desired tenderness.
What if my gas grill doesn’t get hot enough for searing?
If your grill struggles to reach high searing temperatures, you can still achieve a nice crust. Try getting your hot zone as hot as possible, sear for just a minute or two per side, then immediately move to the indirect zone for the long cook. The main goal is low and slow for tenderness.
Do I need to soak wood chips for a gas grill?
Some grillers swear by soaking wood chips, believing it helps them smoke longer and prevents them from burning too quickly. However, we found that dry chips often produce smoke faster and more consistently. Experiment to see what works best for your setup.
How do I prevent my ribs from drying out on the gas grill?
Preventing dry ribs involves several strategies: keeping your grill temperature stable and not too high, wrapping the ribs in foil with some liquid (like apple juice or broth) during the middle cooking phase, and making sure to rest them properly after cooking.
What’s the best way to cut ribs after cooking?
After your ribs have rested, place them on a cutting board bone-side up. This allows you to easily see the bones. Use a sharp knife to cut between each bone. This method ensures even portions and a clean presentation.