To grill pork spare ribs on a gas grill, set up a two-zone heat system, aiming for an indirect temperature of 250-275°F. Cook for 3-5 hours, flipping occasionally, until the ribs are tender and pull cleanly from the bone.
Start by removing the membrane, applying your favorite rub, and then cooking low and slow for succulent, flavorful results on your gas grill.
- Get those ribs ready: Remove the membrane and season well.
- Set up your gas grill for indirect, low heat.
- Cook slowly for several hours, keeping an eye on the temperature.
- Baste or spritz your ribs to keep them moist.
- Check for tenderness; they are done when they pass the bend test.
- Rest your ribs before slicing for maximum juiciness.
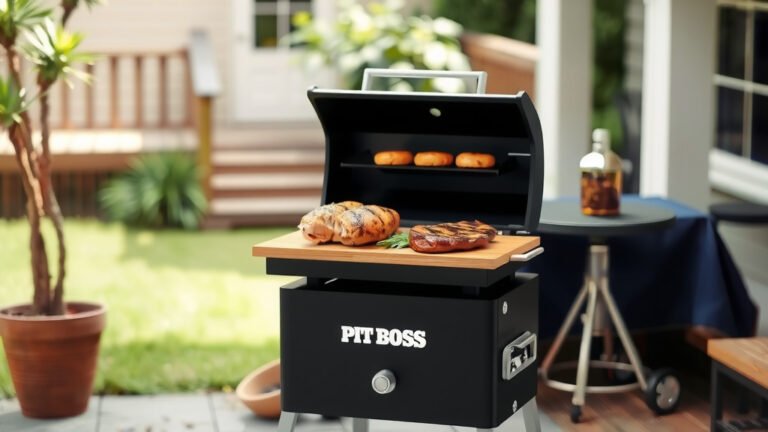
How To Grill Pork Spare Ribs On Gas Grill?
Grilling pork spare ribs on a gas grill involves setting your grill for indirect heat and patiently cooking them at a low temperature until they become incredibly tender.
Understanding Your Ribs: Spare Ribs vs. Baby Backs
Before firing up your grill, do you know your ribs? We often find people confuse spare ribs with baby back ribs. Spare ribs come from the belly area of the hog, near the breastbone.
They are larger, flatter, and have more meat between the bones. This means a richer, meatier bite, and often a longer cook time. Baby back ribs are smaller and curved, coming from closer to the loin.
Getting Started: Your Rib Checklist
Preparing for any grilling adventure makes the process smoother. Think of it like packing for a trip; you want everything ready to go. Here’s a quick checklist to ensure you’re set:
- Quality Ribs: Look for meaty, well-marbled spare ribs.
- Sharp Knife: Essential for trimming.
- Paper Towels: For drying ribs and membrane removal.
- Your Favorite Rub: Store-bought or homemade.
- Water Pan/Aluminum Foil: For moisture and easy cleanup.
- Grill Fuel (Propane/Natural Gas): Don’t run out mid-cook!
- Meat Thermometer: To monitor grill temperature accurately.
- Spray Bottle: For apple cider vinegar or apple juice spritzing.
The Essential First Step: Membrane Removal
Many experts say the most important prep step is removing the silver skin, or membrane, from the back of the ribs. Why? Because this tough membrane will not render down during cooking.
It creates a chewy barrier, keeping your rub and smoke from reaching the meat. To remove it, slide a butter knife under a corner, lift, then grasp with a paper towel and pull it off. It might take a few tries, but it’s worth the effort.
Trimming and Seasoning Your Ribs
Squaring Up Your Ribs
After membrane removal, give your ribs a quick trim. Some people like to remove any thin, fatty ends, known as the skirt, or square up the rack for a neater presentation. This also helps with even cooking.
Applying Your Rub Generously
Now for the flavor! A good dry rub is the backbone of great ribs. Apply your rub all over the ribs, pressing it gently into the meat. Don’t be shy; aim for an even, generous coating.
We found that letting the rub sit on the ribs for at least 30 minutes, or even a few hours in the fridge, lets the flavors settle. Some people prep them the night before, which can make things simple on grill day.
Setting Up Your Gas Grill for Success
A gas grill might seem less traditional for ribs than a smoker, but with the right setup, it performs wonderfully. The key is creating a consistent, indirect cooking environment.
The Two-Zone Heat Method
For juicy ribs, you need indirect heat. This means one side of your grill is hot, and the other is off or very low. Turn on one or two burners to a medium-low setting. This will be your heat source.
Leave the other burners off. This “cool” side is where your ribs will cook. Aim for an ambient grill temperature of 250-275°F. You might need to adjust the active burners to hold this range. Many guidelines point to consistent, low heat as a good first step (USDA).
Adding Moisture: The Water Pan
Placing a disposable aluminum pan filled with water directly under your ribs on the indirect side serves a couple of purposes. It adds moisture to the grill, helping to keep the ribs from drying out.
It also helps stabilize the grill’s temperature, acting as a heat sink. Some people use apple juice or beer in the pan for added flavor, but water works just fine.
The Low and Slow Grilling Process
Pork spare ribs are all about patience. Low and slow cooking breaks down tough connective tissues, giving you that tender, fall-off-the-bone texture.
Initial Cook: The First Few Hours
Place your prepared ribs bone-side down on the indirect side of the grill. Close the lid and resist the urge to peek too often. Every time you open the lid, you lose heat, extending your cook time.
Let them cook undisturbed for about 2-3 hours. Monitor your grill’s internal temperature to ensure it stays in that 250-275°F range. This is the stage where the meat starts to soften and absorb that smoky goodness.
Spritzing for Moisture and Flavor
After the initial cook, consider spritzing your ribs every hour or so. A mix of apple cider vinegar, apple juice, or even a little water helps keep the surface moist and prevents it from drying out.
This also adds a touch of acidity and flavor, which balances the richness of the pork. It’s a small step that can make a big difference in the final product.
When to Wrap Your Ribs (Optional)
Some grill masters choose to wrap their ribs in foil after 2-3 hours. This method, often called the “Texas Crutch,” helps speed up cooking and keeps the ribs incredibly moist.
Wrap them tightly with a bit of apple juice or broth, then return them to the indirect heat for another 1-2 hours. Many experts prefer unwrapped for a firmer bark, others like the extra tenderness wrapping brings. It’s truly a matter of taste.
Comparing Wrapped vs. Unwrapped Ribs
| Feature | Wrapped Ribs | Unwrapped Ribs |
|---|---|---|
| Tenderness | Very tender, often “fall-off-the-bone” | Tender, but holds shape better |
| Bark (Crust) | Softer, less developed bark | Crispier, more developed bark |
| Moisture | Retains more moisture | Can dry out if overcooked |
| Cook Time | Slightly faster | Slightly longer |
Testing for Doneness: The Bend Test
How do you know when your ribs are ready? Forget the clock alone. The best way is the “bend test.” Pick up one end of a rack with tongs.
If the ribs bend easily and the surface meat starts to crack and tear, they are done. If they feel stiff, they need more time. Research often connects proper meat testing with food safety and taste (Food Safety and Inspection Service).
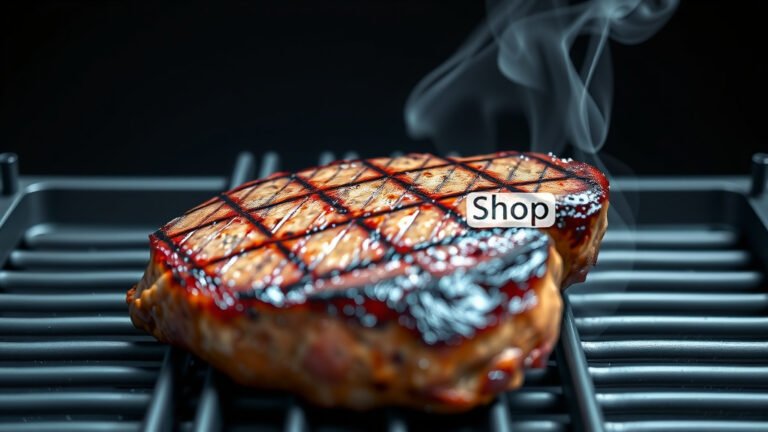
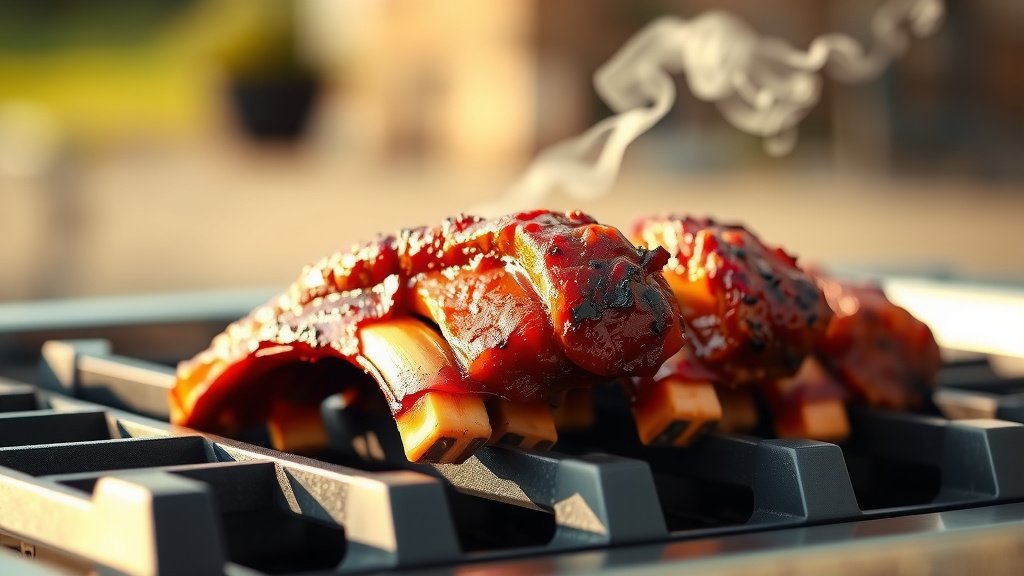
Saucing Your Ribs: The Final Touch
If you like saucy ribs, wait until the last 30 minutes of cooking. Apply your favorite BBQ sauce to the ribs, then return them to the grill.
The sauce will caramelize and thicken without burning. If you add sauce too early, the sugars can burn, leading to a bitter taste. A thin layer is usually enough to build great flavor.
Resting Your Ribs Before Serving
Just like any cooked meat, ribs benefit from resting. Remove them from the grill and loosely tent them with foil for 10-15 minutes. This allows the juices to redistribute throughout the meat.
Cutting into them too soon means those delicious juices will run out onto your cutting board, leaving you with drier ribs. Give them that small rest; your taste buds will thank you.
Troubleshooting Common Rib Grilling Issues
Dry Ribs? Here’s Why.
If your ribs are dry, it’s often a sign they cooked too hot, too fast, or without enough moisture. Ensure your grill temperature stays low and use that water pan.
Spritzing also plays a role in keeping them moist. Sometimes, simply opening the lid too often can dry them out by letting heat escape and then having to reheat the air.
Unevenly Cooked Ribs?
Gas grills can have hot spots. If one end of your rack is cooking faster, rotate the ribs periodically. Some people turn the rack 180 degrees every hour or so.
If you have multiple racks, swap their positions. This helps ensure every part of the rib rack gets cooked to perfection. A good grill thermometer helps you find those hotter and cooler zones.
Conclusion
Grilling pork spare ribs on a gas grill might seem like a challenge, but it’s entirely achievable with the right approach. By focusing on proper preparation, maintaining a consistent low temperature, and practicing patience, you can create ribs that are juicy, tender, and packed with flavor.
Remember, the goal is a gentle cook that allows the meat to break down slowly. Don’t rush the process, and you’ll be rewarded with a memorable meal that everyone will love. So fire up that grill and get ready to enjoy some fantastic ribs!
Can I use wood chips on a gas grill for ribs?
Yes, you can easily add a smoky flavor to your ribs on a gas grill. Place dry or pre-soaked wood chips in a foil pouch with holes poked in it, or use a smoker box. Position this directly over a lit burner on the hot side of your grill to generate smoke. Then, move your ribs to the indirect side to cook.
What internal temperature should pork spare ribs reach?
While tenderness is the best indicator, pork ribs are safely cooked when they reach an internal temperature of 145°F (63°C) (USDA). However, for that desirable melt-in-your-mouth tenderness, many pitmasters cook them until they are much higher, often between 195-205°F (90-96°C), as this allows connective tissues to render.
How do I prevent my BBQ sauce from burning on the ribs?
To prevent BBQ sauce from burning, apply it only during the last 30 minutes of cooking. The sugars in most BBQ sauces burn quickly at high temperatures. By adding it towards the end, the sauce has time to caramelize and thicken without charring, ensuring a delicious glaze.
Do I need to flip the ribs frequently while grilling?
No, you do not need to flip ribs frequently when cooking on indirect heat. Flipping them once or twice during the entire cook is usually sufficient. Excessive flipping lets heat escape and can dry out the ribs. Let them cook undisturbed for extended periods for the best results.
My ribs aren’t getting tender. What went wrong?
If your ribs aren’t tender, the most likely reason is they haven’t cooked long enough at a low temperature. Ribs need patience. Ensure your grill maintains a consistent 250-275°F and allow enough time, often 3-5 hours or more, for the connective tissues to break down. Don’t rush them; low and slow is the secret to tenderness.