To grill chicken breast on a gas grill, preheat your grill to medium-high heat (about 400-450°F), sear each side for 2-3 minutes, then move to indirect heat to finish cooking until an internal temperature of 165°F is reached.
You can achieve perfectly juicy grilled chicken breast by properly preparing the meat, managing your grill’s temperature zones, and using a reliable meat thermometer.
TL;DR: Here’s a quick roadmap to amazing grilled chicken:
- Choose boneless, skinless chicken breasts.
- Pound them to an even thickness (about ¾ inch).
- Season well or marinate for flavor.
- Preheat your gas grill to a medium-high zone and a low/off zone.
- Sear briefly over direct heat, then cook over indirect heat.
- Use a meat thermometer to ensure 165°F internal temperature.
- Rest the chicken for 5-10 minutes after grilling.
Ever wonder why your grilled chicken breast turns out dry or rubbery? You are not alone! Many home cooks struggle with this lean protein. But grilling chicken breast on a gas grill doesn’t have to be a mystery. We’re here to guide you to succulent, flavorful results every time.
Think of your grill as a kitchen oven, but with the added magic of smoky flavor and beautiful sear marks. With a few simple steps, you will master grilling chicken breast, making it a go-to meal for any occasion. Let’s make your next BBQ a huge success!
How To Grill Chicken Breast On Gas Grill?
Grilling chicken breast on a gas grill involves prepping the meat, setting up two heat zones, searing, and then finishing over indirect heat to achieve perfect doneness without drying it out.
Start with the Right Chicken Breast
The journey to great grilled chicken begins at the grocery store. Look for boneless, skinless chicken breasts that are similar in size. This helps them cook evenly. Often, chicken breasts are thick on one end and thin on the other, which can lead to overcooked thin parts and undercooked thick parts.
A simple trick? Pound your chicken breasts to an even thickness. Place them between two sheets of plastic wrap. Use a meat mallet or a heavy pan to gently pound them to about ¾-inch thick. This ensures uniform cooking and prevents dry edges while the center finishes up.
Seasoning and Marinades: Flavor Boosters
Before grilling, seasoning is key. A simple blend of salt, black pepper, garlic powder, and paprika works wonders. You can also use your favorite dry rub. Don’t be shy; cover both sides thoroughly.
For an extra juicy and flavorful experience, consider a marinade. Marinating for at least 30 minutes, or even a few hours, can make a big difference. We found that marinades containing acids like lemon juice or vinegar, or enzymes from ingredients like pineapple, help to tenderize the meat fibers (Cook’s Illustrated).
Just remember to pat the chicken dry before it hits the grill. Excess moisture can prevent a good sear. This is a common tip shared by many grill masters.
Setting Up Your Gas Grill for Success
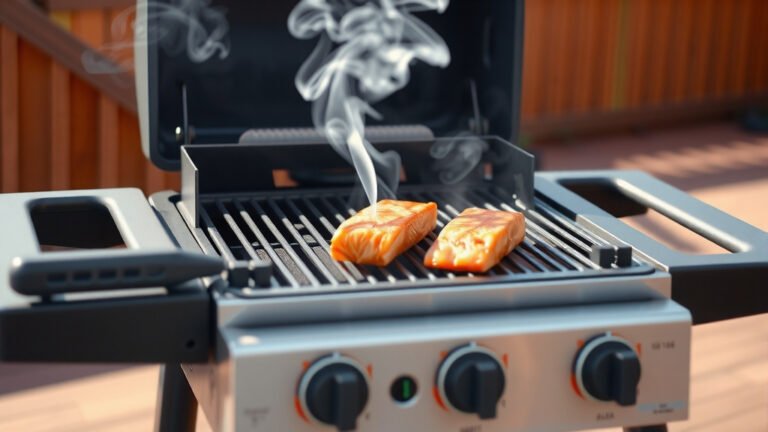
Gas grills offer great control, allowing you to create different heat zones. This is crucial for grilling chicken breast. You want a direct heat zone for searing and an indirect heat zone for slow, even cooking.
Preheat your grill to medium-high heat, around 400-450°F. If you have a multi-burner grill, turn one or two burners to high and leave one off or on low. This creates your hot direct heat zone and your cooler indirect heat zone. Let the grill heat up for 10-15 minutes with the lid closed.
Clean your grill grates thoroughly with a wire brush. Then, lightly oil them with a paper towel dipped in high-smoke-point oil, like canola or grapeseed. This prevents sticking and helps create those beautiful grill marks.
The Grilling Process: Sear, Move, and Cook
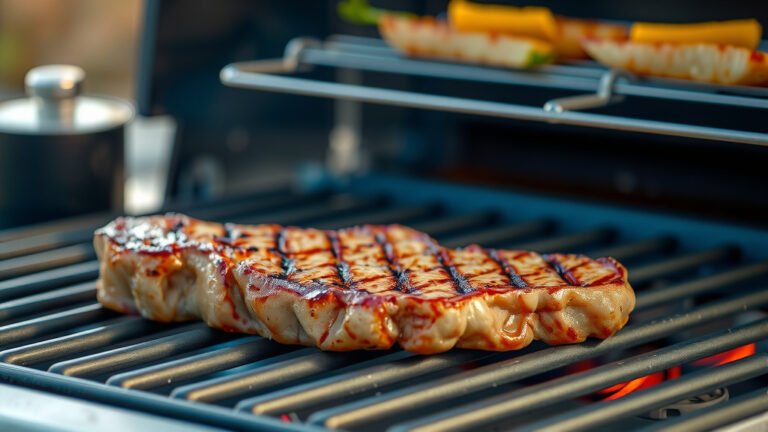
Now for the fun part! Place your seasoned chicken breasts directly over the direct, hot heat. Close the lid.
Sear the chicken for about 2-3 minutes per side. You are looking for those attractive grill marks and a nice browned crust. This searing locks in flavor and moisture. Avoid moving the chicken too much during this step; let it develop that crust.
After searing, move the chicken breasts to the indirect heat zone. Close the lid. Here, the chicken will cook through gently without burning the outside. This method is often called two-zone grilling and is highly recommended by grilling experts (Weber Grills).
Checking for Doneness: The Thermometer is Your Friend
This is where many people make mistakes. Guessing doneness often leads to dry chicken. A reliable meat thermometer is your best tool. Insert it into the thickest part of the chicken breast, avoiding any bones.
The safe internal temperature for cooked chicken is 165°F (USDA). Begin checking after about 8-10 minutes over indirect heat. Depending on thickness, it might take 10-15 minutes or more. Don’t be afraid to check multiple spots. Remember, a little pink is okay if the temperature is correct.
Resting Your Chicken: A Must-Do Step
Once your chicken breasts reach 165°F, remove them from the grill immediately. Transfer them to a clean cutting board or plate. Tent them loosely with foil and let them rest for 5-10 minutes. This step is non-negotiable for juicy chicken.
Why rest? As meat cooks, its juices are pushed to the center. Resting allows these juices to redistribute throughout the meat. Cutting into it too soon lets all those precious juices run out, leaving you with dry chicken. You’ve worked hard for that moisture; don’t let it escape!
Common Grilling Times for Chicken Breast
While a thermometer is king, here’s a general guideline for grilling times, assuming a ¾-inch thick breast and a 400-450°F grill:
| Thickness | Direct Heat (Sear) | Indirect Heat (Cook) | Total Estimated Time |
|---|---|---|---|
| ½ inch | 2 min per side | 5-7 min | 9-11 min |
| ¾ inch | 2-3 min per side | 8-10 min | 12-16 min |
| 1 inch | 3 min per side | 10-12 min | 16-18 min |
Always adjust times based on your grill and chicken size. The thermometer is still the ultimate decider.
Quick Checklist Before You Grill
Preparing ahead makes grilling smooth. Here’s a fast checklist:
- Chicken pounded to even thickness?
- Seasoned or marinated?
- Gas tank full?
- Grill grates clean and oiled?
- Meat thermometer ready?
- Tongs, spatula, and plate ready?
You’re now ready to tackle any chicken breast on your gas grill. Remember to keep things simple, use your tools, and trust the process. Grilling should be fun, not stressful. Enjoy the warm weather and the delicious food!
Conclusion
Grilling chicken breast on a gas grill is genuinely straightforward once you understand the key steps. By properly preparing your chicken, managing your grill’s heat zones, and always using a meat thermometer, you can achieve perfectly cooked, juicy chicken every time. No more dry, sad chicken for you!
These simple techniques will elevate your grilling game and make chicken breast a favorite dish. So fire up that grill with confidence, and get ready to impress your family and friends with your newly found grilling prowess. You’ve got this!
Frequently Asked Questions
How do I prevent chicken breast from sticking to the grill?
To prevent sticking, ensure your grill grates are clean and preheated to the correct temperature. After cleaning, lightly oil the grates with a high-smoke-point oil like canola or grapeseed using a folded paper towel. Don’t move the chicken too early; let it sear for a few minutes to naturally release from the grates.
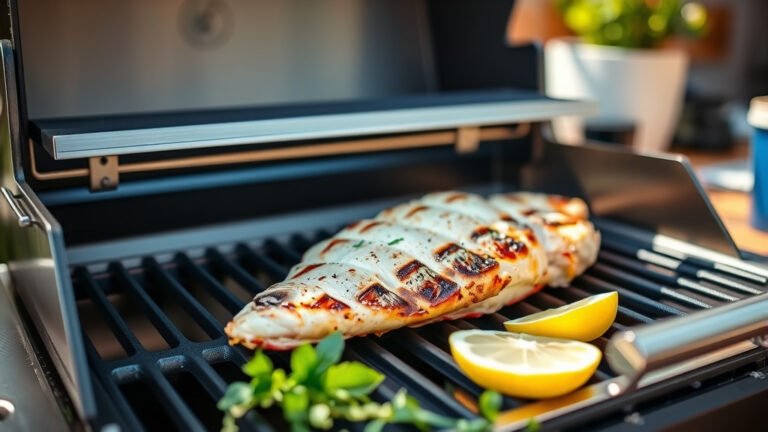
Is it better to grill chicken breast with the lid open or closed?
It’s generally better to grill chicken breast with the lid closed. Closing the lid helps to retain heat, which cooks the chicken more evenly and efficiently, simulating an oven environment. It also helps to prevent flare-ups and allows smoke to circulate for more flavor. Only open the lid to flip or check the temperature.
Can I grill frozen chicken breast?
No, you should never grill chicken breast from frozen. Thawing chicken completely before grilling is important for food safety and even cooking. Grilling frozen chicken can lead to uneven cooking, with the outside burning while the inside remains undercooked, creating a risk for foodborne illness (USDA).
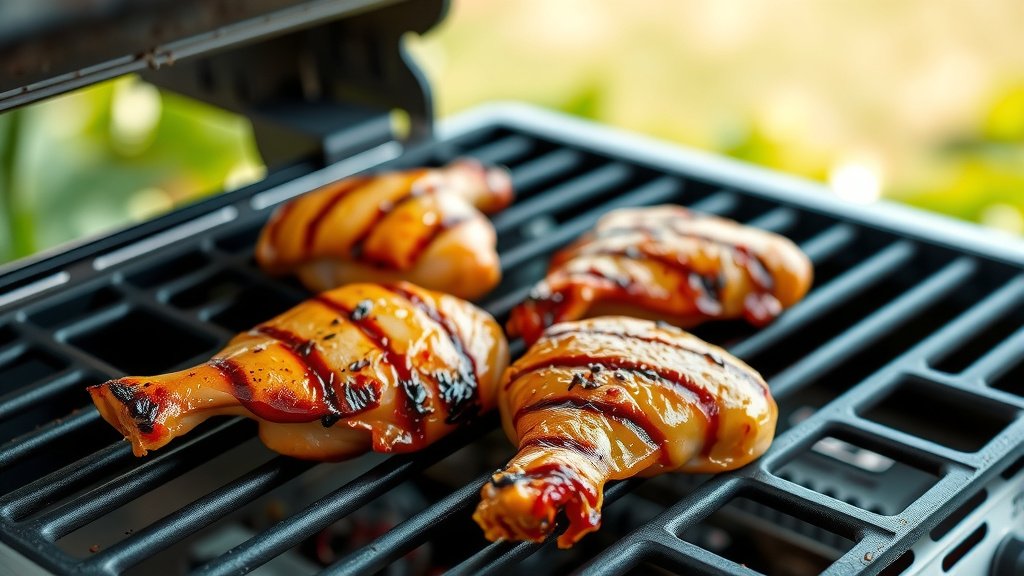
How do I get good grill marks on my chicken breast?
For distinct grill marks, make sure your grill is very hot (400-450°F) before placing the chicken. Place the chicken on the grates and resist moving it for 2-3 minutes. For a crosshatch pattern, rotate the chicken 45 degrees after the first 2-3 minutes on the same side, then flip and repeat on the other side.
What if my chicken breasts are very thick?
If your chicken breasts are unusually thick (over 1 inch), it’s highly recommended to pound them to an even ¾-inch thickness. This ensures they cook evenly and prevents the outside from drying out before the center is done. If you prefer not to pound, extend the indirect cooking time and always rely on your meat thermometer to reach 165°F.