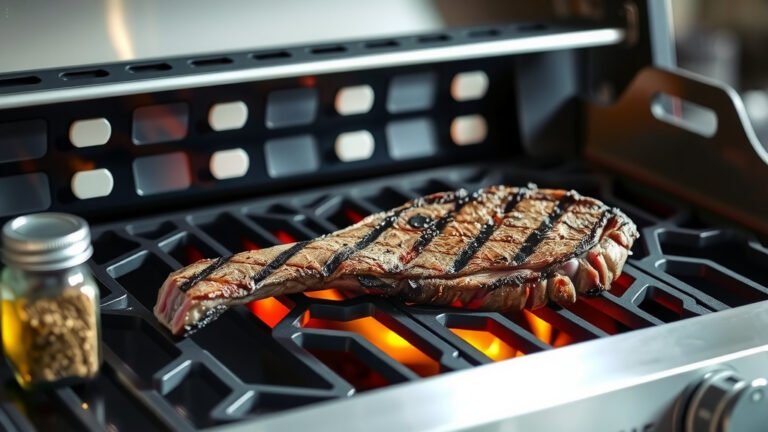
To cook steak on a Blackstone grill, preheat your griddle to medium-high heat, ensuring a piping hot surface for a perfect sear. You will want to apply a thin layer of high-smoke-point oil and then place your seasoned steak down, turning once for a beautiful crust.
Achieving a restaurant-quality steak on your Blackstone involves careful temperature management and patience, allowing the griddle’s even heat to cook the meat consistently through to your desired doneness.
Here’s a quick rundown of how you’ll cook steak on a Blackstone grill:
- Choose a good cut and season it well.
- Heat your Blackstone griddle to a solid medium-high.
- Sear your steak for a few minutes per side.
- Cook to your preferred internal temperature.
- Rest the steak before slicing for juicy results.
How To Cook Steak On Blackstone Grill?
Cooking steak on a Blackstone grill means achieving a fantastic crust and juicy interior, thanks to the griddle’s consistent, direct heat.
Picking Your Perfect Steak
What kind of steak do you love? Many experts say that thicker cuts work best on a griddle (USDA). Think ribeye, New York strip, or even a nice sirloin. A good steak will be at least 1 to 1.5 inches thick.
Thickness Matters
A thicker steak gives you a better chance to develop that great crust without overcooking the inside. If your steak is too thin, it might cook through too quickly before a nice sear forms.
Seasoning Your Steak Right
Simple is often best when it comes to seasoning steak. Many chefs recommend a generous amount of coarse salt and black pepper. Some people like a little garlic powder or onion powder, too. Pat your steak dry before seasoning; this helps with searing.
The Salt Trick
We found that salting your steak at least 30-45 minutes before cooking, or even overnight, can help with moisture. The salt draws out moisture, then reabsorbs it, making the steak more tender and flavorful (Cook’s Illustrated). Don’t be shy with the salt!
Bringing Steak to Room Temperature
Ever put a cold steak straight onto a hot grill? It can cook unevenly. Many sources, including culinary schools, suggest letting your steak sit out for 30-60 minutes before cooking. This helps it cook more evenly throughout.
Prepping Your Blackstone Griddle
Before any cooking begins, make sure your Blackstone griddle is clean. Scrape off any old food bits and wipe it down. Then, it’s time to heat things up.
Getting the Heat Just Right
You want a screaming hot griddle for steak. Set your Blackstone burners to medium-high. Let it preheat for at least 10-15 minutes. How do you know if it’s hot enough? A few drops of water should dance and evaporate quickly.
Oiling the Griddle
Apply a thin, even layer of high-smoke-point oil to your hot griddle. Avocado oil, grapeseed oil, or even regular vegetable oil work well. You don’t need much; just enough to prevent sticking and help with that beautiful crust.
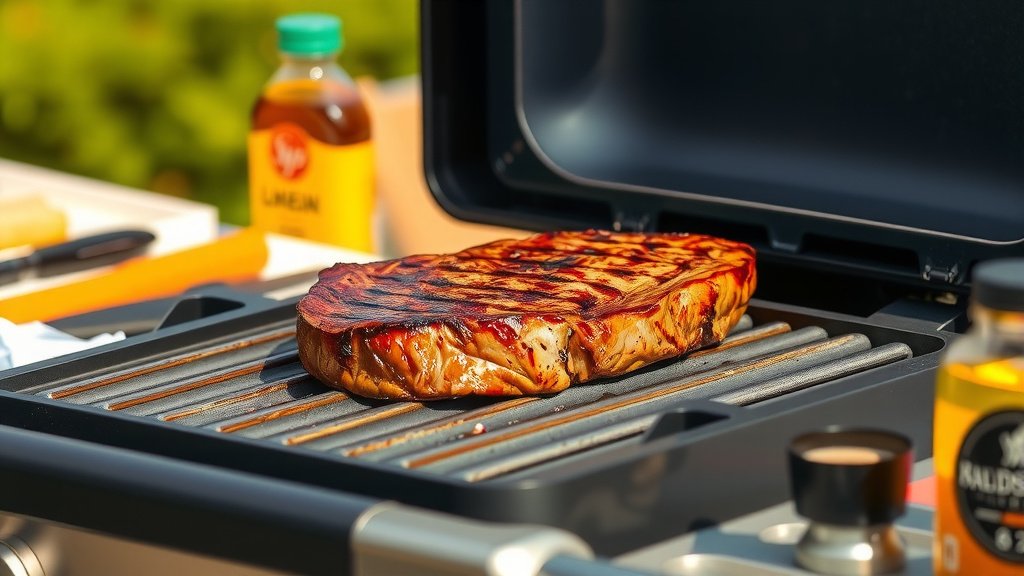
The Cooking Process: Searing to Perfection
Now for the fun part! Place your seasoned, room-temperature steak onto the hot, oiled griddle. You should hear a satisfying sizzle right away. That’s the sound of a great crust forming.
First Side Sear
Let the steak sear undisturbed for 2-4 minutes, depending on its thickness and your desired level of crust. Don’t move it! This is where that deep brown, flavorful crust develops.
The Flip
Flip the steak over to the other side. You should see a beautiful, caramelized crust. Cook this second side for another 2-4 minutes. Some people like to flip every minute or so for a more even cook, but a single flip gives a stronger crust (Serious Eats).
Checking for Doneness
This is where a good meat thermometer becomes your best friend. Insert it into the thickest part of the steak, avoiding any bones. Here’s a quick guide:
| Doneness | Temperature | Chef’s Notes |
|---|---|---|
| Rare | 125°F – 130°F | Cool red center |
| Medium-Rare | 130°F – 135°F | Warm red center |
| Medium | 135°F – 140°F | Pink center |
| Medium-Well | 140°F – 150°F | Slightly pink center |
| Well-Done | 150°F+ | No pink |
Resting Your Steak
Once your steak reaches about 5 degrees below your target temperature, take it off the griddle. Many chefs agree that resting is vital. Place it on a cutting board, tent it loosely with foil, and let it rest for 5-10 minutes. This lets the juices redistribute, keeping your steak tender and moist (America’s Test Kitchen).
Tips for an Even Better Steak
Want to go from good to great? Here are a few extra pointers for your Blackstone steak experience.
Butter Basting
In the last minute or two of cooking, add a pat of butter, some garlic cloves, and a sprig of rosemary or thyme to the griddle next to your steak. As the butter melts, tilt the griddle slightly and spoon the melted butter over the steak. This adds incredible flavor and aroma.
Ghee for a Higher Sear
Some people opt for ghee (clarified butter) instead of regular butter or oil. Ghee has a higher smoke point than butter, meaning it can get hotter before burning. This helps you achieve an even better sear without the butter solids burning.
Troubleshooting Common Steak Issues
Even seasoned grillers have off days. What if your steak isn’t turning out quite right?
Steak is Grey, Not Seared
This usually means your griddle wasn’t hot enough. Don’t rush the preheating process. Make sure it’s smoking a bit and those water drops dance. Also, ensure your steak is dry before it hits the griddle.
Steak is Burnt Outside, Raw Inside
Too high heat can do this. While you want a hot griddle, if it’s smoking excessively and burning oil instantly, it might be too hot. Adjust your burner settings slightly or move the steak to a slightly cooler part of the griddle after the initial sear.
Steak is Dry
Are you resting your steak? Skipping the rest period allows all those delicious juices to run out onto your cutting board when you slice it. Patience really pays off here.
Your Steak Cooking Checklist
Here’s a quick reminder of the key steps before you start cooking:
-
Have you chosen a steak at least 1 inch thick?
-
Is your steak seasoned generously and patted dry?
-
Did you let your steak come to room temperature?
-
Is your Blackstone griddle clean and preheated to medium-high?
-
Do you have a reliable meat thermometer ready?
Conclusion
Cooking steak on a Blackstone grill is a straightforward and rewarding experience that promises delicious results. By focusing on a hot griddle, proper seasoning, and essential resting time, you can consistently achieve a perfectly seared exterior and a juicy, tender interior. With a little practice, your Blackstone will become your go-to for fantastic steaks every time.
Can I cook frozen steak on a Blackstone griddle?
While you *can* cook a frozen steak directly on a hot griddle, it’s generally not recommended for the best results. Research shows that thawing your steak first allows for a much more even cook and a superior sear, preventing a burnt outside and cold center.
What is the best oil for cooking steak on a Blackstone?
High-smoke-point oils are best for a Blackstone. Options like avocado oil, grapeseed oil, or refined sunflower oil are great choices. These oils can withstand the high heat needed for a good sear without breaking down and smoking excessively.
How do I prevent my steak from sticking to the Blackstone?
To prevent sticking, ensure your Blackstone griddle is properly seasoned and hot before adding oil. Use a thin, even layer of oil, and don’t move the steak too early. Let it sear for a few minutes to form a crust; it will release naturally when ready to flip.
Should I press down on the steak while it cooks?
Avoid pressing down on your steak with a spatula. Many culinary experts agree that pressing squeezes out the valuable juices, leading to a drier steak. Let the griddle’s heat do its job; a natural crust will form without added pressure.
Can I add sauces or marinades to my steak on the Blackstone?
You can certainly add flavor. For marinades, it’s best to pat the steak dry before cooking to get a good sear, then you can brush on more marinade towards the end of cooking. For sauces, add them after the steak is cooked or use them for basting in the last minutes, like with butter and herbs.