To cook ribs on a Traeger pellet grill, start by preparing your ribs with a dry rub, then smoke them at 225°F for several hours until they reach tender perfection. This low-and-slow method ensures a delicious, smoky flavor and fall-off-the-bone texture.
You’ll achieve amazing results on your Traeger by applying the popular 3-2-1 method, wrapping the ribs during the middle phase to lock in moisture and tenderness. This approach is widely recommended for cooking ribs on a pellet grill.
- Get started by preparing your ribs with a fantastic dry rub.
- Set your Traeger to a low temperature, usually 225°F, for deep smoky flavor.
- Follow the 3-2-1 method: smoke for 3 hours, wrap for 2 hours, then unwrap and finish for 1 hour.
- Wrapping your ribs in foil or butcher paper is a key step for moisture and tenderness.
- Always check for tenderness, not just temperature, for truly perfect ribs.
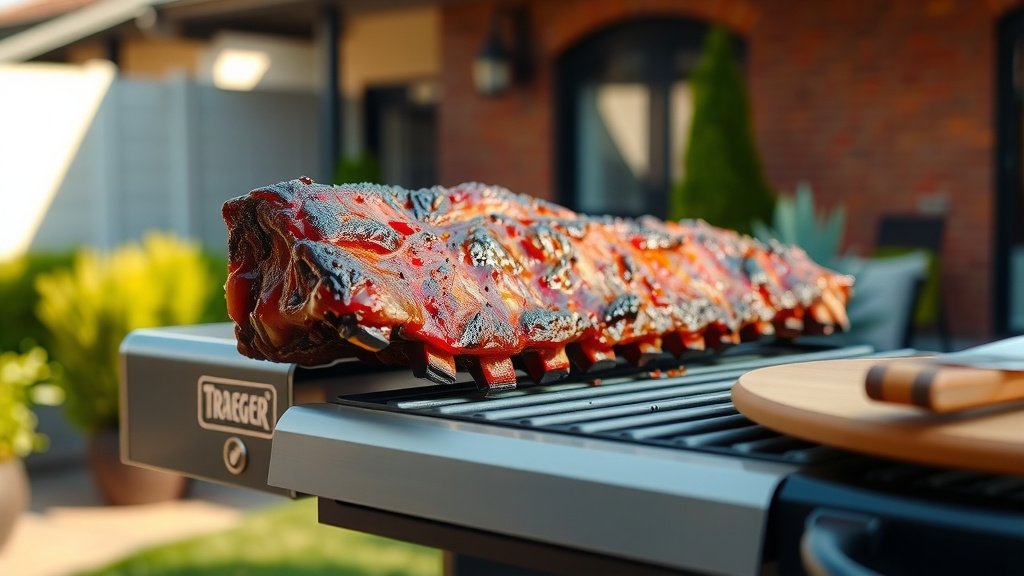
How To Cook Ribs On A Traeger Pellet Grill?
Cooking ribs on a Traeger pellet grill involves a simple yet effective process that delivers fantastic flavor and incredible tenderness. You’ll be proud to serve these ribs at your next gathering.
Understanding Your Traeger Grill
Your Traeger grill is a fantastic tool for smoking ribs due to its consistent heat and smoke production. It truly simplifies the art of smoking. Pellet grills are known for their set-it-and-forget-it convenience, which is perfect for a long rib cook.
Pellets Make a Difference
Different wood pellets impart unique flavors. We found that hickory, apple, or pecan pellets are popular choices for ribs. Each adds a slightly different character to your finished product.
Choosing the Best Ribs
Not all ribs are created equal, and your choice impacts the final dish. You’ll typically find two main types at your local butcher or grocery store. It is important to know the differences.
Pork Rib Types
You’ll usually choose between St. Louis style ribs or baby back ribs. Baby back ribs are leaner and cook faster, while St. Louis style ribs are meatier and take a bit longer. Many experts say that St. Louis style offers a richer flavor due to more fat content.
Preparing Your Ribs for the Traeger
Proper preparation is crucial for great ribs. Don’t skip these first steps, as they lay the foundation for flavor and texture. A little effort here goes a long way.
Removing the Membrane
Flip your ribs over and look for a thin, silverskin membrane on the bone side. Many chefs agree that removing this membrane is essential for tender ribs. It prevents a chewy texture and allows your rub to penetrate deeper.
Applying the Dry Rub
Once the membrane is off, it’s time for your dry rub. You can use a store-bought rub or your own blend of spices. Be generous and ensure all surfaces are covered, pressing it gently into the meat. Allow the rub to sit for at least 30 minutes, or even overnight in the fridge.
The Legendary 3-2-1 Method for Ribs
The 3-2-1 method is a cornerstone for cooking tender ribs on a pellet grill. It’s a widely accepted technique that balances smoke, moisture, and caramelization. This method is really straightforward and delivers consistently excellent results.
This approach breaks the cooking process into three distinct phases:
- 3 hours of smoking unwrapped.
- 2 hours of wrapping in foil or butcher paper.
- 1 hour unwrapped to finish.
Phase 1: Smoke (3 Hours)
Set your Traeger to 225°F and place your rubbed ribs directly on the grill grates. This initial phase is all about imparting deep smoke flavor. You’ll see the famous smoke ring starting to form.
Monitoring Temperature
Use an accurate grill thermometer to ensure your Traeger holds a steady temperature. Consistency is key during these first few hours. We found that even temperatures prevent uneven cooking.
Phase 2: Wrap (2 Hours)
After three hours, carefully remove the ribs. Wrap them tightly in heavy-duty aluminum foil or butcher paper. Many pitmasters add a splash of apple juice, cider vinegar, or even butter inside the wrap for extra moisture and flavor. This step really helps to break down connective tissue.
Why Wrapping Matters
Wrapping the ribs creates a braising effect. It steams the ribs in their own juices and any added liquid, making them incredibly tender. Research often connects this step with achieving that desirable “fall-off-the-bone” texture (Meat Science Journal).
Phase 3: Finish (1 Hour)
Unwrap your ribs after two hours in the foil. Place them back on the grill, still at 225°F. This final hour allows the bark to firm up and gives you a chance to apply your favorite BBQ sauce. Brush on the sauce lightly, letting it caramelize.
Sauce Application Tips
If you’re using BBQ sauce, apply it in the last 30-45 minutes of this phase. This prevents it from burning and allows it to create a nice glaze. You can apply multiple thin coats if you like.
Checking for Doneness
Ribs are done when they are tender, not just when they hit a specific internal temperature. You want them to have a slight pull-back from the bone. Many experts say a good indicator is when you can easily twist a bone free.
The Bend Test
Pick up the slab of ribs with tongs in the middle. If they bend significantly and crack, they’re likely done. This visual test is a simple way to gauge tenderness. You’ll get a feel for it quickly.
Resting Your Ribs
Once your ribs are done, remove them from the grill and let them rest for 10-15 minutes. This allows the juices to redistribute, ensuring a more moist and flavorful bite. It’s a small but important step for juicy ribs.
What About Ribs That Don’t Fall Off the Bone?
Some people prefer ribs with a bit more chew, where the meat stays on the bone but comes off cleanly with a bite. If you prefer this “competition style,” you might shorten the wrapping phase slightly. It’s all about your personal preference.
Here’s a quick overview of the cooking stages:
| Phase | Time | Temperature | Action |
|---|---|---|---|
| Smoke | 3 hours | 225°F | Unwrapped, apply smoke |
| Wrap | 2 hours | 225°F | Wrapped in foil/paper, add liquid |
| Finish | 1 hour | 225°F | Unwrapped, apply sauce (optional) |
Before you begin, here’s a quick checklist to ensure you’re ready:
- Have you removed the membrane from the ribs?
- Is your dry rub generously applied?
- Do you have enough wood pellets for a long cook?
- Is your Traeger grill clean and ready to go?
- Do you have foil or butcher paper on hand?
Conclusion
Cooking ribs on your Traeger pellet grill doesn’t have to be intimidating. By following the 3-2-1 method, you’re setting yourself up for success every time. You’ll enjoy ribs that are smoky, tender, and incredibly flavorful. Remember, practice makes perfect, and every cook is a chance to learn and refine your technique. So fire up that Traeger and get ready for some amazing ribs!
What kind of pellets are best for smoking ribs?
For smoking ribs, many grillers prefer hickory, apple, or pecan wood pellets. Hickory provides a strong, traditional smoke flavor, while apple offers a milder, sweeter note. Pecan delivers a rich, nutty aroma that pairs wonderfully with pork.
Should I spray my ribs while they are smoking?
Some people like to spritz their ribs with apple cider vinegar, apple juice, or even water during the initial smoking phase. This can help keep the surface moist and potentially aid in smoke absorption. It’s not strictly necessary, but can be a nice touch.
How do I know when my ribs are done without a thermometer?
You can check for doneness by performing the bend test; if the ribs bend significantly and the meat cracks on the surface when lifted in the middle with tongs, they are likely ready. Another good sign is when a bone wiggles easily or pulls cleanly from the slab.
Can I cook ribs faster than the 3-2-1 method?
While the 3-2-1 method is excellent for tenderness, you can certainly adjust times. For baby back ribs, a 2-2-1 or 2-1-1 method might work since they are smaller and leaner. Experiment to find what works best for your specific ribs and preference.
What if my ribs don’t “fall off the bone” after the 3-2-1 method?
If your ribs aren’t as tender as you’d like, they might need more time in the wrapped phase. Tenderness is a feel, not just a time. You can always wrap them back up for another 30-60 minutes until they reach your desired consistency. Different cuts and thicknesses can affect cooking times.