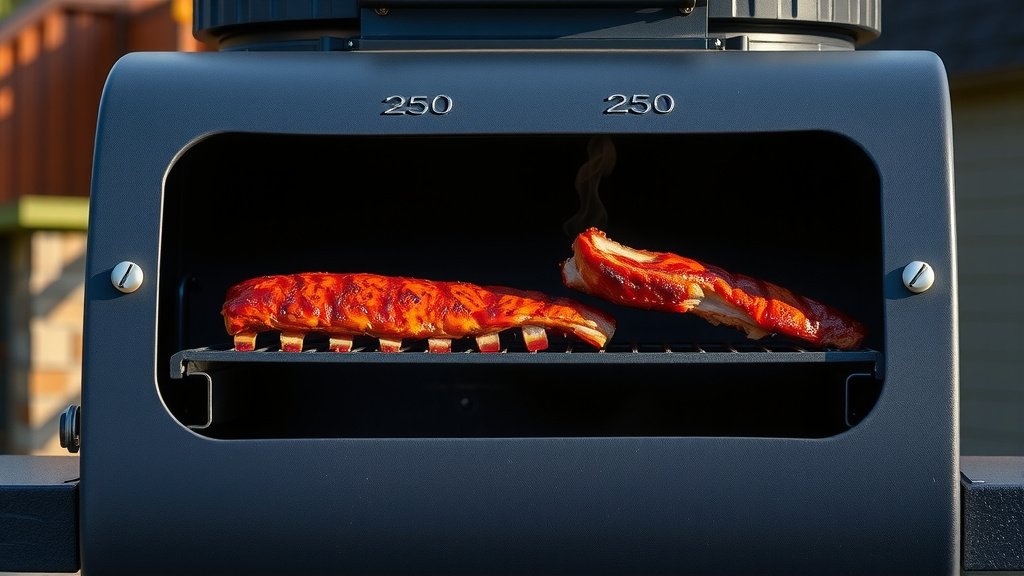
Cooking ribs on a pellet grill at 250 degrees Fahrenheit generally takes between 5 to 7 hours, depending on the type of ribs and their thickness.
For tender, fall-off-the-bone results, you are looking for an internal temperature of around 195-203°F.
Here’s a quick rundown for cooking your ribs:
- Plan for 5-7 hours total cook time at 250°F on your pellet grill.
- Baby back ribs usually finish faster than spareribs.
- The “3-2-1” method is popular: 3 hours smoke, 2 hours wrapped, 1 hour unwrapped.
- Always check for an internal temperature of 195-203°F for ultimate tenderness.
- Don’t rush the process; low and slow is the secret to amazing ribs.
How Long To Cook Ribs On Pellet Grill At 250?
When cooking ribs on a pellet grill at 250°F, you can expect a total cook time of about 5 to 7 hours.
This duration allows the connective tissues to break down, giving you those wonderfully tender results.
Understanding Your Ribs: Baby Back vs. Spareribs
Not all ribs cook at the same speed. The type of ribs you choose will affect your cooking time.
It’s like comparing a sprint to a marathon; both are runs, but very different in length.
Baby Back Ribs Cook Time
Baby back ribs are typically smaller and meatier, coming from the upper rib cage. They cook quicker.
At 250°F, you can expect them to take around 4.5 to 6 hours to reach perfection.
Spareribs Cook Time
Spareribs are larger, flatter, and have more bone and fat. These ribs require a bit more time on the grill.
You’ll usually look at 6 to 7.5 hours for spareribs at the same 250°F temperature.
The Magic of the 3-2-1 Method
The 3-2-1 method is a famous technique for ribs, especially for spareribs. It breaks the cooking process into three clear stages.
For baby back ribs, many pitmasters adjust it to a 2-2-1 method due to their smaller size.
Phase 1: The Smoke (Unwrapped)
This is where your ribs soak up all that beautiful, smoky flavor from your pellets. You leave them unwrapped during this stage.
For spareribs, this phase lasts 3 hours. For baby backs, aim for 2 hours.
Phase 2: The Wrap (Foil or Butcher Paper)
After their initial smoke, you wrap your ribs tightly in foil or butcher paper with a little liquid. This step tenderizes them significantly.
It creates a moist, steamy environment, often called the “Texas Crutch.” This phase typically runs for 2 hours for both types of ribs.
Phase 3: The Finish (Sauced or Dry)
The final hour is for setting your sauce, creating a nice bark, or just letting the ribs firm up a little. Unwrap them for this stage.
You can baste them with sauce or simply let them cook naked. This final phase takes 1 hour.
Checking for Doneness: More Than Just Time
Time is a guide, but your ribs will tell you when they are ready. Rely on feel and temperature for the best results.
Are they bending just right? What does your thermometer say?
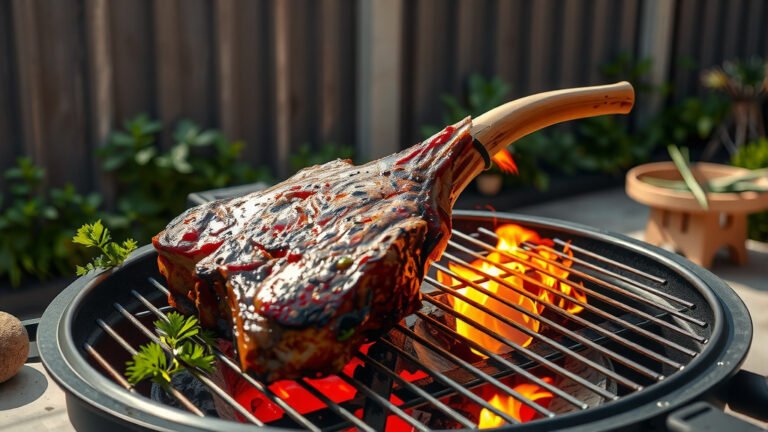
The Bend Test
Gently pick up a rack of ribs with tongs in the middle. If they are ready, the rack should bend significantly and almost break in half.
This visual cue indicates that the connective tissues have broken down nicely, leaving you with tender meat.
The Internal Temperature Sweet Spot
While often cooked to a higher temperature for tenderness, pork ribs are safely cooked when they reach 145°F (USDA).
For that pull-off-the-bone tenderness, we found that temperatures between 195°F and 203°F are ideal. Probe the thickest part of the meat, avoiding the bone.
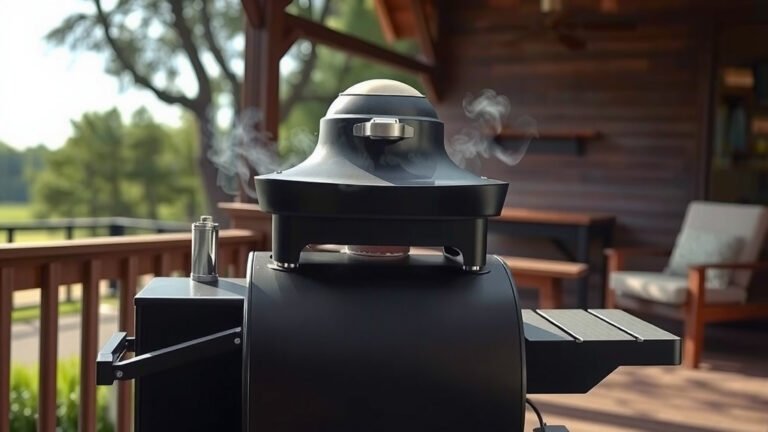
Achieving Consistency with Your Pellet Grill
Pellet grills are fantastic for ribs because they maintain a steady, consistent temperature. This means fewer temperature swings than traditional smokers.
Load your hopper with quality pellets and trust your grill to do its job.
Essential Rib Preparation Steps
Good ribs start long before they hit the grill. Proper preparation makes a big difference in the final product.
Don’t skip these crucial steps if you want truly amazing ribs:
- Remove the membrane: Flip the ribs over and peel off the thin, silvery membrane from the bone side. This prevents a chewy texture.
- Trim excess fat: Take off any large pockets of hard fat that won’t render down well during cooking.
- Apply your rub evenly: A good rub is key for flavor. Apply it generously to all sides of the ribs.
- Allow it to rest: Let the rub sit on the ribs for at least 30 minutes, or even overnight in the fridge.
- Preheat your grill: Always get your pellet grill up to temperature and stable before adding the ribs.
Common Rib Mistakes to Avoid
We all learn from our cooking adventures. Avoiding a few common errors can certainly improve your rib game.
Do you ever make these missteps when cooking?
- Cooking too hot, too fast: Ribs love low and slow. High heat makes them tough and dry.
- Not removing the membrane: This is a common oversight that leads to a less enjoyable texture.
- Opening the lid too often: Each time you peek, you lose heat and smoke, extending the cook time.
- Rushing the wrap phase: The wrap is for tenderizing. Cutting it short means tougher ribs.
- Over-saucing early: Sugary sauces can burn if applied too early in the cook. Add them in the last hour.
Troubleshooting Your Rib Cook
Sometimes things don’t go exactly as planned. Here’s a quick guide if you run into issues.
Understanding these fixes can save your next BBQ!
| Problem | Likely Cause | Quick Fix / What to Do |
|---|---|---|
| Ribs are tough | Not enough cook time; too high heat | Cook longer in the wrap phase; lower grill temperature |
| Ribs are dry | Overcooked; not enough moisture during wrap | Reduce cook time; add apple juice or broth in the wrap |
| Rub isn’t sticking | Ribs too dry before rub application | Mist with water or apple cider vinegar before rubbing |
| Sauce is burning | Applied too early; too much sugar | Apply sauce only in the last 30-60 minutes of cooking |
Conclusion
Cooking ribs on your pellet grill at 250°F is a rewarding experience, leading to incredibly tender and flavorful results. While specific times vary by rib type, remembering the 5 to 7-hour range is a great starting point.
Trust your grill, use the 3-2-1 method as a guide, and always check for that perfect internal temperature and bend. With a little patience, you’ll be serving up fantastic ribs that your friends and family will rave about. Happy grilling!
What kind of wood pellets are best for ribs?
Many pitmasters agree that fruit woods like apple and cherry, or milder woods like pecan and hickory, impart a wonderful flavor to ribs. Avoid overly strong woods like mesquite unless you prefer a very bold smoke profile.
Should I spray my ribs during cooking?
Spraying your ribs with apple cider vinegar, apple juice, or water every hour or so during the unwrapped smoking phase can help keep them moist and encourage smoke adhesion. It’s a popular technique many experts use.
Can I cook ribs without wrapping them?
Absolutely! Cooking ribs “naked” (without wrapping) is a valid and popular method, often preferred for a firmer bark and more intense smoke flavor. It might extend the cooking time slightly and you might need to manage moisture carefully.
How do I prevent my ribs from drying out on a pellet grill?
To prevent dry ribs, keep your grill temperature consistent, consider using the “wrap” phase with some liquid, and avoid overcooking them past the ideal tenderness temperature. Monitoring internal temperature is your best defense.
Do I need to let ribs rest after cooking?
Yes, letting your ribs rest for 10-15 minutes after they come off the grill allows the juices to redistribute throughout the meat. This simple step helps keep them juicy and makes them even more enjoyable to eat.