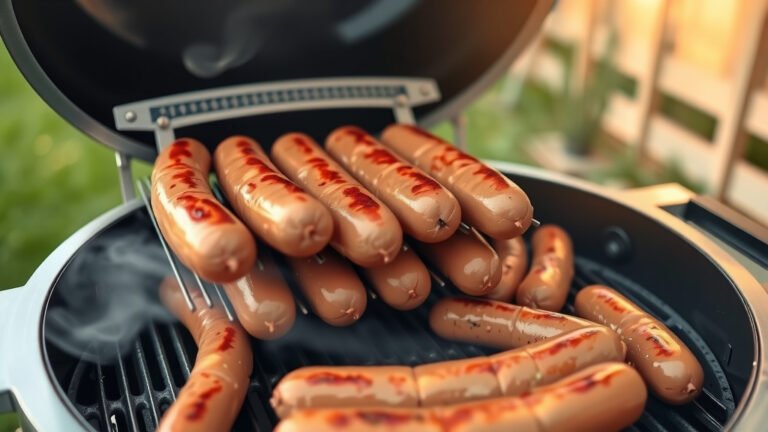
Cooking baby back ribs on a charcoal grill typically takes about 5-6 hours using the popular 2-2-1 method, where “2” signifies hours for smoking, “2” for wrapping, and “1” for saucing.
The exact time can vary based on grill temperature consistency, rib thickness, and external conditions, but always aim for an internal temperature of 195-203°F (90-95°C) for fall-off-the-bone tenderness.
TL;DR: Grilling baby back ribs on charcoal is a journey, not a sprint. Here’s the quick breakdown:
- Plan for 5-6 hours total cooking time.
- Use a two-zone fire setup for indirect heat.
- Follow the 2-2-1 method: 2 hours smoking, 2 hours wrapped in foil, 1 hour unwrapped and sauced.
- Achieve an internal temperature of 195-203°F for ultimate tenderness.
- Don’t forget to rest your ribs before slicing for juicier results.
How Long To Cook Baby Back Ribs On Charcoal Grill?
Cooking baby back ribs on a charcoal grill usually requires around 5 to 6 hours. This timeline includes various stages like smoking, wrapping, and a final glaze to get them just right.
Achieving that perfect balance of smoky flavor and melt-in-your-mouth texture takes patience and mindful temperature control.
Why Charcoal Makes a Difference
Charcoal grilling brings a unique, deep smoky flavor that gas grills can’t quite replicate. The natural smoke from burning charcoal and added wood chunks really transforms your ribs.
It also gives you incredible heat control once you master a two-zone setup, which is crucial for slow-cooking ribs. Many grill masters agree that charcoal is the way to go for ribs (AmazingRibs.com).
Prep Your Ribs for Success
Before any heat hits your ribs, some simple prep work makes a huge difference. Think of it as laying the groundwork for a delicious masterpiece.
Proper preparation ensures your rub sticks, and your ribs cook evenly, becoming tender all the way through.
The Membrane Matters
Flip your rack of ribs over to the bone side. You’ll notice a thin, papery membrane covering the bones.
This membrane becomes tough and chewy when cooked. We found that removing it helps the rub penetrate better and makes for a much more enjoyable eating experience.
Simply slide a knife under one corner, lift it, and pull it off with a paper towel for grip. It comes off easier than you might think!
Your Rub, Your Rules
After membrane removal, it’s time for your rub. This is where you inject a burst of flavor.
Generously coat both sides of the ribs with your favorite dry rub. Don’t be shy; pat it down gently so it adheres well.
For best results, let the rub sit on the ribs in the refrigerator for at least 30 minutes, or even overnight, allowing those flavors to marry.
Setting Up Your Charcoal Grill
The key to success with ribs on charcoal is a two-zone fire. This setup allows for indirect cooking, which is essential for low and slow BBQ.
Pile your lit charcoal on one side of the grill, leaving the other side empty. This creates a hot zone for searing (if you ever need it) and a cooler, indirect zone for the ribs.
Direct vs. Indirect Heat
With ribs, you almost exclusively use indirect heat. Direct heat over hot coals would burn the outside before the inside even starts to get tender.
The indirect side allows the ribs to cook slowly and evenly, absorbing all that wonderful smoky flavor without charring.
The 2-2-1 Method for Baby Back Ribs
The 2-2-1 method is a widely beloved approach for cooking baby back ribs on a charcoal grill. It breaks down the cooking process into distinct phases, ensuring consistently tender and flavorful results.
This method keeps your ribs moist and tender while building layers of flavor. Many experts recommend it for beginners and seasoned grillers alike (National Pork Board).
- Phase 1: Smoke (2 Hours) – Place ribs on the indirect side of the grill. Maintain a consistent grill temperature of 225-250°F (107-121°C). Add wood chunks (hickory, apple, or cherry) to the coals for smoke.
- Phase 2: Wrap (2 Hours) – Remove ribs, wrap them tightly in foil with a splash of apple juice or broth. Return to the indirect heat, maintaining the same grill temperature.
- Phase 3: Finish (1 Hour) – Unwrap the ribs, apply your favorite BBQ sauce, and return them to the indirect heat. Cook until the sauce caramelizes and the ribs reach their desired tenderness.
Phase 1: Smoke Time
During the initial two hours, your ribs are exposed to pure smoke and gentle heat. This is where they absorb that incredible smoky aroma and flavor.
Keep your grill lid closed as much as possible to maintain a stable temperature and keep the smoke circulating around the meat. Resist the urge to peek often.
Phase 2: The Foil Wrap
Wrapping the ribs in foil creates a moist, steamy environment. This helps to tenderize the meat significantly and prevents them from drying out.
Many pitmasters add a small amount of liquid, like apple juice, beer, or broth, into the foil packet. This adds moisture and helps break down connective tissue.
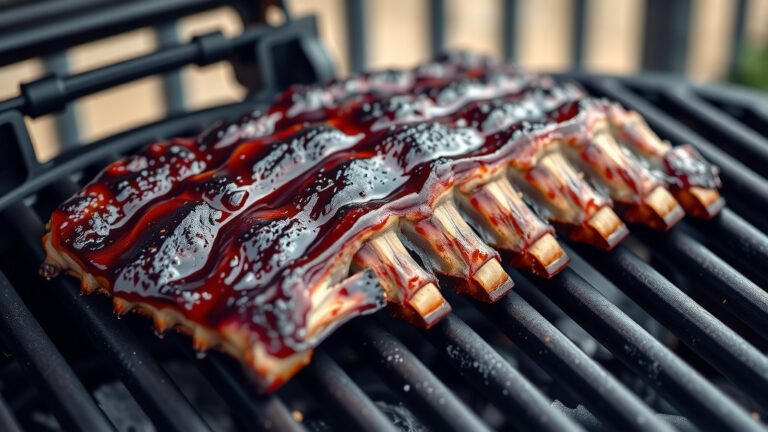
Phase 3: Finishing Strong
The final hour is all about saucing and setting that glaze. Unwrapped, the ribs firm up slightly, and the sauce adheres beautifully, creating a sticky, caramelized layer.
Keep an eye on them during this stage to prevent burning, especially if your sauce has a high sugar content. You want a nice glaze, not a char.
Temperature is Your Best Friend
Monitoring both your grill temperature and the internal temperature of your ribs is non-negotiable for success. A reliable grill thermometer and an instant-read meat thermometer are critical.
We found that consistent grill temperatures around 225-250°F (107-121°C) provide the best environment for slow-cooked ribs. Don’t rush the process with high heat.
| Cooking Stage | Grill Temperature (Target) | Internal Rib Temperature (End of Stage) |
|---|---|---|
| Smoking (Phase 1) | 225-250°F (107-121°C) | Not primary focus, but rising |
| Wrapping (Phase 2) | 225-250°F (107-121°C) | Approaching 185-195°F (85-91°C) |
| Finishing (Phase 3) | 225-250°F (107-121°C) | 195-203°F (90-95°C) |
Signs Your Ribs Are Done
Beyond internal temperature, there are visual and physical cues indicating your ribs are ready. You want them tender, but not falling off the bone completely, which can mean they are overcooked.
The meat should have pulled back from the ends of the bones, exposing about a quarter to a half-inch of bone.
One common test is the bend test: pick up a rack with tongs in the middle. If it bends easily and starts to crack on the surface, they’re likely done. Another good sign is the toothpick test; if a toothpick slides in and out between the bones with little resistance, you’ve hit the sweet spot.
Rest Your Ribs
Once your ribs are cooked to perfection, the hardest part is waiting. But trust us, resting them is a vital step.
After removing them from the grill, tent them loosely with foil and let them rest for 10-15 minutes. This allows the juices to redistribute throughout the meat, resulting in a more succulent and flavorful rack.
Troubleshooting Common Rib Issues
Even seasoned grillers face challenges. Don’t get discouraged if your first batch isn’t perfect; practice makes perfect, after all!
If your ribs are tough, it usually means they didn’t cook long enough or at a consistent low temperature. If they’re dry, perhaps the grill temperature was too high or they were unwrapped for too long.
Adjusting your grill setup and closely monitoring temperatures will help you avoid these pitfalls.
Essential Tools for Grilling Ribs
Having the right gear makes your grilling experience much smoother and more enjoyable. These tools are often overlooked but are incredibly helpful.
They help you maintain control and accuracy throughout the long cooking process, leading to consistently better results.
- Reliable Grill Thermometer: To monitor grill chamber temperature accurately.
- Instant-Read Meat Thermometer: Crucial for checking internal rib temperature.
- Long-Handled Tongs: For safely moving ribs around the grill.
- Heat-Resistant Gloves: Protect your hands when dealing with hot grates and coals.
- Spray Bottle: For spritzing ribs with apple cider vinegar or juice to keep them moist.
- Aluminum Foil: Heavy-duty is best for wrapping ribs in Phase 2.
Conclusion
Grilling baby back ribs on a charcoal grill is a truly rewarding experience, offering an unmatched depth of flavor and tenderness. While it takes time, usually 5-6 hours following the 2-2-1 method, the journey is just as enjoyable as the destination.
Focus on maintaining a consistent indirect heat, monitor your temperatures closely, and don’t skip the crucial resting period. With a little patience and these tips, you’ll be serving up delicious, fall-off-the-bone ribs that will impress everyone.
What kind of charcoal is best for baby back ribs?
Lump charcoal is often preferred for grilling ribs because it burns hotter, cleaner, and imparts a more natural smoky flavor than briquettes. However, high-quality briquettes can also work well, especially if you prefer a longer, more consistent burn time.
Can I cook baby back ribs faster on a charcoal grill?
While you can increase the grill temperature to cook ribs faster, it’s generally not recommended for baby back ribs. Higher heat risks drying out the meat or burning the outside before the connective tissues have properly broken down, resulting in tough ribs. Low and slow is the secret to tender ribs.
How do I add smoke flavor to my ribs without a smoker?
On a charcoal grill, you can add smoke flavor by placing wood chunks (like hickory, apple, or cherry) directly onto your lit coals. Avoid wood chips, as they burn too quickly. Soak the wood chunks for about 30 minutes before adding them to help them smolder rather than burn rapidly.
What internal temperature is safe for cooked ribs?
Pork ribs are technically safe to eat at 145°F (63°C) (USDA). However, for that classic tender, “fall-off-the-bone” texture, you’ll want to cook baby back ribs to a much higher internal temperature, typically between 195-203°F (90-95°C). This higher temperature is necessary to fully break down the collagen and connective tissues.
Should I flip baby back ribs while cooking on charcoal?
During the smoking and wrapping phases using indirect heat, you generally don’t need to flip baby back ribs. The indirect heat cooks them evenly from all sides. During the final unwrapped, saucing phase, you might rotate them once or twice to ensure even caramelization of the sauce, but frequent flipping is unnecessary.