To grill a ribeye on a charcoal grill, first establish a two-zone fire: one side hot for searing and the other cooler for finishing. Season your steak well, sear it for 2-3 minutes per side over direct heat, then move it to the indirect zone to reach your desired internal temperature, using a meat thermometer for accuracy.
For an exceptionally flavorful ribeye, bringing your steak to room temperature before cooking and allowing it to rest after grilling are essential steps for juiciness and tenderness.
- To grill a fantastic ribeye on charcoal, start with a thick, well-marbled steak.
- Set up a two-zone fire on your charcoal grill for perfect searing and even cooking.
- Always season your ribeye generously and bring it to room temperature before grilling.
- Use a meat thermometer to track the steak’s internal temperature, ensuring it reaches your preferred doneness.
- Don’t forget to let your ribeye rest after cooking; this locks in the juices for a tender bite.
How To Grill Ribeye On Charcoal Grill?
Grilling a ribeye on a charcoal grill offers a fantastic smoky flavor that’s hard to beat. You’ll master this quickly by understanding a few key temperature zones and techniques.
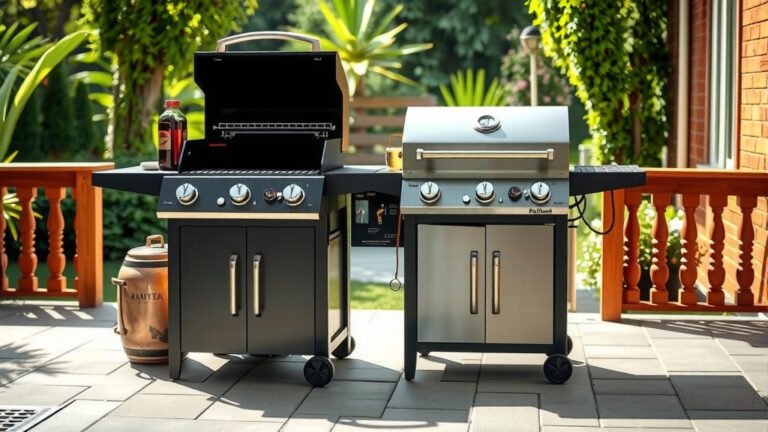
Why Charcoal for Ribeye?
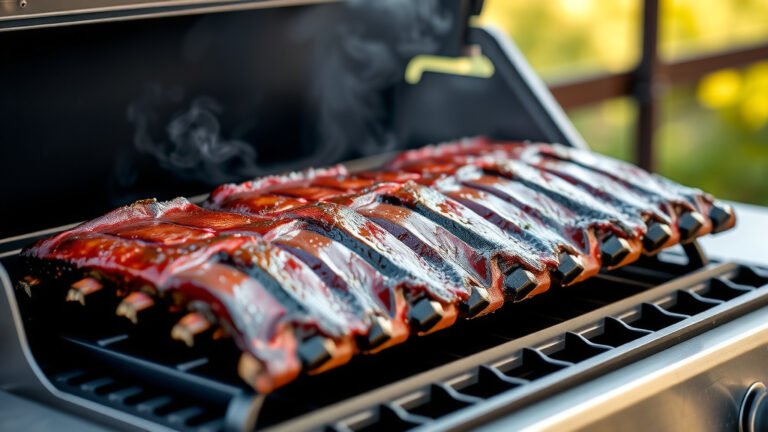
Charcoal grills provide a unique, smoky flavor that gas grills often struggle to replicate. The high, direct heat from charcoal also creates that wonderful crusty sear you crave on a ribeye.
Many grill masters agree that charcoal adds depth. We found this method truly brings out the rich beefy taste of a good ribeye, enhancing its natural qualities.
Choosing Your Ribeye
Selecting the right ribeye is your first step to success. Look for a steak that’s at least 1.5 to 2 inches thick. This thickness allows for a great sear without overcooking the inside.
Ample marbling, those little streaks of fat, is another sign of a good ribeye. This fat melts during cooking, keeping your steak juicy and flavorful (USDA Prime grades often show this well).
Getting Your Grill Ready
Setting up your charcoal grill correctly is very important. You need a two-zone fire: one side for high, direct heat and the other for medium, indirect heat. This allows for searing and then gentle cooking.
Arrange your lit charcoal on one side of the grill. This creates your hot zone. Leave the other side empty for your cooler, indirect zone. We find lump charcoal burns hotter and cleaner, offering a great option.
Essential Grilling Tools
Having the right tools makes grilling easier and safer. Do you have everything ready before you start cooking?
- Good quality tongs for turning.
- A reliable meat thermometer.
- Grill brush for cleaning grates.
- Heat-resistant gloves.
- A cutting board with a juice channel.
Seasoning Your Steak Perfectly
For a ribeye, simple seasoning is often the best. Coarse kosher salt and freshly ground black pepper are your best friends. Apply them generously to all surfaces of the steak.
Many experts say to season your steak at least 30 minutes before grilling, or even overnight if you can. This allows the salt to penetrate the meat, drawing moisture out and then reabsorbing it, creating a richer flavor.
Room Temperature Is Key
Allowing your ribeye to come to room temperature before grilling is a step many people skip. Yet, it dramatically affects how evenly your steak cooks. Cold meat takes longer to heat through.
We found that a ribeye allowed to sit out for 30-60 minutes before hitting the grill will cook more evenly from edge to center. This means a better sear and a more tender interior.
Grilling Times and Temperatures
Achieving your desired doneness is key. Always use a meat thermometer for accuracy. Start by searing your ribeye over the direct, hot charcoal zone for a fantastic crust.
After searing, move your steak to the indirect zone to finish cooking. This prevents the outside from burning while the inside reaches its perfect internal temperature. Doneness levels are crucial for enjoyment.
| Doneness Level | Internal Temperature | Appearance |
|---|---|---|
| Rare | 120-125°F (49-52°C) | Cool red center |
| Medium-Rare | 130-135°F (54-57°C) | Warm red center |
| Medium | 135-140°F (57-60°C) | Warm pink center |
| Medium-Well | 140-145°F (60-63°C) | Slightly pink center |
| Well-Done | 150°F+ (66°C+) | Little to no pink |
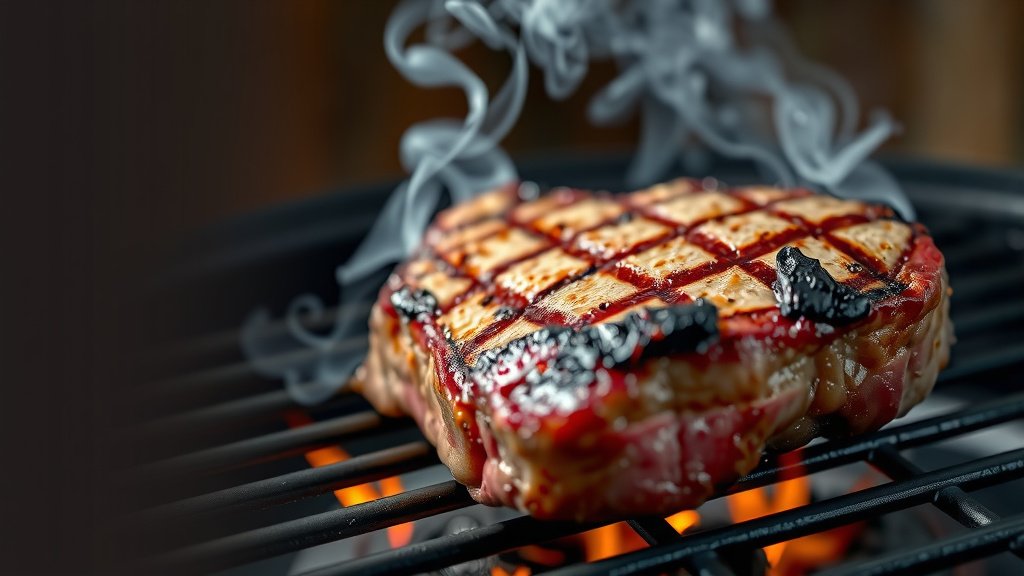
Mastering the Sear
The sear is what gives your ribeye that irresistible crust. Place your seasoned, room-temperature steak directly over the hottest part of your charcoal. Sear for about 2-3 minutes per side.
You’re looking for a rich, dark brown crust. Don’t be afraid of the high heat; it’s what creates those amazing flavors. This initial searing process is vital for texture and flavor development.
Using a Meat Thermometer
A reliable meat thermometer is your best friend when grilling. It takes the guesswork out of determining doneness. Insert the probe into the thickest part of the steak, avoiding any bone.
You want to pull your steak off the grill when it’s about 5°F below your target temperature. Why? Because the steak will continue to cook a bit during the resting phase, known as carryover cooking.
The Crucial Resting Period
After your ribeye reaches its target temperature, remove it from the grill immediately. Place it on a cutting board, ideally one with a juice groove, and tent it loosely with foil.
Allow the steak to rest for at least 5-10 minutes. This resting period is critical because it allows the juices to redistribute throughout the meat, resulting in a much juicier and more tender steak (Cook’s Illustrated often highlights this).
Slicing Your Ribeye
Once your ribeye has rested, it’s time to slice it. For maximum tenderness, always slice against the grain. Look at the muscle fibers and cut across them, not parallel to them.
Thin slices against the grain shorten the muscle fibers, making each bite more tender and easier to chew. This final step ensures a pleasant eating experience.
Troubleshooting Common Issues
Grilling can sometimes present challenges, but don’t worry. If you see flare-ups, which are sudden bursts of flame, simply move your steak to the cooler, indirect side of the grill until the flames die down.
Uneven cooking might occur if your charcoal isn’t evenly distributed. Try to spread your coals uniformly in the direct zone for consistent heat. Remember, practice makes perfect when mastering your grilling technique.
Conclusion
Grilling a perfect ribeye on a charcoal grill is a rewarding experience that produces incredible flavor. By mastering the two-zone setup, proper seasoning, accurate temperature monitoring, and the all-important resting period, you’ll consistently create a steak that’s both juicy and tender. So, fire up that charcoal and enjoy the journey to grilled perfection!
What kind of charcoal is best for grilling ribeye?
Many grilling experts recommend using lump charcoal for ribeye. It burns hotter and produces a cleaner smoke flavor compared to briquettes. Its irregular shapes also help create varied heat zones, which is useful for two-zone grilling.
Should I oil the ribeye or the grill grates?
It’s generally better to oil the ribeye itself rather than the grill grates. A light coat of high-smoke-point oil on the steak helps prevent sticking and promotes a better sear. Oiling the grates can sometimes cause flare-ups if too much oil drips onto the coals.
How do I prevent my ribeye from drying out on the grill?
To prevent your ribeye from drying out, avoid overcooking it by always using a meat thermometer. Also, ensure you pull the steak off the grill a few degrees before your target doneness and let it rest adequately. Resting allows the juices to redistribute, keeping the steak moist.
Can I add wood chips to my charcoal grill for extra flavor?
Yes, adding wood chips can enhance the smoky flavor of your ribeye. Soak a handful of wood chips (like oak or hickory) in water for about 30 minutes, then place them directly on the hot charcoal. This creates flavorful smoke for your steak.
What’s the best way to clean my charcoal grill after cooking ribeye?
The best way to clean your charcoal grill after cooking is to scrape the grates with a sturdy grill brush while they are still warm. This removes any cooked-on food residue easily. For the grill body, wait until it’s completely cool before removing ash and wiping down surfaces.