
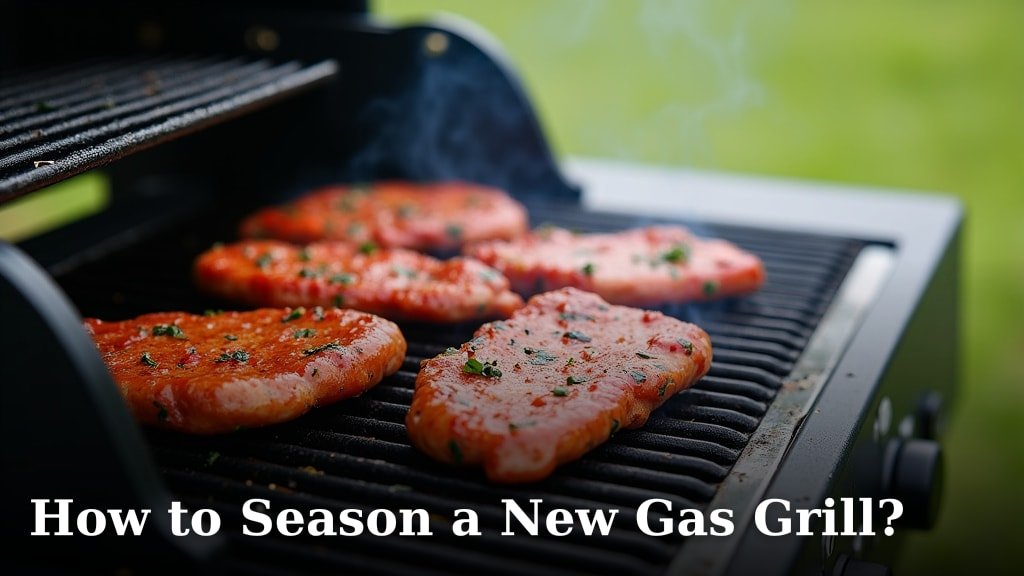
Seasoning your new gas grill is a quick and essential step for its long-term performance. You can season a new gas grill by heating it up with oil, which helps create a protective, non-stick surface. This process is also known as curing and is vital for preventing rust and ensuring even cooking.
Why is this important? Think of it like breaking in a new pair of shoes. A well-seasoned grill cooks better and lasts longer. We found that skipping this step can lead to uneven hot spots and, over time, a grill that’s harder to keep clean. It’s a small effort that yields big grilling rewards.
- Seasoning creates a protective layer.
- It prevents rust and corrosion.
- This step ensures better, even cooking.
- It makes your grill easier to clean.
- It helps your grill last longer.
Ready to get your grill prepped for its first delicious meal? Let’s walk through exactly how to season your new gas grill step by step.
Getting Your New Gas Grill Ready to Cook
So, you’ve got a shiny new gas grill! That’s fantastic. Before you fire it up for that first burger or steak, there’s one essential prep step we need to cover: seasoning. Think of it as a spa day for your grill. Seasoning, sometimes called curing, is how you protect its metal parts. It creates a natural, non-stick surface. This keeps your food from sticking and prevents that dreaded rust from forming. We found that a properly seasoned grill not only cooks better but also lasts much longer. It’s a small but mighty step for grilling success.
Why is Seasoning Your Gas Grill So Important?
You might be wondering why you need to season a new grill. Isn’t it ready to go straight out of the box? Not quite! New gas grills, especially the grates, often have a protective coating from the manufacturer. This coating needs to be burned off. Seasoning accomplishes this and then builds a protective layer. It’s kind of like seasoning a cast-iron pan. Without it, you’re more likely to deal with food sticking. You’ll also notice rust spots appearing much faster. Many grill enthusiasts agree that this is the single best way to ensure your grill performs well right from the start.
Preventing Rust and Corrosion
Your grill lives outdoors, exposed to the elements. Rain, humidity, and even salt in the air can wreak havoc on metal. Seasoning creates a barrier against moisture. This barrier helps prevent oxidation, which is the technical term for rust. We found that grills that are regularly seasoned tend to look newer for longer. They resist those unsightly orange streaks and maintain their structural integrity.
Creating a Natural Non-Stick Surface
Nobody enjoys scraping burnt-on food bits off their grill grates. Seasoning helps create a smoother, more slick surface. The oil used during seasoning polymerizes, forming a natural, non-stick layer. This means your burgers and veggies won’t get stuck. Food slides off easily. This makes grilling a much more enjoyable experience. It also cuts down on cleaning time later.
Ensuring Even Heat Distribution
A well-seasoned grill often cooks more evenly. The polymerized oil layer can help distribute heat more uniformly across the cooking surface. This means fewer hot spots and cold spots. You get more consistent results every time you cook. We found that this even heat is key for perfectly cooked food, from searing steaks to roasting vegetables.
Steps to Season Your New Gas Grill
Now for the fun part: getting your grill ready for its first feast! The process is straightforward and won’t take long. You’ll need a few simple supplies. Most of these you probably already have in your kitchen or garage. Don’t overthink it; it’s a very forgiving process. Let’s break it down.
Gather Your Supplies
Before you start, make sure you have these items ready:
- Cooking Oil: High smoke point oils are best. Think vegetable, canola, or grapeseed oil. Olive oil can work in a pinch, but it burns off faster.
- Paper Towels or a Lint-Free Cloth: You’ll need these to apply the oil.
- Long-Handled Tongs or Grill Brush: For safely moving hot grates.
- Grill Gloves or Oven Mitts: For protecting your hands.
Prepare Your Grill
First, ensure your grill is assembled correctly and all parts are in place. Remove any packaging materials. Then, it’s time to clean the grates. Even new grates can have manufacturing residue. Use a good grill brush to scrub away any debris. Many experts recommend a thorough initial cleaning, even if the grates look clean.
Turn On the Grill
Next, you’ll fire up your grill. Make sure the propane tank is connected securely. Close the lid and turn all the burner control knobs to the highest setting. Let the grill preheat for about 10-15 minutes. This initial burn-off helps remove any lingering manufacturing coatings. It also gets the grates nice and hot, ready for seasoning.
Apply the Oil
This is the core of the seasoning process. Carefully open the grill lid. Using your long-handled tongs, remove the cooking grates. Be cautious, as they will be hot. Place them on a heat-resistant surface, like a patio table covered with newspaper or a heat mat. Now, take your paper towels or cloth, dip them lightly in your chosen cooking oil, and wipe down the grates. You want to apply a thin, even coat of oil to all cooking surfaces – the top, bottom, and sides of each grate bar. Some people prefer to use a spray oil for this step, which can be easier.
Oiling the Grates: A Step-by-Step Breakdown
Here’s how to get that oil applied effectively:
- Dip a wadded-up paper towel into the oil.
- Hold it with tongs to avoid burning your fingers.
- Apply a thin layer of oil to all parts of the grate you can reach.
- Don’t let oil drip excessively. A thin coat is all you need.
Heat the Grates
Once oiled, carefully place the grates back onto the hot grill. Close the lid. Let the grill run at its highest heat setting for about 15-20 minutes. You might notice some smoke. This is normal! The oil is heating up and starting to polymerize, bonding to the metal. This is the protective layer forming. We found that the longer you let it heat, the better the seasoning layer bonds.
Repeat the Process
For the best results, you’ll want to repeat the oiling and heating process. Turn off the grill. Let the grates cool slightly so you can handle them safely. Again, remove the grates and apply another thin layer of oil to all surfaces. Place them back on the grill and heat again for 15-20 minutes. Many seasoned grillers recommend repeating this oiling and heating cycle two to three times. This builds up a robust, durable seasoning layer.
Seasoning Other Grill Parts (Optional but Recommended)
While the grates are the most critical part, you can also season other components. Some people like to lightly oil the flavorizer bars (the metal shields over the burners). You can also season the inside walls of the grill. Use a paper towel with a very light coat of oil. Just wipe them down. This helps prevent rust and keeps the inside clean. However, you want to be careful not to get oil near the gas burners themselves. Many manufacturers advise against oiling the burners directly.
Final Burn-Off and Cool Down
After your final oiling and heating cycle, let the grill cool down completely. You can do a final short burn-off at high heat for about 5-10 minutes to ensure everything is dry and set. Once the grill is fully cool, you can give the grates a light brush. Your grill is now seasoned and ready for its debut!
Your Grill’s New Best Friend: Regular Seasoning
Seasoning isn’t just a one-time event. To keep your grill in top shape, you should re-season it periodically. This is especially important after deep cleaning or if you notice food starting to stick. A good rule of thumb is to season your grill every few months, or before a big grilling season starts.
Think of it as maintenance. Just like changing the oil in your car, this simple step keeps your grill running smoothly and looking good. We found that a consistent seasoning routine dramatically extends the life of your grill. It ensures every cooking session is a pleasure, not a chore.
How Often Should You Re-Season?
The frequency depends on a few factors:
- Usage: If you grill multiple times a week, you might need to re-season more often.
- Cleaning Habits: Aggressive cleaning can sometimes strip the seasoning.
- Environment: Grills in very humid or salty areas may need more frequent attention.
- Observation: If food starts sticking, or you see rust spots, it’s time to re-season.
Quick Re-Seasoning Tip
For a quick touch-up, heat your grill to medium-high. Apply a thin coat of oil to the hot grates using tongs and paper towels. Let it heat for about 10 minutes. This is a great way to maintain the non-stick surface between deeper cleans.
A Quick Checklist for Seasoning Your Grill
Here’s a simple checklist to guide you through the process:
- Assemble grill and remove all packaging.
- Scrub grates clean with a grill brush.
- Preheat grill on high for 10-15 minutes.
- Remove grates, apply thin oil layer.
- Reheat grates on grill for 15-20 minutes.
- Repeat oiling and heating 2-3 times.
- Allow grill to cool completely.
Conclusion
You’ve successfully seasoned your new gas grill, and that’s a fantastic accomplishment! You’ve created a protective, non-stick surface that will help prevent rust and ensure your food cooks evenly. This initial step is the foundation for countless delicious meals to come. Think of it as giving your grill the best possible start. Now that your grill is prepped and ready, your next step is simple: fire it up and enjoy your very first grilled creation!
Frequently Asked Questions
What if my new grill grates look perfectly clean?
Even if your grates appear clean, they may have a factory coating that needs to be removed. Seasoning burns this off and then creates a beneficial layer. We found that skipping this step can lead to sticking and rust later on.
Can I use olive oil to season my grill?
While you can use olive oil in a pinch, it’s better to use oils with a higher smoke point like vegetable or canola oil. These oils withstand higher heat without burning off too quickly, creating a more durable seasoning layer.
How long does the entire seasoning process take?
The initial seasoning process, including repeating the oiling and heating steps, typically takes about an hour to an hour and a half. This includes prep time and cooling periods between cycles.
Should I season the inside of my gas grill lid?
It’s generally not necessary to season the inside of the lid. Focus your efforts on the grates and possibly the flavorizer bars. Excessive oiling inside the lid can sometimes drip onto the food.
What should I do if my food starts sticking after a few uses?
If food begins sticking, it’s a sign that the seasoning layer may be wearing thin. You can perform a quick re-seasoning by heating the grill, applying a thin coat of oil to the hot grates, and letting it heat for about 10 minutes to help rebuild that non-stick surface.
