
Yes, you can absolutely replace your grill burners yourself, and it’s often easier than you might think. This DIY project can restore your grill’s even heating and prevent those annoying hot spots. You’ll likely need just a few basic tools to get your grill cooking like new again. Saving money on repair bills is a big bonus!
When your grill burners are failing, you might notice uneven cooking or that your grill struggles to reach the desired temperature. Replacing them is a common grill maintenance task that many homeowners can handle with confidence. A properly functioning burner is key to achieving delicious, evenly grilled food every time, giving you more control over your cooking. Getting this right ensures a better grilling experience.
- Check your grill’s manual for specific burner types.
- Gather necessary tools like a screwdriver and wrench.
- Turn off the gas supply completely before starting.
- Carefully remove old burners and install the new ones.
- Test your grill to ensure everything works safely.
Let’s walk through exactly how to get those old, tired burners out and new ones in, step by step.
Getting Your Grill Burners Replaced Like a Pro
Replacing your grill burners is a straightforward DIY task. You can do this yourself with common tools. This process restores your grill’s even heating. It prevents annoying hot spots on your food. Saving money on professional repairs is a nice bonus too. Let’s get started!
Why Your Grill Burners Need Replacing
Grill burners don’t last forever. They can corrode over time. This is especially true if you grill frequently. You might notice uneven cooking patterns. Your grill might struggle to reach high temperatures. This is a clear sign your burners are failing. Damaged burners can also cause flare-ups. This is due to uneven gas distribution. Replacing them ensures safe and efficient grilling. It brings back that consistent heat you need for perfect results.
Signs of Deteriorating Grill Burners
How can you tell if your burners are the problem? Watch for a few key indicators. You’ll see uneven heat distribution across the grill grates. Some spots will be much hotter than others. This leads to burnt edges and undercooked centers. Your grill may also take much longer to heat up. It might not even reach the temperatures you set. You might also see rust or corrosion on the burners themselves. Sometimes, you can even see small holes or cracks. These issues all point to worn-out burners. Ignoring them can lead to poor cooking and even safety hazards.
The Benefits of New Grill Burners
Investing in new grill burners offers great rewards. Your food will cook more evenly. This means no more burnt burgers or underdone chicken. You’ll regain control over your grill’s temperature. This makes cooking more predictable and enjoyable. A well-functioning burner system is safer. It reduces the risk of gas leaks or flare-ups. You’ll extend the life of your entire grill. It’s a cost-effective way to breathe new life into an older appliance. Many users report a much better grilling experience overall.
Gathering Your Grill Replacement Parts and Tools
Before you begin, make sure you have everything ready. This prevents interruptions. It also ensures you can complete the job efficiently. Having the right parts and tools on hand makes the process smooth. We’ve found that being prepared is half the battle.
Identifying the Correct Replacement Burners
This is a critical step. Not all burners are the same. You need to find the exact fit for your grill model. Your grill’s manual is your best friend here. It will list the correct part numbers for your burners. If you don’t have the manual, check the manufacturer’s website. They often have downloadable manuals or parts diagrams. You can also look for a label on your grill itself. It might list the model number. You can then search for “replacement burners [your grill model number].” We found that online retailers specializing in grill parts are very helpful. They often have compatibility checkers.
Essential Tools for the Job
You won’t need a full workshop for this. Most common household tools will suffice. You’ll likely need a screwdriver set. This should include Phillips head and flathead drivers. A wrench or socket set is also important. You’ll use this to loosen nuts and bolts. Sometimes, pliers can be helpful for stubborn parts. A wire brush is useful for cleaning. You might need a shop vacuum to clean up debris. Always have some gloves handy. This protects your hands from grease and sharp edges. A flashlight or headlamp is great for visibility.
Safety First: Disconnecting the Gas
This is the most important step. Never attempt to work on your grill with the gas turned on. Locate the propane tank. Turn the valve on the tank clockwise until it stops. This completely shuts off the gas supply. For natural gas grills, you’ll need to find the shut-off valve for your line. This is often near the grill. If you’re unsure, consult your home’s utility shut-off information. Many experts emphasize this safety precaution (CDC). Always double-check that the gas is off. This prevents leaks and potential accidents.
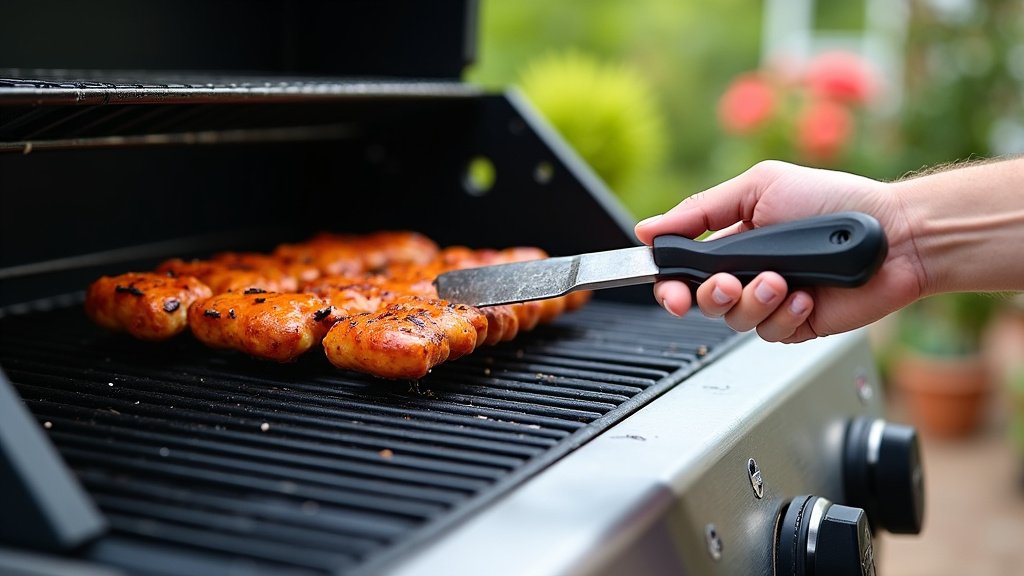
Step-by-Step Guide to Replacing Grill Burners
Now, let’s get to the actual replacement process. We’ll break it down into manageable steps. Follow along carefully, and you’ll have your grill cooking again in no time.
Removing the Grill Grates and Heat Tents
First, remove the cooking grates. They usually lift straight out. Next, you’ll need to remove the heat tents or flavorizer bars. These sit above the burners. They protect the burners from grease and drippings. They also help vaporize drippings for added flavor. These usually lift out as well. Some might have clips or screws. Just be gentle and observe how they are attached. This makes reassembly easier.
Accessing and Detaching the Old Burners
With the grates and heat tents out, you can see the burners. They are typically held in place by screws or clips. Look underneath the grill firebox. You might need to remove a bottom panel or tray. This gives you access to the burner mounting hardware. Use your screwdriver or wrench to remove any screws. Some burners might slide out. Others might pivot or lift up. Note how each burner is connected. There might be small screws holding them to the gas tubes. Carefully detach these connections. Pull the old burners out gently.
Cleaning the Grill Interior
This is the perfect time for a good cleaning. Use your wire brush to scrape away any built-up gunk. Get into all the corners. Use your shop vacuum to remove loose debris and ash. A clean grill is a happy grill. This also helps prevent future clogs. We found that a clean interior helps with better airflow. This contributes to more even heating. Don’t forget to wipe down the inside of the firebox if possible.
Installing the New Grill Burners
Now it’s time for the new burners. Position them correctly. They should align with the gas ports and mounting points. Secure them using the screws or clips you removed earlier. Make sure they are snug but not overtightened. Reconnect any gas tubes. Ensure they fit snugly. You don’t want any leaks. Carefully place the heat tents back over the new burners. Then, put your cooking grates back in place.
Reconnecting and Testing Your Grill
Once everything is back in place, it’s time to reconnect the gas. If you used a propane tank, slowly turn the valve counter-clockwise to open it. Listen for any hissing sounds. If you hear any, turn the gas off immediately. Check all connections. For natural gas, reopen the main shut-off valve. Light your grill as you normally would. Check each burner to ensure it ignites properly. Look for an even, steady flame. You should see a blue flame with yellow tips. If a burner doesn’t light or has an uneven flame, turn the gas off. Double-check your installation. Consult your grill’s manual for troubleshooting tips.
Tips for Maintaining Your New Grill Burners
To make your new burners last as long as possible, a little care goes a long way. Regular cleaning is key. After each use, brush off any food debris. Periodically, you’ll want to give them a more thorough cleaning. A wire brush can help remove rust and debris. Ensure the air intake holes are clear. This is where the gas mixes with air. Blockages here can affect performance. We found that covering your grill when it’s not in use helps protect it from the elements. This reduces exposure to moisture and dirt, which can lead to corrosion. Following these simple maintenance steps will ensure your new burners serve you well for years to come.
| Task | Status |
|---|---|
| Identify correct replacement burners. | |
| Gather all necessary tools. | |
| Turn off gas supply completely. | |
| Remove old burners and clean interior. | |
| Install new burners and reassemble. | |
| Reconnect gas and test grill. |
Conclusion
You’ve successfully learned how to replace your grill burners, a task that can significantly improve your grilling performance and safety. By following these steps, you’ve saved yourself money and gained valuable DIY skills. Remember, proper preparation and safety are key throughout the process. Your grill is now ready for many more delicious meals. Don’t hesitate to tackle other grill maintenance tasks yourself!
Frequently Asked Questions
How often should I replace my grill burners?
Most grill manufacturers suggest inspecting your burners annually. You may need to replace them every 3-5 years, depending on usage and environmental factors. Rust, holes, or uneven heating are clear signs it’s time for a change.
Can I use universal grill burners if mine are no longer made?
Sometimes, universal burners can work, but it’s best to find exact replacements for your grill model. Universal parts may not fit perfectly, potentially causing issues with gas flow or sealing. Always check compatibility before purchasing.
What if my grill still doesn’t heat evenly after replacing the burners?
If uneven heating persists, check your grill’s manual for other potential issues. Problems could stem from clogged venturi tubes, faulty igniters, or an uneven gas supply. You might need to clean or adjust these components.
Is it safe to test my grill after replacing parts?
Yes, testing is essential, but safety is paramount. After reassembly, turn on the gas slowly and listen for leaks. Light the grill and observe the flames. A steady blue flame with yellow tips is ideal; any issues mean you should turn it off and re-check your work.
How do I clean my old grill burners before removing them?
You can often clean old burners with a wire brush to remove rust and debris. Ensure the small gas ports are clear. If they are heavily corroded or have holes, cleaning might not be enough, and replacement is the best option.
