To grill an NY Strip on a gas grill, first preheat your grill to high, then sear the steak for 2-3 minutes per side over direct heat to create a beautiful crust.
After searing, move the steak to a cooler, indirect heat zone, close the lid, and cook until it reaches your desired internal temperature, typically 130-135°F for medium-rare (USDA recommends 145°F for beef safety).
- Get a thick NY Strip and let it reach room temperature.
- Season generously with salt, pepper, and your favorite rubs.
- Set up your gas grill for two-zone cooking: one hot side, one cooler side.
- Sear the steak over direct high heat for 2-3 minutes per side for a nice crust.
- Move to indirect heat to finish cooking, using a meat thermometer for accuracy.
- Always rest your steak for 5-10 minutes before slicing to keep it juicy.
How To Grill NY Strip On Gas Grill?
Grilling a NY Strip steak on a gas grill involves a simple two-zone cooking method: sear it hot, then finish it slow.
This technique gives you a fantastic crust and a perfectly cooked interior, making your steak juicy and flavorful.
Selecting Your Perfect NY Strip Steak
Choosing the right steak is the first step to grilling success. Look for an NY Strip that is at least 1 to 1.5 inches thick.
Thicker steaks are easier to cook without overdoing the inside while still getting a good sear outside. Also, seek out steaks with good marbling, which are those little flecks of fat throughout the meat. Marbling melts during cooking, adding flavor and keeping your steak tender, we found (Meat Science Review).
Preparing Your Steak for Grilling Success
Proper preparation before grilling makes a big difference in the final taste and texture of your NY Strip.
Think of it as setting the stage for a great performance; a little effort now brings big rewards later.
Seasoning Your NY Strip Like a Pro
Pat your steak completely dry with paper towels before seasoning. A dry surface helps achieve a better sear.
Then, season generously with kosher salt and freshly ground black pepper. Don’t be shy; a thick steak needs a good amount of seasoning to penetrate the meat. Many professional grillers suggest seasoning 30 minutes to an hour before cooking to let the salt do its work (Culinary Institute of America).
Bringing Your Steak to Room Temperature
Take your NY Strip out of the fridge about 30-60 minutes before grilling. Allowing it to come closer to room temperature helps it cook more evenly.
A cold steak hits the hot grill, and the outside might overcook before the inside reaches your desired doneness. This small step can prevent a gray band of overcooked meat at the edges.
Setting Up Your Gas Grill for Optimal Results
A gas grill offers precise temperature control, which is a major benefit when cooking a quality steak. The key is to create different heat zones.
This setup lets you sear at high heat and then finish cooking at a lower, gentler temperature.
The Power of Two-Zone Grilling
Preheat your gas grill by turning one or two burners to high and leaving adjacent burners off, or on low. Aim for a direct heat zone of around 450-500°F.
This creates a hot zone for searing and a cooler, indirect zone for slow finishing. We found that this method gives you control to cook the steak to perfection without burning it (Grill Master Guides).
Mastering the Sear and Finish Technique
This is where the magic happens for that incredible crust and juicy interior.
It’s all about quick, intense heat followed by a more gentle approach.
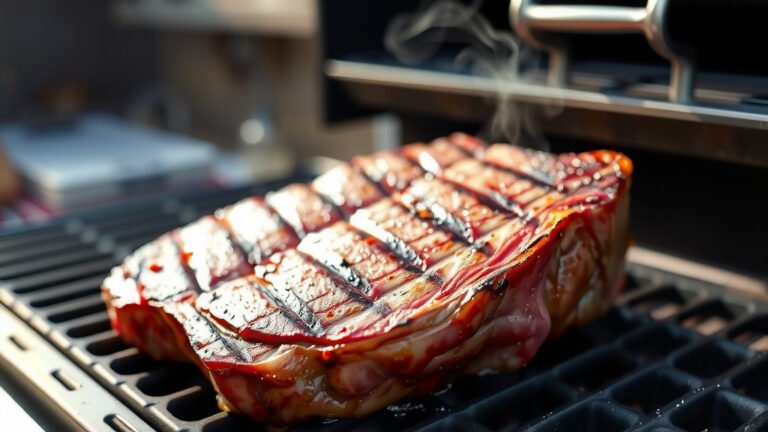
Getting That Initial Sizzle
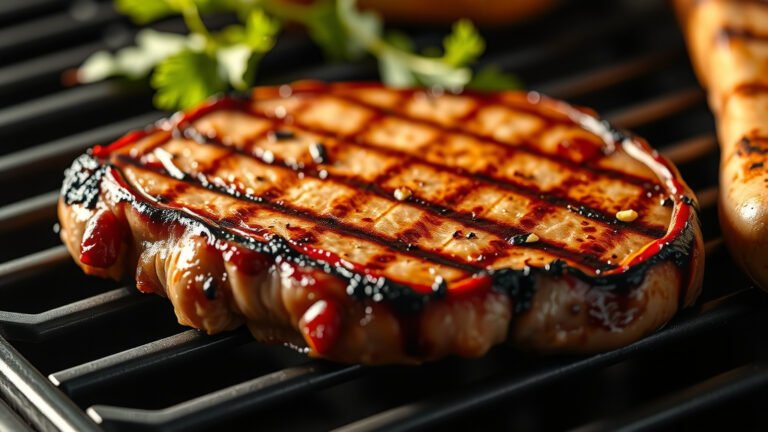
Once your grill is hot, place the seasoned NY Strip directly over the high heat burners. Sear for 2 to 3 minutes per side.
You’re looking for a beautiful, deep brown crust to form. Don’t move the steak too much during this initial sear; let it develop that rich color and flavor.
Slow Cooking to Your Desired Doneness
After searing both sides, move the steak to the cooler, indirect heat zone of your grill. Close the lid to allow the ambient heat to finish cooking the steak gently.
This indirect cooking prevents the outside from burning while the inside slowly comes up to temperature. Many experts say this balance is how to get a great steak (James Beard Foundation).
Achieving Perfect Internal Steak Temperatures
The only true way to know if your steak is cooked to your preference is to use a reliable instant-read meat thermometer. Insert it into the thickest part of the steak, avoiding any bones or fat pockets.
Here’s a quick guide to internal temperatures:
| Doneness Level | Target Internal Temperature | Final Temperature (After Resting) |
|---|---|---|
| Rare | 120-125°F | 125-130°F |
| Medium-Rare | 125-130°F | 130-135°F |
| Medium | 130-135°F | 135-140°F |
| Medium-Well | 140-145°F | 145-150°F |
| Well-Done | 150°F+ | 155°F+ |
Remember that the steak’s temperature will rise a few degrees after you remove it from the grill due to carryover cooking. So, pull it off just before it hits your target doneness.
Why Resting Your Steak is Non-Negotiable
This step is probably the most overlooked, yet it’s absolutely vital for a juicy steak. Once your NY Strip reaches your desired temperature, remove it from the grill and place it on a cutting board.
Loosely tent it with aluminum foil and let it rest for 5 to 10 minutes. This rest allows the juices, which have been pushed to the center by the heat, to redistribute throughout the meat (USDA). Skipping this step means all that delicious juice will run out onto your plate when you cut into it.
Carving and Enjoying Your Delicious NY Strip
After resting, it’s time to slice and serve. For optimal tenderness, slice your NY Strip against the grain.
The grain refers to the direction of the muscle fibers. Cutting against it shortens those fibers, making each bite more tender and enjoyable. Serve immediately and savor your perfectly grilled creation!
Quick Checklist: Avoiding Common Grilling Blunders
Even seasoned grillers can make simple mistakes. Keep these tips in mind for a consistently great NY Strip:
- Don’t grill a cold steak directly from the fridge.
- Avoid flipping your steak too often; let that crust form.
- Never guess doneness; always use a meat thermometer.
- Do not skip the resting period after grilling.
- Don’t overcrowd the grill; give each steak room.
Conclusion
Grilling a delicious NY Strip on your gas grill is a straightforward process when you follow these steps. From choosing the right cut to seasoning, mastering the two-zone cooking method, and allowing for that all-important rest, each step builds toward a fantastic meal.
With a little practice, you’ll be creating restaurant-quality steaks right in your backyard. Enjoy the process and the fantastic flavors!
How do I know when my NY Strip is medium-rare?
For a medium-rare NY Strip, you should remove it from the grill when its internal temperature reaches 125-130°F. After resting for 5-10 minutes, the temperature will rise slightly to a perfect 130-135°F.
What kind of seasoning works best for NY Strip?
The best seasoning for an NY Strip is often simple: coarse kosher salt and freshly ground black pepper. Some people enjoy a touch of garlic powder or a good quality steak rub, but the rich flavor of the steak itself shines with basic seasonings.
Can I use just one burner to grill NY Strip steak?
While possible, using only one burner makes creating distinct hot and cool zones difficult. A two-burner setup is much better for the sear-and-move method, which is key for a well-cooked NY Strip. With one burner, you might struggle to get a good sear without overcooking the inside.
Should I oil my NY Strip before grilling?
You can lightly oil your NY Strip steak with a high-smoke-point oil (like canola or grapeseed oil) before seasoning. This can help create a better crust and prevent sticking. However, many people find simply patting the steak dry and seasoning it sufficiently prepares it for grilling.
Why is resting the steak so important?
Resting your NY Strip steak after grilling allows the muscle fibers to relax and reabsorb the juices that have migrated to the center during cooking. If you cut into the steak immediately, these juices will simply run out, leaving you with a drier piece of meat. Resting ensures a more tender and juicy result.