
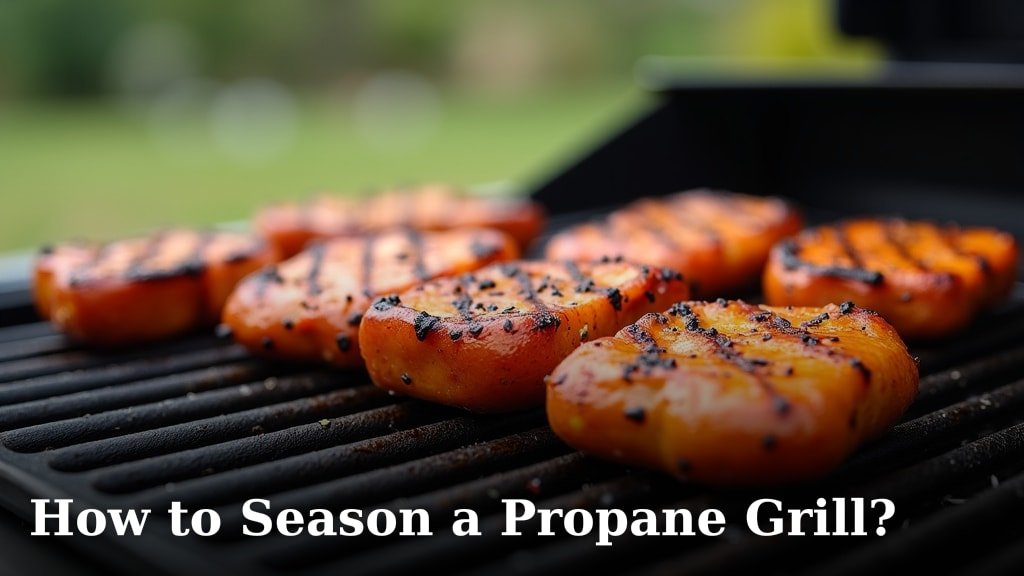
To season a propane grill, you need to turn on all burners to high heat and let it burn for 15-20 minutes. This process, called pre-seasoning, burns off factory oils and prepares your grill for cooking. Afterward, you will turn off the grill and carefully oil the grates.
You might be asking, “Do I really need to season my propane grill?” We found that proper grill seasoning is key for creating a non-stick surface. It also helps protect your grates from rust and food sticking. So, yes, it’s a simple step that makes a big difference in your grilling experience.
- Seasoning a propane grill burns off factory residues.
- It creates a non-stick cooking surface.
- Seasoning helps prevent rust on your grates.
- It’s a quick and easy process.
Ready to get your grill in top shape for some delicious meals? Let’s walk through exactly how to season your propane grill, step by step.
Getting Your Propane Grill Ready for Its First Cook
You’ve unboxed your new grill, and it’s sparkling clean. But before you throw on those steaks, there’s an important first step. We found that proper initial preparation sets the stage for a great grilling experience.
This process, often called pre-seasoning, is crucial. It’s about more than just cleaning; it’s about creating a protective layer. Think of it like conditioning new cookware.
Why Season Your Grill? It’s More Than Just a Good Idea
You might be wondering, “Is this really necessary?” The short answer is yes, it absolutely is. We found that seasoning offers several key benefits for your propane grill.
First, it helps burn off any manufacturing residues. Grills come from the factory with oils and other substances on them. You don’t want those in your food.
Second, seasoning helps to create a natural non-stick surface over time. This makes flipping burgers and cleaning up much easier. No more wrestling with stuck-on food.
Finally, a well-seasoned grill is better protected against rust and corrosion. The oil layer acts as a barrier, extending the life of your grates. It’s an investment in your grill’s longevity.
Gather Your Tools: What You’ll Need
Before you begin, let’s make sure you have everything ready. This will make the seasoning process smooth and straightforward. You likely have most of these items already.
- Heat-resistant gloves: These protect your hands from the hot grill grates. Safety first!
- High-heat cooking oil: More on this in a moment, but choose wisely.
- Paper towels or a clean cloth: For applying the oil evenly.
- A grill brush or scraper: For any initial cleaning, if needed.
Having these items close by will prevent interruptions. We found that being prepared saves time and hassle.
Choosing the Right Oil for Your Grill
Not all oils are created equal when it comes to seasoning. You need an oil with a high smoke point. This means it can withstand high temperatures without burning too quickly.
We recommend oils like canola oil, vegetable oil, grapeseed oil, or flaxseed oil. These oils can handle the heat your grill produces.
Avoid using extra virgin olive oil or butter. Their smoke points are too low. They will just burn and create a sticky mess, not a seasoned surface. You want to create a durable, polymerized layer, not just a greasy coating.
Step-by-Step: How to Season Your New Propane Grill
Alright, let’s get into the nitty-gritty. This process is simple, but each step is important. We’ll guide you through it like you’re right there with us.
The Initial Burn-Off: Clearing the Way
This is your first action. It’s about getting rid of anything unwanted from the factory. Think of it as a clean slate for your grill.
- Open the lid of your grill. This allows for proper ventilation.
- Turn on all burners to high heat. You want the grill to get as hot as possible.
- Close the lid and let it heat up for 15 to 20 minutes. You might see some smoke or smell some odors. This is normal. It’s the factory oils burning away.
- After the time is up, turn off all the burners. Let the grill cool down completely. This is crucial for safety before the next step.
This burn-off prepares the surface. It ensures you’re starting with a clean, unadulterated cooking area. Many experts say this step is non-negotiable for new grills.
Applying the Seasoning Layer: The Heart of the Process
Now comes the actual seasoning. This is where you create that protective, non-stick surface. We found that careful application here makes all the difference.
Make sure your grill grates are cool to the touch. Safety first, always use those heat-resistant gloves if there’s any doubt.
Oiling Your Grates Safely and Effectively
This part needs a delicate touch. You don’t want to drown your grates in oil, but you do need an even coating.
- Pour a small amount of your chosen high-heat oil onto a paper towel or clean cloth.
- Using your heat-resistant gloves, carefully wipe down each grate. Apply a thin, even layer of oil. You want just enough to coat the surface, not to drip.
- Be thorough. Get into all the nooks and crannies of the grates. Think of it like polishing furniture.
- We found that a light hand is best. Too much oil can lead to a sticky, gummy residue rather than a smooth, seasoned surface.
This thin layer is what will polymerize and become your non-stick seasoning.
The Final Burn-In: Sealing the Deal
Once your grates are oiled, it’s time to bake that oil onto the surface. This step is what truly creates the seasoning layer.
- With the lid still open, turn on all your burners to medium-high heat.
- Close the lid and let the grill heat for another 15 to 20 minutes. You might see some light smoke again, which is normal as the oil bakes on.
- After the time, turn off all the burners. Allow the grill to cool down completely with the lid closed.
This second heat cycle helps the oil bond with the metal. It forms a durable, protective layer. We found this step crucial for a lasting season.
Maintaining Your Seasoning: Keeping It Non-Stick
Seasoning isn’t a one-and-done deal. It’s an ongoing process. Think of it like taking care of a cast-iron skillet.
Post-Cook Cleaning Best Practices
The way you clean your grill after each use directly impacts its seasoning. Gentle care is key here.
- After grilling, while the grates are still warm (but not scorching hot), use a nylon or brass-bristle brush. A soft brush is less abrasive than steel.
- Brush off any food residue. You want to remove stuck-on bits without scrubbing away your seasoning.
- Avoid harsh soaps or detergents. These can strip away the seasoned layer you worked so hard to build. Water and a soft brush are usually all you need.
We found that a gentle approach to cleaning helps preserve the non-stick properties.
Re-Oiling After Each Use (Optional, But Recommended)
For an even better, more durable seasoning, consider a quick re-oil after each use. It’s a small step that makes a big difference.
- Once your grill grates are clean and dry, apply another very thin layer of high-heat cooking oil.
- Wipe it on with a paper towel, just like you did during the initial seasoning.
- Close the lid until your next grilling session.
This extra layer helps to continuously build up the seasoning over time. It keeps your grates protected and your food from sticking.
Troubleshooting Common Seasoning Issues
Sometimes things don’t go perfectly, and that’s okay! We’ve all been there. Here are a couple of common issues you might encounter.
Why Is My Grill Still Sticky After Seasoning?
If your grill grates feel sticky after seasoning, it usually means too much oil was applied. Remember, less is more when it comes to seasoning oil.
The excess oil didn’t polymerize properly; instead, it just became a sticky residue. Don’t worry, it’s fixable.
You can try to burn off the excess by turning your grill to high heat for another 10-15 minutes. Then, let it cool and re-apply a much thinner layer of oil. Think of it as a do-over, but with a lighter touch.
When to Re-Season Your Grill From Scratch
While regular maintenance builds up seasoning, there are times you might need to start fresh. We found that a complete re-seasoning is sometimes necessary.
Consider re-seasoning if:
- Your grates show signs of rust.
- Food starts consistently sticking despite your best efforts.
- You’ve accidentally used harsh cleaners that stripped the seasoning.
- The grill has been stored for a very long time without use.
In these cases, you would essentially repeat the initial burn-off, thorough cleaning, and then the full seasoning process again.
Your Grill Seasoning Checklist
Here’s a quick recap to ensure you hit all the key points for a perfectly seasoned grill:
- Did you burn off factory residues on high heat for 15-20 minutes?
- Did you allow the grill to cool completely before oiling?
- Did you use a high-smoke-point oil (like canola or vegetable oil)?
- Was the oil applied in a very thin, even layer?
- Did you perform a final burn-in on medium-high heat for 15-20 minutes?
- Are you committed to gentle cleaning and optional re-oiling after each use?
By following these steps, you’ll enjoy a grill that’s not only ready for delicious meals but also built to last. Happy grilling!
Conclusion
You now have all the tools and knowledge to successfully season your propane grill. We’ve walked through the crucial steps, from the initial burn-off to the final curing of the oil. Remember, a little effort now means a much better grilling experience later. Properly seasoned grates protect your investment, prevent food from sticking, and ensure every meal tastes fantastic. Go ahead and get that grill ready; delicious memories await!
Frequently Asked Questions
How often should I season my propane grill?
For optimal performance, we recommend seasoning a new grill once before its first use. After that, a light re-oiling after every few cooks, or when you notice food starting to stick, is usually sufficient. It’s an ongoing process to maintain that non-stick surface.
Can I use non-stick spray to season my grill?
No, we don’t recommend using non-stick cooking sprays for seasoning your grill grates. Many contain propellants and other ingredients that aren’t designed for the high heat of a grill. Stick to liquid high-smoke-point oils for best results and durability.
What if I forget to season my new grill before cooking?
If you forgot, don’t panic! You can still season your grill. Simply cook your first meal, and then follow the seasoning steps outlined in this article. It’s better to season it late than never, as it will still help protect your grates and improve future cooking.
Does seasoning work on all types of grill grates?
Yes, seasoning is beneficial for most common grill grate materials, including cast iron, porcelain-enameled cast iron, and stainless steel. While stainless steel doesn’t rust as easily, seasoning still helps create a non-stick surface and makes cleaning easier.
My grill grates are rusty. Can I still season them?
If your grates have rust, you’ll need to remove the rust first before seasoning. Use a wire brush or scraper to get rid of all visible rust. After cleaning them thoroughly, you can then proceed with the full seasoning process as if they were new grates.
