Cooking steaks on a Blackstone Grill involves achieving a perfect sear with high, even heat, leading to a juicy, flavorful crust and tender interior.
To cook steaks on a Blackstone Grill, you need to properly preheat the griddle, oil the surface, sear each side intensely, and then let the steak rest before slicing.
Here’s a quick overview of what you’ll find in this guide:
- Getting your Blackstone griddle ready for steak magic.
- Picking the perfect cut and thickness for amazing results.
- Simple steps to season and cook your steak to perfection.
- Tips for knowing when your steak is just right.
- Common mistakes to skip for a delicious meal every time.
How To Cook Steaks On A Blackstone Grill?
Cooking steaks on a Blackstone Grill is a fantastic way to get that restaurant-quality crust right in your backyard. The secret is consistent heat and quick searing, locking in all those wonderful juices.
Why Choose a Blackstone for Steaks?
You might wonder, why a flat top griddle for steak? It’s simple: a Blackstone provides an even, conductive heat source that creates a beautiful, deep brown crust on your steak that a traditional grill often struggles to match. We found that the large, flat surface allows for edge-to-edge searing, making every bite delicious.
The Power of the Sear
Think of it like this: searing is like giving your steak a protective, flavorful armor. This crust, known as the Maillard reaction, develops when sugars and amino acids in the meat react to high heat. It adds incredible depth of flavor and texture (America’s Test Kitchen).
Choosing Your Steak: The Foundation of Flavor
What’s your favorite cut? Ribeye, New York strip, sirloin, or even a tender filet mignon—they all shine on a Blackstone. We found that a steak about 1 to 1.5 inches thick works best for most home cooks, giving you a good balance between sear and internal doneness.
Thickness Matters
A thinner steak cooks very fast, making it tricky to get a good sear without overcooking the inside. Thicker steaks give you more room for error, letting that crust form without rushing the internal temperature.
Prepping Your Steak: Simple Steps for Success
Preparation is key, but it doesn’t need to be complicated. You’ll want your steak at room temperature before it hits the griddle.
- Pat It Dry: Use paper towels to remove all surface moisture. This is critical for a good sear. Moisture creates steam, which prevents browning.
- Season Generously: Salt and pepper are your best friends. Don’t be shy! Many experts say to season at least 30 minutes before cooking, or even overnight if you have time. You can also add garlic powder or your favorite steak rub.
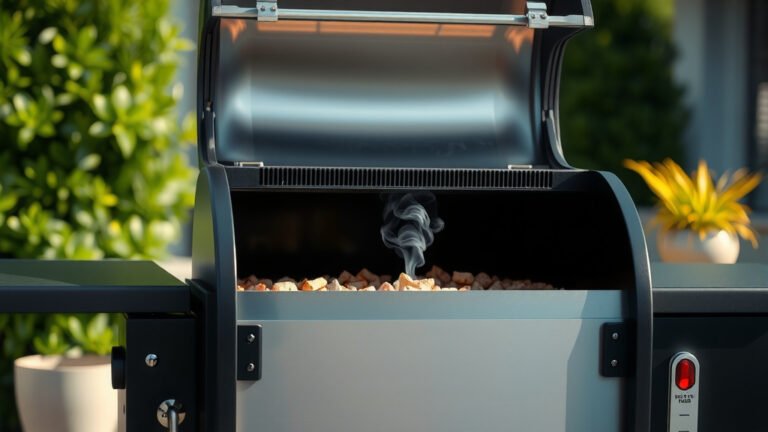
Setting Up Your Blackstone: Heat and Oil
Getting your griddle to the right temperature is crucial for those perfect Blackstone Grill steaks.
Preheat to Perfection
Turn your Blackstone to medium-high or high heat. You want it hot, but not smoking intensely before the steak goes on. A good rule of thumb is to let it preheat for 10-15 minutes. How do you know it’s ready? A flick of water should dance and evaporate quickly (Culinary Institute of America).
Oiling the Griddle
Once hot, add a thin layer of high-smoke-point oil like avocado oil, grapeseed oil, or canola oil. Avoid olive oil here; it will smoke too much at these temperatures. Just enough to coat the surface, maybe a tablespoon or two depending on your steak size.
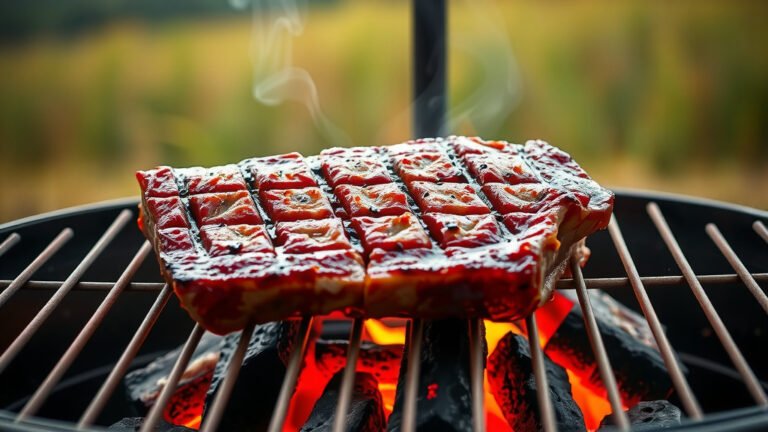
Cooking Steps: Sear, Flip, and Rest
This is where the magic happens! Be ready, because it cooks fast.
The Initial Sear
Carefully place your seasoned steaks onto the hot, oiled griddle. You should hear a satisfying sizzle immediately. Don’t touch them! Let them sear undisturbed for 2-4 minutes, depending on thickness and desired crust.
Flipping and Finishing
Flip your steaks once you see a deep brown crust. Now, cook the other side for another 2-4 minutes. For medium-rare to medium, you might want to flip a few more times, maybe every minute, to build an even crust and cook more uniformly. You can even use a metal dome to help finish cooking if you like, trapping some heat around the steak.
Knowing Your Doneness: A Quick Guide
A meat thermometer is your best friend here. Don’t guess! We found that it’s the most reliable way to hit your desired doneness every time.
| Doneness | Internal Temperature (USDA) | Texture/Appearance |
|---|---|---|
| Rare | 125-130°F (52-54°C) | Cool red center |
| Medium-Rare | 130-135°F (54-57°C) | Warm red center |
| Medium | 135-140°F (57-60°C) | Pink center |
| Medium-Well | 140-150°F (60-66°C) | Slightly pink center |
| Well-Done | 150-160°F+ (66-71°C+) | No pink, gray throughout |
Remember, your steak’s temperature will rise a few degrees while resting. So, pull it off the griddle when it’s about 5°F below your target.
The Crucial Resting Period
Once your steak reaches its target temperature, remove it from the griddle immediately and place it on a cutting board or plate. Tent it loosely with foil. Let it rest for 5-10 minutes. Why? This allows the juices to redistribute throughout the meat, keeping it incredibly tender and moist. Slice against the grain and enjoy!
Tips for Steak Perfection
Want to elevate your Blackstone steak game even further?
- Compound Butter: Add a dollop of herb butter on top of your steak during the last minute of cooking or while it rests. It melts into the meat, adding incredible flavor.
- Basting: For thicker cuts, during the last few minutes, you can tilt the griddle slightly and spoon hot oil over the top of the steak. This helps cook it through while adding flavor.
- Reverse Searing: For very thick steaks (1.5 inches or more), you might start them in a low oven or indirect heat until they reach about 110°F, then transfer to the screaming hot Blackstone for a final sear. This gives you maximum control over doneness.
Common Mistakes to Avoid
Nobody wants a chewy, flavorless steak. Here’s a checklist of things to watch out for:
- Not patting your steak dry enough.
- Putting cold steak on the griddle.
- Not preheating the griddle fully.
- Overcrowding the cooking surface.
- Flipping the steak too often.
- Skipping the resting period.
Conclusion
Cooking steaks on a Blackstone Grill is a truly rewarding experience, offering that incredible crust and juicy interior you crave. With a few simple steps—proper preparation, hot griddle, good searing technique, and that all-important rest—you’re well on your way to steak perfection. So, fire up your Blackstone, grab your favorite cut, and get ready for some truly delicious results. You’ve got this!
What kind of oil is best for cooking steak on a Blackstone?
High-smoke-point oils like avocado oil, grapeseed oil, or canola oil are best for cooking steak on a Blackstone. These oils can withstand the high temperatures needed for searing without breaking down or smoking excessively.
Should I put butter on my steak while cooking on a Blackstone?
Yes, adding butter, especially compound butter with herbs and garlic, during the last minute of cooking or while the steak rests, can significantly enhance its flavor and richness. Just be mindful that butter has a lower smoke point than the initial cooking oils.
How do I prevent my steak from sticking to the Blackstone griddle?
To prevent sticking, ensure your Blackstone griddle is properly seasoned, very hot, and has a thin layer of high-smoke-point oil applied before placing the steak. Flipping at the right time when a crust has formed also helps.
Can I cook frozen steaks on a Blackstone grill?
While possible, it is not recommended for best results. We found that cooking thawed steaks allows for a better, more even sear and more predictable internal doneness. If you must cook from frozen, expect a longer cooking time and a less pronounced crust.
How do I clean my Blackstone after cooking steak?
After cooking, scrape any food residue off the hot griddle with a metal scraper. Pour a little water on the hot surface to steam clean, then scrape again. Finish by wiping with a paper towel and applying a very thin layer of cooking oil to protect the surface.