
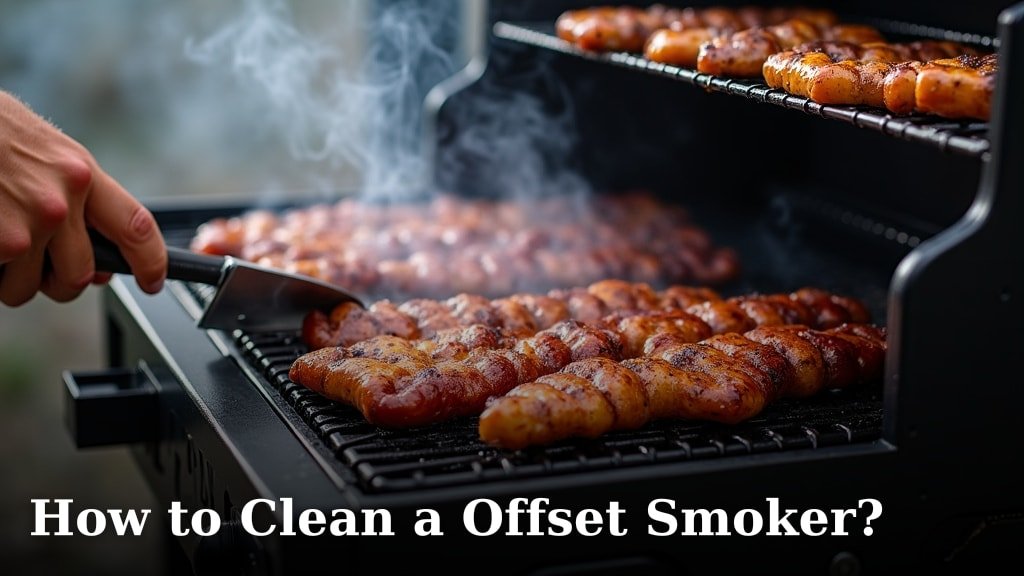
The easiest way to clean an offset smoker is to start by scraping out all loose ash and food debris from the firebox and cooking chamber. Then, you’ll want to scrub the grates and interior surfaces with a good degreaser and a stiff brush, followed by a thorough rinse. Finally, season your smoker again to protect it.
Keeping your offset smoker clean is vital for delicious BBQ and longevity. Regular cleaning prevents creosote buildup, which can affect flavor and even pose a fire risk. We found that a well-maintained smoker also holds temperature better, leading to more consistent cooks every time you fire it up.
- Scrape out ash and debris.
- Degrease and scrub surfaces.
- Rinse thoroughly.
- Season your smoker.
Ready to get your smoker sparkling clean? Let’s walk through exactly how to clean an offset smoker, step by step.
Preparing Your Offset Smoker for a Deep Clean
Before you dive into scrubbing, a little preparation goes a long way. This initial step makes the entire cleaning process much smoother. Think of it as setting the stage for a sparkling performance!
Gathering Your Cleaning Arsenal
You don’t need a professional cleaning crew, but having the right tools makes a big difference. We found that being prepared saves time and frustration. Here’s what you’ll want to have on hand:
- Stiff wire brush (for grates and stubborn spots)
- Putty knife or scraper (for ash and caked-on grease)
- Heavy-duty degreaser (look for food-safe options)
- Bucket of warm, soapy water (dish soap works great)
- Sponge or scrub brush (for general cleaning)
- Garden hose or pressure washer (for rinsing)
- Shop vac or ash vacuum (optional, but very helpful)
- Heavy-duty gloves (protect your hands!)
- Old rags or paper towels
Safety First: What to Consider
Before you get started, keep a few safety tips in mind. We always recommend wearing gloves to protect your hands from grease and cleaning solutions. Also, make sure your smoker is completely cool. Never try to clean a hot smoker; that’s just asking for trouble!
Work in a well-ventilated area, especially when using degreasers. Outdoors is best. If you’re using a pressure washer, be mindful of where the water is spraying. You don’t want to blast grease all over your patio furniture!
Step-by-Step Cleaning of Your Offset Smoker
Now that you’re ready, let’s get into the nitty-gritty. This process covers everything from the dirtiest parts to the final touches, ensuring your smoker is ready for its next culinary adventure.
Emptying the Firebox and Ash Pan
This is often the messiest part, but it’s essential. You’ll want to remove all the ash and leftover charcoal. We found that a shop vac or an ash vacuum makes quick work of this, sucking up all the fine dust and debris. If you don’t have one, a small shovel and a bucket work just fine.
Scrape out any hardened bits from the bottom and sides of the firebox. A putty knife is excellent for this. Get as much of the loose stuff out as you can. This prevents it from turning into a muddy mess when you introduce water later.
Tackling the Cooking Grates
Your cooking grates bear the brunt of every cook. They need some serious attention. Remove them from the cooking chamber. Many experts suggest cleaning grates while they’re still slightly warm, but if yours are cool, that’s fine too.
Use your stiff wire brush to scrub away any food residue, grease, and burnt-on bits. Don’t be shy; apply some elbow grease! For really stubborn spots, you can spray them with degreaser and let it sit for a few minutes before scrubbing again. We often find that soaking grates in a bucket of warm, soapy water for an hour can loosen a lot of grime.
Cleaning the Cooking Chamber Interior
This is where all the magic happens, and also where creosote loves to build up. Creosote is that black, tar-like substance that forms from smoke. It can make your food taste bitter and is a fire hazard if it builds up too much (National Fire Protection Association).
Spray the interior walls, baffles, and heat deflector with your heavy-duty degreaser. Let it sit according to the product’s instructions – usually 5-10 minutes. Then, grab your stiff brush or a heavy-duty scrubber and start scrubbing. You might be surprised by how much gunk comes off!
Pay special attention to the areas around the firebox opening and the chimney stack. These are prime spots for creosote accumulation. Don’t forget the inside of the lid, too.
Cleaning the Exterior and Wheels
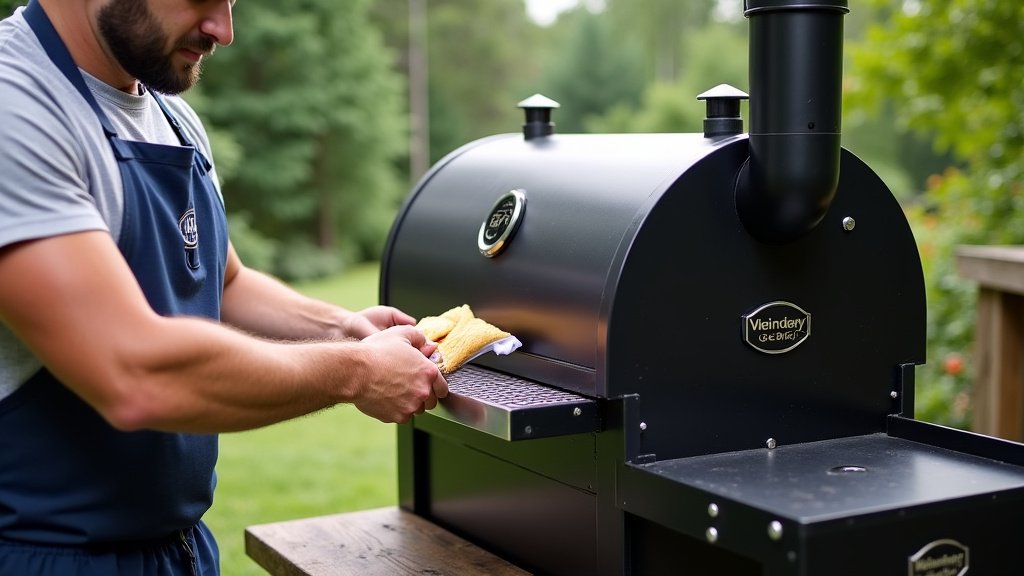
While the interior is soaking, give the outside some love. Wipe down all exterior surfaces with warm, soapy water. This removes surface grease and dust. If your smoker has wheels, clean them up too.
This step isn’t just for looks; it helps prevent rust and keeps your smoker looking great for years to come. Plus, a clean exterior just feels better, doesn’t it?
Rinsing It All Away
Once you’ve scrubbed everything down, it’s time for a thorough rinse. A garden hose works well for this. Start from the top and work your way down, making sure to flush out all the degreaser and loosened grime. We often use a stronger spray to really blast away any lingering bits.
For the cooking chamber, rinse until the water runs clear. You don’t want any chemical residue left behind. If you have a drain plug, open it up to let all the dirty water escape. Make sure to rinse the grates thoroughly as well. A pressure washer can be very effective here, but use it carefully on painted surfaces to avoid chipping.
Drying Your Smoker
After rinsing, it’s important to dry your smoker completely to prevent rust. You can wipe down accessible surfaces with old rags. Then, the best way to get it bone dry is to fire it up for a short period. Light a small fire in the firebox and let your smoker run at a low temperature (around 225-250°F) for about 30-60 minutes. This will evaporate any remaining moisture.
This step is also crucial for the next phase: seasoning!
The All-Important Seasoning Step
After a deep clean, your smoker is stripped bare. It needs protection. This is where seasoning comes in. Think of it like conditioning your hair after shampooing; it restores moisture and adds a protective layer.
Why Seasoning is Critical After Cleaning
Seasoning creates a non-stick surface and, more importantly, forms a protective barrier against rust. When you clean your smoker with degreasers and water, you strip away the natural oils and the protective patina that builds up over time. If you skip seasoning, your smoker will be much more prone to rust, especially in humid environments.
A well-seasoned smoker also performs better, helping to create that perfect smoky flavor you love. We always say a happy smoker is a seasoned smoker!
How to Re-Season Your Smoker
Once your smoker is completely dry (from the previous step), it’s time to season. Lightly coat all interior surfaces – the cooking chamber, grates, and inside of the lid – with a high smoke point oil. Vegetable oil, canola oil, and flaxseed oil are popular choices. Use a paper towel or a clean rag to apply a thin, even layer. You don’t want it dripping.
Now, fire up your smoker to around 250-275°F. Let it run at this temperature for 2-3 hours. You’ll see some smoke, which is normal as the oil bakes onto the metal. After the time is up, let your smoker cool down naturally. This process bakes the oil onto the metal, creating that desired protective layer.
Your Smoker Cleaning Checklist
Here’s a quick run-down to make sure you’ve hit all the key points for a perfectly clean and ready-to-smoke machine!
- Scrape out all ash and debris from the firebox and cooking chamber.
- Remove and scrub cooking grates thoroughly with a wire brush and degreaser.
- Spray and scrub the interior of the cooking chamber to remove grease and creosote.
- Rinse the entire smoker, inside and out, until water runs clear.
- Dry the smoker completely by wiping down and then firing it up for 30-60 minutes.
- Apply a thin layer of high smoke point oil to all interior surfaces.
- Season your smoker by running it at 250-275°F for 2-3 hours.
Conclusion
You’ve now got all the knowledge to give your offset smoker the deep clean it deserves. Remember, a little effort after each cook, and a thorough cleaning a few times a year, pays off big time. You’ll enjoy better-tasting BBQ, prevent rust, and keep your smoker performing like new for many seasons to come.
Don’t skip that final seasoning step; it’s your smoker’s protective shield! Go ahead, gather your tools, and get your offset smoker sparkling clean. You’ll thank yourself during your next delicious cookout.
Frequently Asked Questions
How often should I deep clean my offset smoker?
We recommend a deep clean of your offset smoker at least 2-3 times a year, or after every 5-10 cooking sessions, especially if you cook greasy foods. Regular light cleaning after each use will also extend the time between deep cleans.
Can I use oven cleaner to clean my offset smoker?
No, we strongly advise against using oven cleaner. It’s too harsh for most smoker finishes and can leave behind chemical residues that are unsafe for cooking. Stick to food-safe degreasers and natural cleaning solutions.
What kind of oil is best for re-seasoning an offset smoker?
For re-seasoning, use a high smoke point oil like vegetable oil, canola oil, or flaxseed oil. These oils create a durable, protective layer when baked onto the metal. Avoid olive oil, as it has a lower smoke point and can become sticky.
Is it okay to leave some grease build-up for flavor?
While some seasoned residue is good for flavor, excessive grease and creosote buildup is not. It can turn rancid, impart bitter flavors to your food, and even become a fire hazard. Aim for a clean yet well-seasoned interior.
My smoker has rust spots after cleaning. What should I do?
If you notice rust spots, gently scrub them with a wire brush to remove the loose rust. Then, ensure the area is completely dry and re-season it immediately with cooking oil. Proper drying and seasoning are key to preventing rust.
