
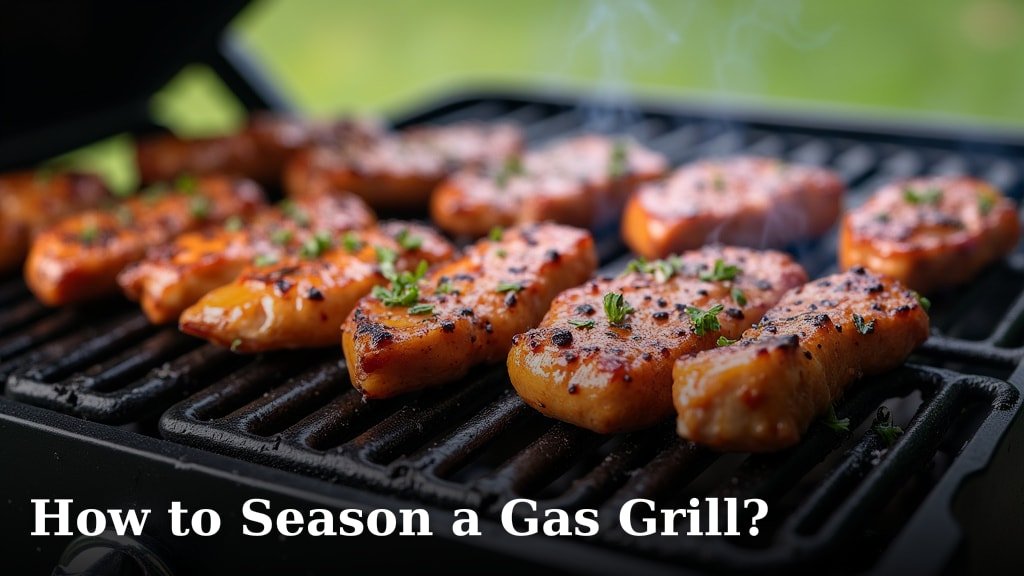
To season a gas grill, you need to burn off manufacturing residues and then create a protective, non-stick surface. This process usually involves cleaning the grates, applying a high-smoke-point oil, and then heating the grill to allow the oil to polymerize. It’s a simple step that makes a big difference for your cooking.
Seasoning your grill helps prevent food from sticking and protects against rust, extending the life of your grates. Think of it like seasoning a cast-iron pan; it builds up a protective layer over time. We found that a well-seasoned grill makes for a much more enjoyable cooking experience.
TL;DR:
- Clean your grill grates thoroughly.
- Apply a thin layer of high-smoke-point oil.
- Heat the grill until the oil smokes and bakes on.
- Repeat the oil and heat process a few times.
- Enjoy non-stick grilling and rust protection!
Ready to get started? Let’s walk through exactly how to season a gas grill, step by step, so you can enjoy perfectly grilled food every time.
Preparing Your Gas Grill for Its First Use
You’ve got a brand-new gas grill. That’s exciting! Before you fire it up for those delicious burgers, you need to properly prepare it. This initial seasoning helps create a better cooking surface from day one.
Seasoning isn’t just for cast iron. Gas grill grates, especially cast iron or porcelain-coated ones, benefit greatly. We found this step crucial for both performance and longevity.
Why Season Your New Grill?
You might wonder why you can’t just start grilling. There are a couple of important reasons. First, new grills often have manufacturing oils and residues. These aren’t meant for consumption.
Secondly, seasoning builds a protective layer. This layer prevents food from sticking. It also helps protect your grates from rust down the road.
Burn Off Manufacturing Residues
The very first step is to simply burn off any factory gunk. This is easy to do. It ensures your first meal isn’t tainted by strange flavors or chemicals.
- Remove any packaging materials.
- Open the grill lid.
- Turn all burners to high. For a complete guide on this initial step, you can learn how to start a gas grill safely.
- Close the lid and let it heat for 15-20 minutes.
- You might see some smoke; that’s normal.
- Turn off the burners and let the grill cool down completely.
This process gets rid of surface contaminants. We’ve seen this step recommended by almost all grill manufacturers.
Gathering Your Seasoning Supplies
Before you begin the actual seasoning, make sure you have everything you need. A little preparation goes a long way. You’ll want to protect your hands and have the right oil ready.
- Heat-resistant gloves: Always protect your hands.
- Grill brush: A good sturdy one for cleaning the grates.
- High-smoke-point oil: This is key for effective seasoning.
- Clean cloth or paper towels: For applying the oil.
Having these items on hand makes the process smooth. Nobody wants to stop halfway through to find a rag.
Choosing the Right Oil for Seasoning
Not all oils are created equal when it comes to seasoning. You need an oil with a high smoke point. This means it can get very hot before it starts to smoke and burn.
Oils like olive oil or butter have low smoke points. They’ll just burn and leave a sticky residue. That’s not what we want for seasoning. We need something that can polymerize.
Here are some good options:
- Flaxseed oil: Many consider this the gold standard for seasoning cast iron. It creates a very durable layer.
- Canola oil: A readily available and effective choice. It’s inexpensive too.
- Vegetable oil: Another common and effective option.
- Grapeseed oil: Has a very high smoke point, making it excellent.
- Crisco (vegetable shortening): A solid choice for creating a good initial layer.
We’ve found canola or vegetable oil work perfectly for most people. They are affordable and do the job well.
The Step-by-Step Gas Grill Seasoning Process
Now that your grill is clean and you have your supplies, let’s get into the main event. Seasoning your grill is straightforward but requires patience. Don’t rush it; a little time now saves headaches later.
Initial Cleaning of the Grates
Even if it’s a new grill, a light cleaning is still a good idea. This ensures no dust or debris gets baked onto your grates.
- Use your grill brush to gently scrub the grates.
- Wipe them down with a clean, dry cloth.
You want a clean, dry surface for the oil to adhere to. Think of it like painting; preparation is key.
Applying the Oil Thinly and Evenly
This is where the magic starts. The goal is a very thin, even layer of oil. More isn’t better here; too much oil will lead to a sticky, gummy mess.
- Put a small amount of your chosen oil onto a clean cloth or paper towel.
- Using your heat-resistant gloves, carefully wipe a thin layer of oil over all surfaces of the grill grates.
- Make sure to cover all sides of the grates.
- Important: Wipe off any excess oil. You should barely be able to see the oil. If it looks wet, you’ve used too much.
A good analogy here is waxing a car. You apply a thin layer, then buff it until it’s barely there. That’s how you get a smooth, non-sticky finish.
The Heating and Baking Process
This is where the oil transforms. It polymerizes, bonding to the metal and creating that desired non-stick surface. This step requires high heat.
- After applying the oil, close the grill lid.
- Turn all burners to medium to medium-high heat.
- Let the grill heat for about 30-45 minutes. You might see some smoke. This is the oil baking onto the grates.
- After this time, turn off the burners.
- Allow the grill to cool down completely with the lid open or closed.
The cooling process is just as important as the heating. It allows the oil to fully cure and harden. This creates a durable layer.
Repeating for Optimal Seasoning
One layer of seasoning is good, but multiple layers are even better. Think of it like building up armor. Each layer adds more protection.
- Once the grill is cool, repeat the oil application process (apply thinly, wipe off excess).
- Then, repeat the heating and baking process (30-45 minutes on medium-high heat, then cool).
We recommend doing this at least two to three times for best results. This builds a robust, non-stick surface that will make your grilling experience much more enjoyable. Some enthusiasts go for four or five rounds, especially with new grates.
Maintaining Your Grill’s Seasoning
Seasoning isn’t a one-and-done deal. It’s an ongoing relationship with your grill. Regular maintenance keeps that non-stick layer in top shape. You want your grill to perform optimally every time you use it.
Post-Grilling Care
After each cookout, a little care goes a long way. This is your chance to reinforce that seasoning.
- After removing your food, turn the burners to high.
- Close the lid and let any stuck-on food burn off for 10-15 minutes.
- Turn off the burners.
- Once cooled slightly (but still warm), use a grill brush to scrape off any remaining residue.
- Apply a very thin layer of high-smoke-point oil to the grates using a paper towel. This adds another layer of seasoning.
This quick routine helps preserve your hard work. It also makes the next grilling session easier and cleaner.
When to Re-Season Your Grill Grates
How do you know when it’s time for a full re-seasoning? Your grill will tell you. We’ve found there are clear signs.
- Food starts sticking: This is the most obvious sign.
- Rust spots appear: A major indicator that the protective layer is compromised.
- After a deep cleaning: If you’ve used harsh cleaners, you’ll need to re-season.
- After a long period of disuse: Especially if stored in a humid environment.
If you notice any of these, don’t worry. Just go through the full seasoning process again. Your grill will thank you for it.
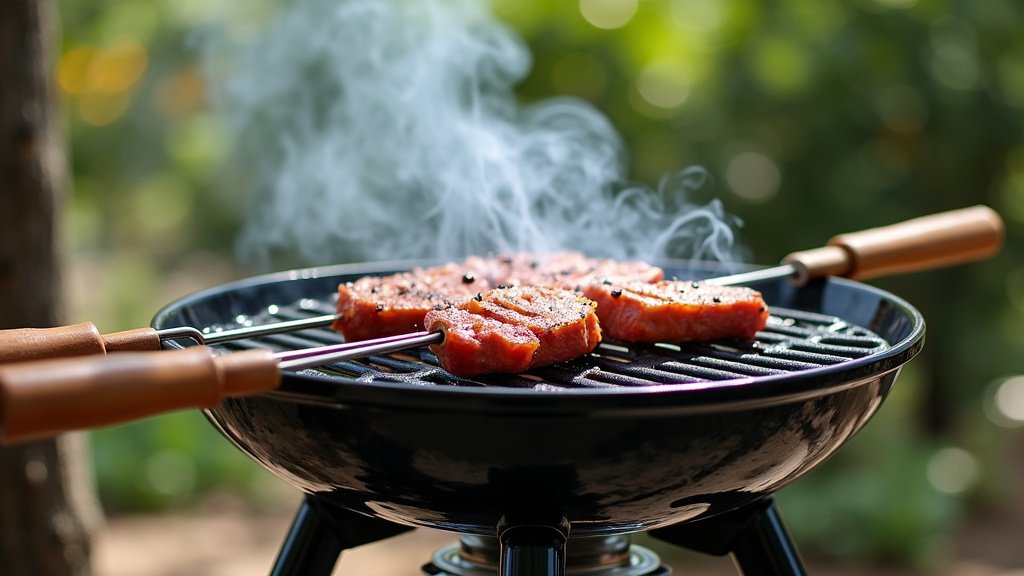
Your Grill Seasoning Checklist
Here’s a quick recap to ensure you hit all the important steps. Keep this handy!
Burn off factory residues: High heat for 15-20 minutes on a new grill.
Clean grates thoroughly: Brush and wipe clean.
Choose high-smoke-point oil: Canola, vegetable, or grapeseed are great.
Apply oil thinly and evenly: Wipe off any excess.
Heat and bake: Medium-high for 30-45 minutes, then cool completely.
Repeat 2-3 times: Build those protective layers.
Following these steps will set you up for grilling success. A well-seasoned grill is a joy to cook on, producing perfectly seared food without the struggle of sticking.
Conclusion
You now have all the knowledge to properly season your gas grill. By taking the time to prepare your grates, apply the right oil, and build those protective layers, you’re setting yourself up for grilling success. We found that this small effort upfront pays huge dividends in cooking enjoyment and grill longevity. Say goodbye to stuck-on food and rust, and hello to perfectly seared meals!
Get out there, season your grill, and start cooking with confidence. Your taste buds will thank you.
Frequently Asked Questions
How often should I season my gas grill?
You should perform a full seasoning when your grill is new, and then re-season if food starts sticking, you see rust, or after a deep cleaning. For day-to-day use, a quick oil wipe after each cook helps maintain the seasoning.
Can I use olive oil to season my grill?
No, you should not use olive oil. Olive oil has a low smoke point and will burn and turn sticky rather than polymerize into a protective layer. Always choose a high-smoke-point oil like canola, vegetable, or grapeseed oil.
What if my grill starts smoking a lot during seasoning?
Some smoke is normal during the heating and baking process; it means the oil is polymerizing. However, if there’s excessive, dark smoke, you likely applied too much oil. Turn off the grill, let it cool, and wipe off any excess before trying again with a much thinner coat.
Do all gas grills need to be seasoned?
Most gas grill grates, especially cast iron or porcelain-coated ones, benefit greatly from seasoning. Stainless steel grates are less prone to rust and sticking, but a light seasoning can still offer some non-stick benefits.
How long does seasoning a gas grill take?
The entire process, including multiple heating and cooling cycles, can take a few hours. Each round of oil application and heating takes about 45 minutes to an hour. We recommend doing 2-3 rounds for the best results.
