
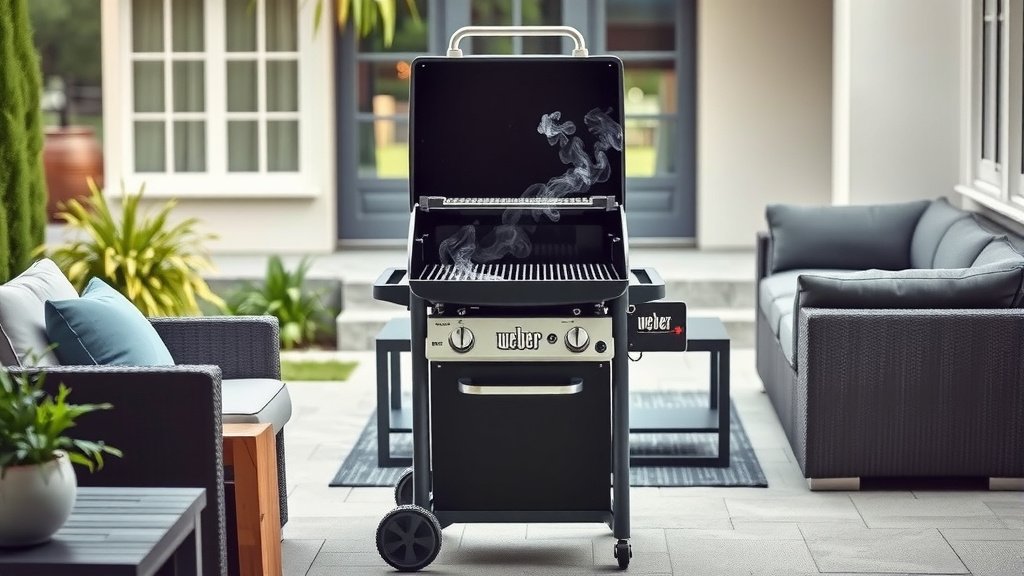
To use a Weber gas grill, first ensure your gas tank is securely connected and checked for leaks. Then, open the gas supply, turn one burner knob to high, and press the igniter button to light it.
After lighting, turn on the remaining burners, close the lid, and preheat your Weber grill to the desired temperature for about 10-15 minutes before placing your food on the grates.
TL;DR: How To Use Your Weber Gas Grill
- Always check your gas tank connection and inspect for any leaks.
- Light your Weber grill safely by turning on one burner and using the igniter.
- Preheat your grill thoroughly to achieve the best cooking results.
- Understand direct and indirect heat zones for versatile grilling.
- Clean your grill grates before and after each use for hygiene and performance.
How To Use Weber Gas Grill?
Using your Weber gas grill effectively means mastering a few simple steps. It’s about combining safety, proper setup, and smart cooking techniques to get delicious results every time.
Many experts say that familiarity with your specific grill model helps, but the core process remains consistent across most Weber gas grills.
Why Choose a Weber Gas Grill?
Weber gas grills are a popular choice for their convenience and consistent heat. You get quick startups and precise temperature control, making grilling easier for everyone.
We found that many grillers appreciate the instant gratification of gas over the longer setup of charcoal.
Gas vs. Charcoal: A Quick Look
Choosing between gas and charcoal often comes down to your priorities. Gas offers speed and control, while charcoal provides a distinct smoky flavor.
Here’s a simple comparison to help you think about it.
| Feature | Gas Grill (Weber) | Charcoal Grill |
|---|---|---|
| Startup Time | Fast (5-10 mins) | Slower (20-30 mins) |
| Temperature Control | Excellent, precise knobs | Good, vents adjust airflow |
| Flavor Profile | Clean, food-focused | Smoky, char-grilled |
| Cleanup | Easier, less ash | More ash, somewhat messier |
Your Pre-Grill Checklist
Before you even think about lighting your grill, a quick check can save you headaches later. Think of it like a pit stop for your grilling session.
This ensures everything is ready for a smooth cooking experience.
- Check your propane tank levels or ensure natural gas is active.
- Clean grill grates from previous cooks.
- Confirm all burner knobs are in the “off” position.
- Have your grilling tools ready and within reach.
- Prepare your food nearby, seasoned and ready for the heat.
Safety First, Always!
Grilling safety isn’t just a suggestion; it’s a must. Always operate your grill in a well-ventilated area, far from any flammable materials like siding or dry leaves.
Many guidelines point to keeping a fire extinguisher or a bucket of sand close by (NFPA).
Connecting Your Gas Tank (Propane)
If you’re using a propane tank, this step is vital. First, make sure the tank valve is closed. Then, align the regulator hose with the tank valve and hand-tighten the coupling nut clockwise.
Never use tools to tighten it, as this can damage the seal. After connecting, open the tank valve slowly. Listen for any hissing sounds, which might indicate a leak. You can also brush soapy water over the connections; bubbles mean a leak.
Natural Gas Hookup Tips
For natural gas grills, your setup will likely be permanent. Ensure your gas line is properly installed and that the shut-off valve is easily accessible.
Periodically check the flexible hose for any cracks or damage, as we found these can become brittle over time.
Lighting Your Weber Grill
Ready to get cooking? First, open the lid of your Weber grill. This is a critical safety step to prevent gas buildup.
Then, turn on the gas supply from your tank or natural gas line. Now, turn one burner knob to HIGH. Immediately press the igniter button a few times until you see the flame ignite.
Once that burner is lit, you can turn on other burners to your desired settings. Close the lid only after all desired burners are lit.
Understanding Grill Zones
Learning about grill zones helps you cook different foods perfectly. A Weber gas grill lets you create direct and indirect heat zones.
Direct heat is for searing or cooking things quickly, like steaks. Indirect heat, where burners are off directly under the food, is for slower cooking, like roasts or whole chickens.
Preheating for Perfect Results
Preheating is like warming up before a workout. It gets your grill grates to the right temperature for even cooking and a good sear.
We found that most Weber gas grills need about 10-15 minutes on high to reach optimal cooking temperatures (around 500-550°F or 260-290°C).
Cleaning Before You Cook
Before putting food on, always give your hot grates a quick brush. This removes any leftover food bits and creates a clean surface. It’s like wiping your plate before serving dinner!
A good wire brush or a specialized grill cleaning tool works best here.
Cooking on Your Weber: Tips & Tricks
Now for the fun part! When you place your food on the grill, listen for that satisfying sizzle. Use your grill zones wisely.
Many experts suggest using a meat thermometer to ensure food reaches safe internal temperatures (USDA). Don’t overcrowd the grill; give your food space to breathe.
Monitoring Temperature for Success
Your Weber’s built-in lid thermometer gives you a general idea, but for precise cooking, a good instant-read thermometer is your best friend. This helps prevent undercooked or overcooked meals.
We found that inconsistent temperatures are a common reason for less-than-perfect grilled items.
Post-Grill Care: Shutting Down
When you’re finished cooking, it’s time to shut down safely. First, turn off all the burner knobs on the grill. Then, turn off the gas supply at the propane tank valve or the natural gas shut-off valve.
Allow the grill to cool down completely before covering it or performing any deep cleaning.
Routine Maintenance for Longevity
To keep your Weber gas grill working for years, a little routine care goes a long way. Regularly clean the grates, flavorizer bars, and the cook box.
Research often connects consistent cleaning with preventing rust and extending the life of your grill (Weber Support).
Conclusion
Using your Weber gas grill is a straightforward process once you know the steps. From safe setup to proper lighting and effective cooking techniques, each part plays a role in your grilling success.
With a little practice, you’ll be grilling delicious meals with confidence, enjoying the ease and reliability that a Weber grill offers.
What should I do if my Weber gas grill won’t light?
If your Weber gas grill won’t light, first check if you have propane in your tank or if your natural gas line is active. Ensure the tank valve is fully open. You should also check for a strong spark from the igniter. Sometimes, resetting the regulator by turning off everything, disconnecting the tank, waiting a minute, and then reconnecting can solve the issue.
How often should I clean my Weber gas grill grates?
You should clean your Weber gas grill grates before and after every use. A quick brush after preheating removes old food, and another brush after cooking (while the grates are still warm) prevents buildup. This simple habit keeps your grates in top condition and your food tasting better.
Can I convert my propane Weber grill to natural gas?
Generally, you cannot safely convert a propane Weber grill to natural gas, or vice versa, yourself. The two fuels require different orifices and pressure regulators for safe and proper operation. Attempting a conversion without the manufacturer’s specific conversion kit (which is rare for Weber) can be very dangerous and will void your warranty.
What is the “burn-off” process on a Weber gas grill?
The “burn-off” process involves turning all burners to high after cooking and closing the lid for about 10-15 minutes. This intense heat turns any leftover food residue on the grates into ash, which is then easier to brush off. It’s a quick way to clean your grill before your next cooking session.
How do I check for a gas leak on my Weber grill?
To check for a gas leak on your Weber grill, mix soapy water (half water, half dish soap) in a spray bottle or small bowl. With the gas tank valve open and the grill burners off, apply the soapy solution to all gas connections and hoses. If you see bubbles forming, that indicates a gas leak. Tighten connections or replace faulty parts as needed, and never use a grill with a known leak.
