
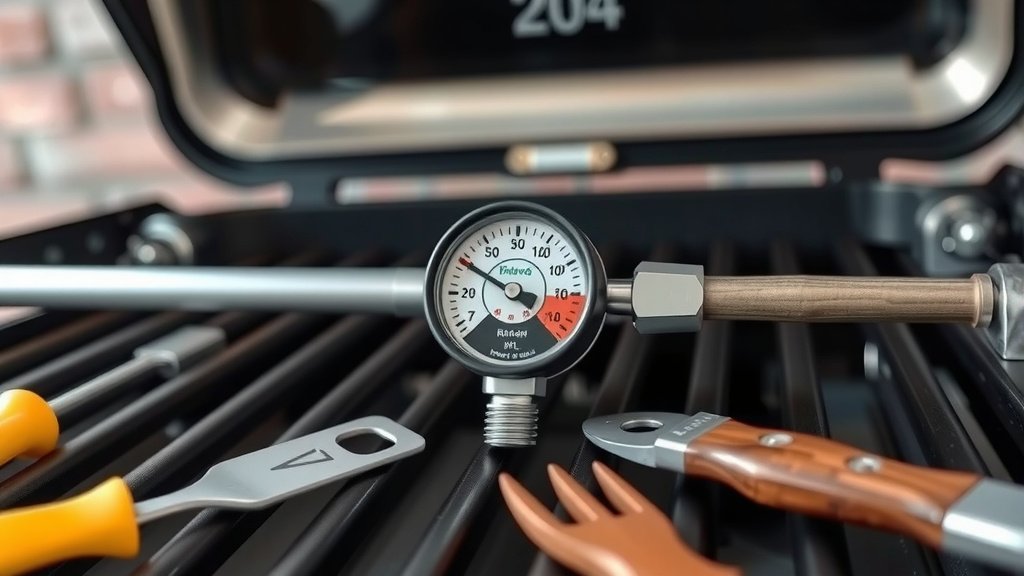
Replacing a gas grill regulator is a straightforward task that most grill owners can do at home with a few basic tools.
You can replace your gas grill regulator by first turning off the gas, disconnecting the old unit, attaching the new one securely, and performing a crucial leak test.
Here’s a quick overview of what you’ll find in this guide:
- Learn to identify the clear signs of a failing grill regulator.
- Discover the simple tools you will need for this DIY project.
- Follow a clear, step-by-step process for safe replacement.
- Understand how to choose the correct new regulator for your grill.
- Get tips on important safety checks after installation.
How To Replace A Gas Grill Regulator?
Replacing a gas grill regulator involves a few careful steps, primarily focusing on gas safety and proper connections.
You will need to disconnect the old regulator, attach the new one, and always perform a leak test before grilling again.
When Do You Need a New Regulator?
Knowing when to replace your grill regulator helps keep your grilling sessions safe and effective. Think of the regulator as your grill’s personal traffic cop for gas flow.
Many experts say that if your grill is not heating properly, or if you see visible damage, it is time for a check-up (Consumer Reports).
Recognizing Low Gas Flow
Have you noticed your grill flames are looking weak, or perhaps they are just a pale yellow instead of a strong blue? This often signals a problem.
If your grill takes much longer to heat up or never reaches the desired temperature, low gas flow from a faulty regulator could be the culprit.
Visible Damage to Your Regulator
Sometimes, the signs are right in front of you. Take a moment to visually inspect your regulator and the attached hose.
Look for any cracks, fraying, or blistering on the hose, or rust and dents on the regulator itself. Even small signs of wear mean it’s time for a replacement.
Safety First: Preparing for the Swap
Before you even think about grabbing a wrench, safety is your top priority when working with gas. It is like stopping at a red light; you just do it.
Always ensure your grill is completely off and cool before you start. And yes, make sure the gas tank valve is fully closed.
Gathering Your Essential Tools
You won’t need a full toolbox, but a few key items will make the job smooth. Gather everything before you begin.
Having your tools ready means you won’t have to pause mid-project. We found that a good adjustable wrench is usually enough for most connections.
Here’s a quick checklist of what you’ll need:
- Adjustable wrench
- Replacement gas grill regulator (matching your grill type)
- Leak detection solution (soapy water in a spray bottle)
- Clean rag or paper towels
Step-by-Step Regulator Replacement
Now that you are prepared, let’s walk through the actual replacement. It’s easier than you might think, almost like changing a lightbulb.
Just follow these simple steps, and you will have your grill ready for action again in no time.
Disconnecting the Old Regulator
First, double-check that your LP tank valve is tightly closed. Then, unscrew the regulator’s fitting from the gas tank.
Next, detach the hose from your grill’s gas intake. Many experts advise turning counter-clockwise for loosening connections (HGTV).
Attaching the New Regulator
Take your new regulator and carefully attach the hose end to your grill’s intake valve. Hand-tighten it first.
Then, use your adjustable wrench to tighten it another half to full turn. Be firm, but avoid overtightening, as this can strip threads.
Next, screw the regulator’s tank fitting onto your LP tank valve. Again, hand-tighten, then use the wrench for a final snug fit.
The Leak Test: A Non-Negotiable Step
This step is absolutely critical. Imagine jumping into a pool without checking its depth; you just don’t do it.
Once everything is connected, open your LP tank valve slowly. Do not turn on the grill yet.
Spray your soapy water solution over all connections: where the regulator meets the tank and where the hose meets the grill.
Look for bubbles. If you see bubbles forming, you have a gas leak. Close the tank valve immediately and re-tighten connections.
Repeat the leak test until no bubbles appear. No bubbles mean you are good to go!
Choosing the Correct Regulator
Not all regulators are alike, just as not all shoes fit every foot. Selecting the right one is key to proper grill function.
We found that using the wrong type can lead to poor performance or, more importantly, safety issues (Propane Education & Research Council).
Understanding Regulator Types
Most household gas grills use a Low-Pressure Regulator. These regulators reduce the high pressure from your propane tank to a safe, usable level for the grill.
Always check your grill’s manual or the existing regulator for its specific output pressure, usually measured in BTU or water column (WC).
Matching Your Grill’s Needs
When buying a new regulator, always match it to your grill’s BTU rating or the replacement part number from your grill’s manufacturer.
Using an incompatible regulator can cause inconsistent flame, low heat, or even pose a fire hazard. A proper match ensures safe and efficient grilling.
Common Mistakes to Avoid
Mistakes happen, but with gas grills, prevention is always better. Think of these as common pitfalls to sidestep.
By being aware of these, you can make your regulator replacement project a smooth success.
| Mistake | Why It’s a Problem | Solution |
|---|---|---|
| Not closing the gas tank valve fully. | Dangerous gas leak during disconnection. | Always confirm the valve is off. |
| Overtightening connections. | Can strip threads, causing leaks. | Tighten firmly, then perform a leak test. |
| Skipping the leak test. | Puts you at risk of a gas fire. | Always perform the soapy water leak test. |
| Using the wrong regulator type. | Poor grill performance or safety risk. | Match new regulator to old specs or grill manual. |
| Ignoring old, damaged hoses. | Can lead to dangerous gas leaks. | Replace the entire regulator and hose assembly if damaged. |
Conclusion
Replacing your gas grill regulator is a practical skill that keeps your grill running safely and efficiently. It is not overly complex, but it definitely demands your attention to detail.
By following these steps, you ensure your next backyard cookout is not just tasty, but also worry-free. Keep those flames dancing reliably!
What are the symptoms of a bad gas grill regulator?
Symptoms of a bad regulator often include low or inconsistent flame, the grill not reaching its set temperature, or a noticeable hiss of escaping gas. Sometimes, you might also see visible damage on the regulator or hose.
Can I just replace the hose or do I need a new regulator too?
Most gas grill regulators come as a combined unit with the hose. If either the hose or the regulator is damaged, it is generally safer and simpler to replace the entire assembly rather than trying to separate and replace just one part.
How often should a gas grill regulator be replaced?
There isn’t a fixed schedule, but many experts suggest inspecting your regulator annually. If you notice any of the symptoms of failure or visible damage, replace it immediately. Some manufacturers recommend replacement every 5-10 years as a general guideline, regardless of visible issues.
What kind of wrench do I need for this job?
An adjustable wrench is typically all you need for disconnecting and tightening the fittings on a gas grill regulator. Make sure it is sturdy enough to provide good leverage without slipping.
Is it normal for a new regulator to emit a slight smell when first used?
A very faint, temporary smell might occur as any manufacturing residues burn off during the first use. However, a strong or persistent gas smell is never normal and indicates a leak. Stop using the grill, turn off the gas, and re-check all connections immediately.
