
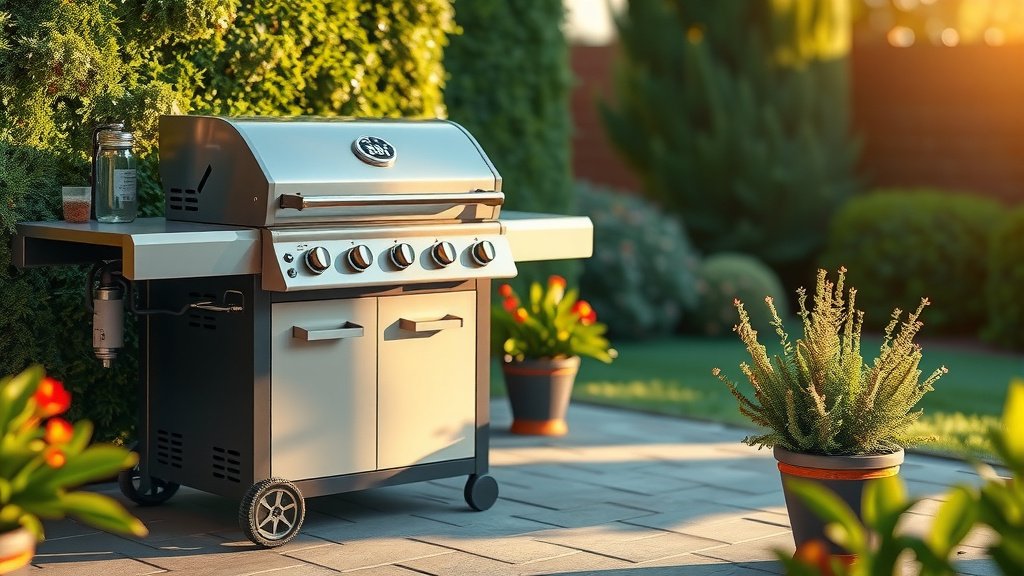
To hook up a gas grill to a natural gas line, you typically need a natural gas-compatible grill or a conversion kit, specific natural gas hose, and appropriate quick-disconnect fittings. Always prioritize safety by first shutting off your home’s main gas supply and thoroughly checking for leaks after installation.
Connecting your grill to natural gas ensures a continuous fuel source, saving you trips for propane refills and offering a consistent grilling experience.
- Ensure your grill is designed or converted for natural gas.
- Always turn off your home’s main natural gas supply before starting any work.
- Gather specific tools like pipe wrenches, sealant tape, and a leak detection solution.
- Connect your natural gas supply line and quick-disconnect fitting securely.
- Perform a crucial leak test with soapy water before using the grill.
How To Hook Up Gas Grill To Natural Gas Line?
Connecting your gas grill to a natural gas line involves ensuring your grill is compatible, securing the correct supply line and connectors, and performing a thorough leak test. This provides a steady fuel supply for endless grilling.
Why Natural Gas for Grilling?
Choosing natural gas for your grill offers incredible convenience. You never have to worry about running out of fuel mid-cook. Imagine no more last-minute propane runs or swapping heavy tanks.
We found that natural gas provides a consistent flame, which often leads to more stable cooking temperatures. This makes achieving that perfect sear or slow-cooked tenderness much easier. Plus, it can be a more cost-effective option over time compared to purchasing propane.
Is Your Grill Ready for Natural Gas?
Before doing anything else, check if your current grill can run on natural gas. Some grills are specifically built for natural gas. Others come designed for propane but include a conversion kit or offer one separately.
If your grill is only for propane, you cannot connect it to natural gas without a proper conversion. Using propane orifices with natural gas can be very dangerous. It’s essential to verify your grill’s specifications first (Weber Grills, Napoleon Grills often specify compatibility).
Safety First: Essential Steps
Safety is not just a suggestion; it’s a requirement when working with gas lines. Ignoring safety steps can lead to severe hazards. Your well-being and the safety of your home are our top priority here.
Many experts say that taking extra precautions saves lives. Do not rush any step. Double-check everything, especially when dealing with gas. We want your grilling experience to be safe and enjoyable.
Shutting Off Your Gas Supply
Before you touch anything, locate your home’s main gas shut-off valve. This is usually near your gas meter. Turn off the gas completely before starting any work on the line.
It’s also wise to turn off the gas at any dedicated outdoor gas shut-off valve you might have. This simple action prevents accidental gas leaks while you connect your grill. Always ensure the gas is off before proceeding.
Checking Local Codes and Regulations
Every area has specific rules for gas line installations. It is absolutely crucial to check your local building codes. Permits might be required, or certain types of connections might be forbidden.
Many guidelines point to professional installation for gas lines (NFPA guidelines). Skipping this step could lead to fines or, worse, safety issues. A quick call to your local municipality can save you a lot of trouble.
Gather Your Tools and Parts
Having the right tools makes any job easier and safer. Don’t try to improvise with ill-fitting wrenches. A well-prepared toolbox ensures a smooth installation process. We found that this step saves significant time and frustration.
Your Essential Tool Checklist
- Two large pipe wrenches (for leverage)
- Adjustable wrench
- PTFE thread seal tape (yellow for gas lines)
- Leak detection solution (soapy water in a spray bottle works)
- Screwdriver set
- Work gloves
Required Parts for Connection
The specific parts you need depend on your existing natural gas setup and grill. Here’s a general guide:
| Part | Description |
|---|---|
| Natural Gas Conversion Kit | If converting a propane grill; includes new orifices. |
| Natural Gas Hose | Specifically rated for natural gas, typically 10-20 feet long. |
| Quick-Disconnect Fitting | Allows easy connection and disconnection of the grill. |
| Shut-Off Valve | A dedicated valve at the grill connection point. |
| Gas Pipe Fittings | Adapters, elbows, or reducers as needed for your line. |
The Hook-Up Process: Step-by-Step
Now, let’s get to the actual connection. This process needs attention to detail. Remember, each connection must be secure and leak-free. Follow these steps carefully to ensure a safe setup.
Preparing Your Gas Line Connection Point
If you don’t already have a dedicated outdoor natural gas hookup, you may need a plumber to install one. This usually involves tapping into an existing line and adding a shut-off valve. We found that professional installation ensures compliance and safety for this part.
Once you have a suitable gas stub-out, ensure it’s clean and clear. Apply yellow PTFE thread seal tape (gas-rated tape) to the threads of all male pipe fittings. Wrap it clockwise a few times; this creates a tight, leak-resistant seal.
Connecting the Supply Line to the Grill
First, attach the quick-disconnect fitting to your outdoor gas stub-out. Use your pipe wrenches to tighten it securely, but do not overtighten. Then, connect your natural gas hose to this fitting. It should click into place firmly.
Next, attach the other end of the natural gas hose to your grill’s inlet connection. Again, apply thread tape if necessary and use wrenches to tighten. Always ensure the hose itself is not kinked or stretched.
Testing for Leaks: The Crucial Step
This is arguably the most important part of the entire process. Once everything is connected, slowly turn your home’s main gas supply back on. Then, open the dedicated shut-off valve at your grill’s connection point.
Spray your leak detection solution liberally over every single connection point you made. Look for bubbles forming. If you see bubbles, you have a leak. Tighten the connection until bubbles stop appearing. If leaks persist, turn off the gas immediately and seek professional help (Consumer Product Safety Commission).
Troubleshooting Common Issues
What if your grill doesn’t light up after all this effort? Don’t panic. First, recheck that all gas valves, both at your house and the grill, are fully open. Sometimes, the quick-disconnect isn’t fully seated; try reconnecting it.
Also, verify your leak test again. Even a tiny leak can impact gas pressure. If the grill still won’t light, or the flame is very weak, you might have an issue with the grill’s regulator or orifices. This is when calling a service technician is a smart move.
Maintenance for Your Natural Gas Grill
To keep your natural gas grill running perfectly, regular maintenance is key. Periodically check your gas hose for cracks or wear. Also, ensure the quick-disconnect fitting is clean and free of debris. Cleaning grill components regularly helps maintain optimal performance.
A yearly professional inspection of your gas line connection is a great idea. They can spot potential issues before they become problems. This proactive approach ensures your grill is always ready for your next cookout.
When to Call a Pro
While hooking up a natural gas grill can be a DIY project, some situations absolutely require a professional. If you need a new gas line run to your patio, call a licensed plumber. Gas line extensions are complex and dangerous for untrained individuals.
If you perform the leak test and cannot stop a leak, immediately turn off the gas and call an expert. Any persistent gas smell or unexplained issues with your grill also warrant professional attention. Your safety is worth the investment.
Conclusion
Hooking up your gas grill to a natural gas line is a rewarding project that offers convenience and consistent grilling power. Remember to always prioritize safety by turning off the gas, checking local codes, and performing a thorough leak test. With the right tools and a careful approach, you’ll be enjoying endless cookouts without ever worrying about an empty propane tank. Happy grilling!
How long does it take to connect a gas grill to natural gas?
The actual connection process, assuming you have an existing natural gas stub-out, can take anywhere from 30 minutes to an hour. This time includes careful fitting, tightening, and the crucial leak test. If you need a new gas line installed, that process can take much longer and often requires a professional.
Can any gas grill be converted to natural gas?
No, not all gas grills can be converted to natural gas. Grills are designed for either propane or natural gas. While some propane grills offer official conversion kits from the manufacturer, many do not. Always check your grill’s manual or manufacturer’s website for compatibility before attempting any conversion.
What kind of hose do I need for a natural gas grill?
You need a specific natural gas hose designed for outdoor use and rated for natural gas pressures. These hoses are typically yellow-banded or clearly labeled for natural gas. They often come with quick-disconnect fittings for easy and safe attachment to your home’s gas line and the grill.
Is it safe to do the natural gas hook-up myself?
Hooking up a natural gas grill can be safe for a DIYer if you are comfortable working with gas lines, strictly follow all safety protocols, and adhere to local codes. However, if you have any doubts, or if a new gas line needs to be run, it’s always safest and recommended to hire a licensed professional.
What if I smell gas after hooking up the grill?
If you smell gas, turn off your home’s main gas supply immediately. Do not attempt to light the grill or operate any electrical switches. Evacuate the area and call your gas company’s emergency line or a qualified plumber from a safe distance. A gas smell indicates a serious leak that needs immediate professional attention.
