
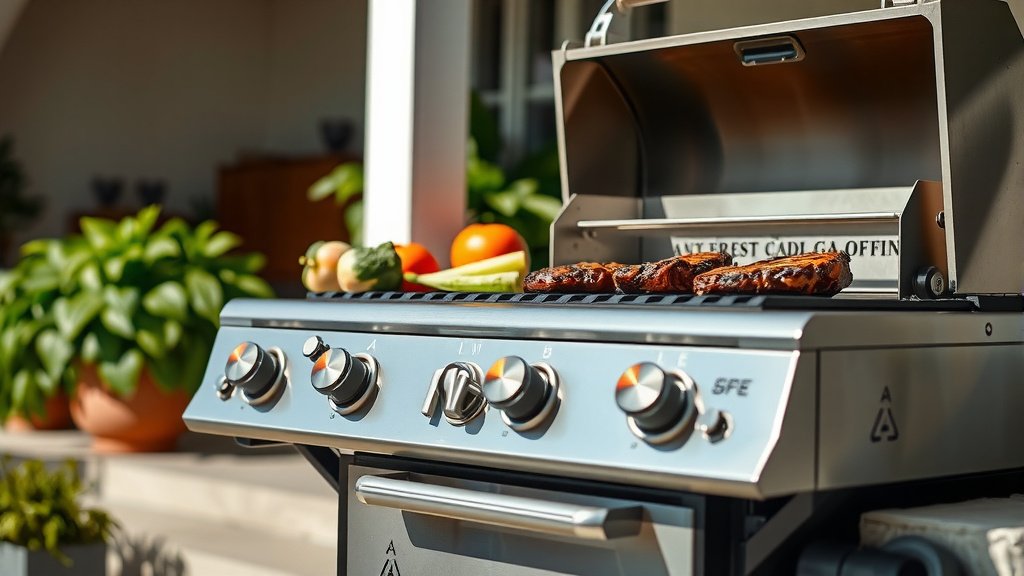
To use a gas grill, you first open the lid, turn on the gas supply, then ignite the burners one by one, starting from the one closest to the igniter.
Always preheat your grill to the target temperature with the lid closed for 10-15 minutes before placing food on the grates for the best cooking results.
- Get started by ensuring your gas tank is full and connected securely.
- Always preheat your grill thoroughly before placing any food.
- Understand the difference between direct and indirect heat zones for versatile cooking.
- Clean your grill grates after each use to keep them ready for the next cookout.
- Follow safety checks like checking for gas leaks and never grilling indoors.
How Do You Use A Gas Grill?
Using a gas grill involves several straightforward steps, beginning with safety checks and then moving to ignition, preheating, and cooking. It’s really about mastering a few basic actions for delicious meals.
Getting Started with Your Gas Grill
Before you even think about lighting those burners, a quick safety check is a smart move. Always ensure your grill is on a flat, stable surface, far from anything flammable. Think about it like setting the stage for a great performance; you want everything just right.
Safety First: The ABCs
Have you checked for any gas leaks? A simple soapy water solution brushed over the gas line connections will show bubbles if there’s a leak. This little trick can prevent big problems, as many experts agree (Consumer Reports).
Checking Gas Connections
Make sure your propane tank is securely attached to the grill’s regulator. You want a snug fit, not too tight, but definitely not loose. A small turn of the tank valve will confirm it’s ready.
The Anatomy of Your Gas Grill
Knowing your grill means understanding its parts. You have burners, grates, a lid, and control knobs. Each piece plays a key role in how your food cooks. Think of it as your kitchen, but outdoors!
Burners, Grates, and The Lid
The burners create the heat, the grates hold your food, and the lid helps circulate heat evenly, much like an oven. Each component works together to make grilling easy and effective.
Understanding Controls
Your control knobs typically go from low to high. They manage the gas flow to each burner. This gives you fantastic control over different cooking zones on your grill. Want a hotter spot for searing? You got it!
Fueling Up: Propane vs. Natural Gas
Gas grills usually run on either propane from a tank or natural gas plumbed directly to your home. Knowing your fuel source is the first step. Each has its own benefits, depending on your setup.
| Feature | Propane Gas | Natural Gas |
|---|---|---|
| Portability | Highly portable, tanks are movable | Fixed connection, not portable |
| Fuel Source | Refillable tanks | Direct line from home |
| Availability | Widely available at stores | Requires home hookup |
| Cost (General) | Can be higher per BTU | Often lower per BTU |
Lighting Your Gas Grill Safely
This is where the magic starts! Lighting your grill is often simpler than you might expect. Just follow a few steps to get those flames going safely and consistently every time.
Step-by-Step Ignition
First, open the grill lid. This is a must for safety. Next, turn on the gas at the tank valve. Then, turn one burner knob to HIGH and press the igniter button immediately. You should hear a whoosh and see a flame.
What If It Doesn’t Light?
If your grill doesn’t light right away, turn off the gas at both the burner knob and the tank. Wait a few minutes, then try again. If the igniter still fails, you might need a long lighter or match, following your grill’s manual for safety.
Preheating for Perfect Results
Many grill masters agree that proper preheating is a secret weapon for amazing food. Don’t rush this step! It makes a huge difference in how your food cooks.
Why Preheating Matters
Preheating does two main things: it cleans the grates and ensures even cooking. Hot grates help prevent sticking and create those beautiful sear marks. We found that cold grates can lead to a sticky mess.
Target Temperatures
Aim for around 400-450°F for most meats. For searing, you might want it even hotter. For gentler cooking, a lower temperature around 300-350°F works well. Your grill’s built-in thermometer is a good guide.
Zone Cooking: Direct vs. Indirect Heat
This technique lets you cook different foods at different rates. Think of it like having multiple ovens in one! It’s super helpful for handling various items at once.
Direct heat is right over the flame, perfect for quick-cooking foods like burgers, steaks, and veggies that benefit from searing. It cooks fast and hot. You use all burners on high for this.
Indirect heat means cooking food away from the direct flame, using burners on only one side or just the outer burners. This is ideal for larger cuts of meat, like roasts or whole chickens, that need slower, gentler cooking without burning.
Grill Grate Preparation
Clean grates are happy grates! Preparing your grill grates before each use is a simple step that makes a big impact on your food’s taste and texture. It also helps with longevity.
Cleaning and Oiling
Once preheated, use a stiff-bristled grill brush to scrape off any cooked-on bits. Then, dip a paper towel in a little high-smoke-point oil (like canola or grapeseed) and carefully wipe the grates. This creates a non-stick surface, much like seasoning a cast-iron pan.
Monitoring Your Food
Patience is a virtue, especially when grilling. Don’t constantly open the lid, but do keep an eye on your food. It’s a balance! We found that over-flipping can lead to dry food.
Using a Thermometer
A good meat thermometer is your best friend. It takes the guesswork out of knowing when your food is done, ensuring it’s safe and delicious. Many guidelines point to internal temperature as a key indicator (USDA).
Flipping Times
Generally, flip burgers once, steaks once or twice. For chicken, you might flip a few times to get even browning. Let the food tell you when it’s ready; does it release easily from the grates?
Common Grilling Mistakes to Avoid
Even seasoned grillers can make mistakes. Avoiding these common pitfalls will help you achieve perfectly cooked food every time. Are you guilty of any of these?
- Not preheating the grill enough.
- Opening the lid too often, which lets heat escape.
- Overcrowding the grill, reducing airflow and even cooking.
- Using too much marinade that burns on the grates.
- Forgetting to clean the grates after cooking.
Post-Grilling Cleanup
The cooking might be done, but your job isn’t quite finished! Proper cleanup makes your next grilling session easier and keeps your grill in great shape. A little effort now saves work later.
Immediate Cleaning
While the grill is still warm (but not scorching hot), use your brush again to scrape the grates. It’s much easier to remove food residue when it hasn’t completely cooled and hardened. This is a quick clean.
Deep Cleaning Tips
Every few uses, you might want to remove the grates and burner covers for a more thorough scrub. Use warm, soapy water to tackle any grease buildup. Many experts say this extends the life of your grill.
Storing Your Gas Grill
Protecting your grill from the elements is a smart move. A grill is an investment, after all, and you want it to last for many seasons of delicious cooking.
Covering and Protecting
Once your grill is cool and clean, put on a sturdy grill cover. This shields it from rain, sun, and dirt, preventing rust and keeping it looking good. Store it in a sheltered spot if possible.
Conclusion
Mastering your gas grill isn’t about complex techniques; it’s about understanding the basics and executing them consistently. From lighting it safely to controlling heat zones and maintaining its cleanliness, each step contributes to a rewarding grilling experience. With a little practice and attention to these points, you’ll be serving up fantastic meals from your backyard in no time. So, fire it up, have fun, and enjoy the delicious results!
What safety checks should I do before using a gas grill?
Before you use a gas grill, always check for gas leaks using soapy water on connections, ensure the grill is on a stable, non-flammable surface, and confirm the lid is open before igniting. These steps help prevent accidents.
How long should I preheat my gas grill?
You should preheat your gas grill for 10-15 minutes with the lid closed. This allows the grates to get hot enough for even cooking and proper searing, and also helps to burn off any leftover food particles.
Can I cook different foods at different temperatures on a gas grill?
Yes, absolutely! Gas grills are excellent for zone cooking. You can set some burners to high for direct, hot cooking (like searing steaks) and others to low or off for indirect, gentler cooking (for larger items like roasts or chicken).
What’s the best way to clean gas grill grates?
The best way to clean gas grill grates is to brush them with a stiff-bristled grill brush while they are still warm after cooking. For a deeper clean, remove them and wash with warm, soapy water.
Is it okay to use a gas grill in a garage or enclosed space?
No, it is not okay to use a gas grill in a garage, enclosed space, or under any overhang. Gas grills produce carbon monoxide, an odorless and colorless gas that can be deadly in unventilated areas. Always grill in a well-ventilated outdoor space.
