To grill perfect burgers on a charcoal grill, you need to set up two heat zones: one for searing and one for slower cooking. This allows you to achieve a beautiful crust while ensuring the inside cooks evenly.
You can grill burgers on a charcoal grill by first searing them over direct high heat, then moving them to indirect heat to finish cooking to your desired doneness, usually around 135-160°F for medium to well-done.
- Set up your charcoal grill with two distinct heat zones for versatile cooking.
- Prepare your burger patties simply, avoiding overworking the meat for tenderness.
- Sear burgers over direct heat to develop a flavorful crust and char marks.
- Finish cooking over indirect heat, using a thermometer for precise doneness.
- Rest your cooked burgers briefly to keep them juicy and full of flavor.
How To Grill Burgers On Charcoal Grill?
Mastering the charcoal grill for burgers involves smart heat management. You’ll sear them over direct heat and then finish cooking in a cooler zone.
Gather Your Grilling Arsenal
Before any coals even glow, let’s talk about what you need. Think of it as preparing for a friendly cooking competition against yourself. You’ll want a reliable charcoal grill, good quality charcoal, and a chimney starter. These are your foundational tools.
Don’t forget long-handled tongs, a sturdy spatula, and a reliable meat thermometer. These tools ensure both your safety and perfect burger outcomes. Having everything ready means you won’t scramble mid-grill.
Choosing the Right Charcoal
Do you prefer briquettes or lump charcoal? This choice impacts your grilling experience. Briquettes burn longer and more consistently, offering predictable heat. Lump charcoal, made from pure wood, burns hotter and faster, often imparting a smoky flavor.
Many grilling experts suggest briquettes for beginners due to their stable heat. For a quick grill, lump charcoal works wonderfully. Try both to see what you enjoy most.
Building Your Heat Zones
This is where the magic truly begins. Setting up proper heat zones is perhaps the most important step for grilling anything, especially burgers. It’s like having a fast lane and a slow lane on the highway.
Light your charcoal using a chimney starter. Once the coals are ash-gray, pour them onto one side of the grill. This creates a direct, high-heat zone. The other side remains empty, forming your indirect, cooler zone.
The direct heat is for searing and getting those beautiful grill marks. The indirect heat is for gentle cooking, ensuring the burger cooks through without burning. This two-zone setup prevents a charred outside and raw inside.
Grill Prep: Hot and Ready
Once your charcoal is arranged, put the grill grates in place. Close the lid for about 10-15 minutes to let them heat up. You want those grates screaming hot for a good sear.
Use a wire brush to clean any old bits from the grates. Then, oil the grates lightly with a paper towel dipped in cooking oil. This prevents your burgers from sticking. A little oil goes a long way.
Crafting the Perfect Burger Patty
The patty is the star of the show. Start with fresh ground beef, ideally 80/20 chuck for a good fat-to-lean ratio. This ratio ensures your burgers stay juicy and flavorful.
Season your ground beef simply with salt and pepper. Avoid overworking the meat; gentle handling keeps it tender. Shape your patties uniformly, about 3/4-inch thick. Make them slightly wider than your buns, as they will shrink during cooking.
Create a small dimple in the center of each patty. This little trick helps prevent the burger from puffing up into a ball. Research shows this dimple helps them stay flat (Food Network Kitchen research).
To Bind or Not To Bind?
Many home cooks wonder if they need eggs or breadcrumbs. For a classic burger, the answer is usually no. High-quality ground beef holds together well on its own. Too many additions can change the texture.
If you prefer a firmer patty or use leaner meat, a small amount of binder might help. But for most charcoal grill burgers, keep it simple. Let the beef flavor shine.
The Grilling Process: Step-by-Step
Now, let’s get those burgers on the heat. This part requires a bit of focus and timing. Don’t rush it.
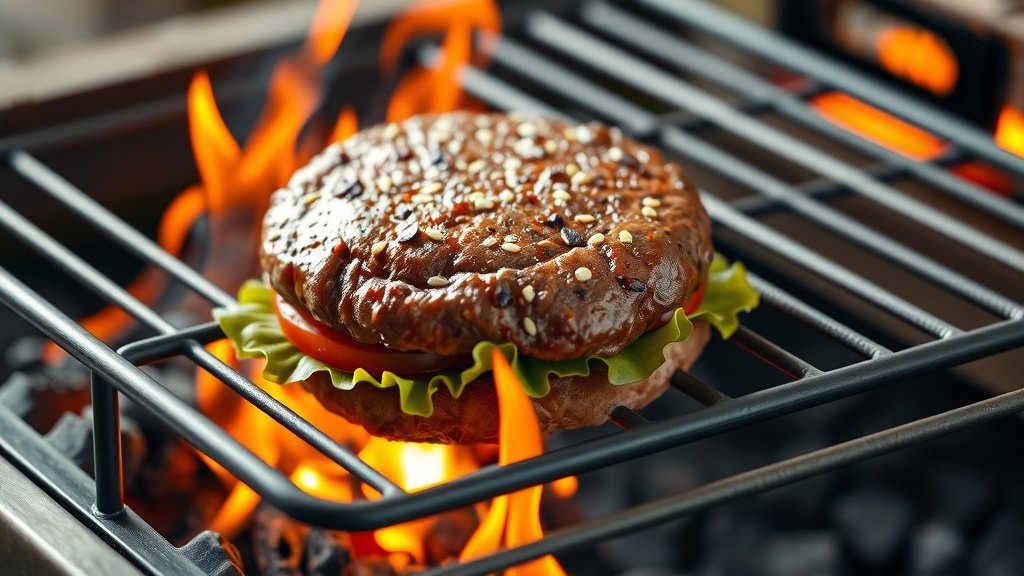
- Place patties over the direct, hot side of the grill.
- Sear for about 2-3 minutes per side. You’re looking for a rich brown crust and visible grill marks.
- Once seared, move the patties to the indirect, cooler side of the grill.
- Close the grill lid. This helps the heat circulate, cooking the burgers evenly.
- Cook for an additional 5-10 minutes, depending on your desired doneness and patty thickness.
When Is a Burger Done?
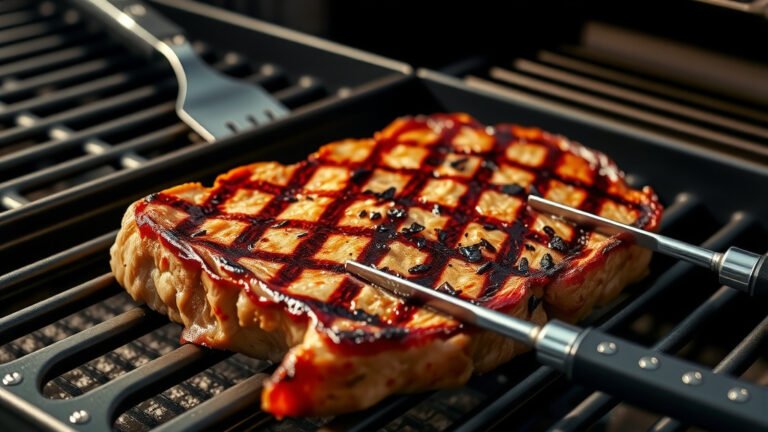
This is where your meat thermometer becomes your best friend. Don’t guess; check the internal temperature. Insert the thermometer into the side of the patty, reaching the center.
Here’s a quick guide to internal temperatures (USDA guidelines):
| Doneness Level | Internal Temperature |
|---|---|
| Rare | 125-130°F (52-54°C) |
| Medium-Rare | 130-135°F (54-57°C) |
| Medium | 135-140°F (57-60°C) |
| Medium-Well | 140-145°F (60-63°C) |
| Well-Done | 155-160°F (68-71°C) |
| Safe Minimum | 160°F (71°C) (USDA recommended) |
Remember that temperature rises a few degrees after removing from heat. This is called carryover cooking. So, pull your burgers slightly before they reach your target temperature.
Adding Cheese and Toasted Buns
For cheeseburgers, add a slice of cheese during the last minute or two of cooking. Place it on the patty while it’s still on the indirect heat, then close the lid briefly. The cheese will melt beautifully.
Toasted buns make all the difference. Brush your burger buns lightly with butter and place them cut-side down on the indirect heat zone for about 30 seconds to a minute. They should be lightly golden and warm.
The All-Important Rest
Just like any good cut of meat, burgers benefit from resting. Remove your cooked burgers from the grill and place them on a clean plate or cutting board. Cover them loosely with foil.
Let them rest for 5-10 minutes. This allows the juices to redistribute throughout the patty. Cutting into a burger too soon lets all those delicious juices run out, leading to a dry burger. Patience here rewards you greatly.
Your Charcoal Grilling Checklist
To ensure a smooth grilling experience, use this quick checklist:
- Charcoal and chimney starter ready?
- Grill grates clean and oiled?
- Two heat zones established?
- Patties shaped with a dimple?
- Tongs, spatula, thermometer nearby?
- Buns and cheese ready for action?
Conclusion
Grilling burgers on a charcoal grill offers a satisfying, smoky flavor you just can’t get otherwise. By understanding heat zones, proper patty preparation, and accurate cooking temperatures, you’re set for success.
Remember, practice makes perfect. Each time you grill, you’ll learn more about your grill and your preferences. Soon, you’ll be turning out consistently juicy, flavorful burgers that impress everyone at your cookout. Enjoy the process!
What kind of charcoal is best for burgers?
Both briquettes and lump charcoal work well for burgers. Briquettes offer more consistent heat for longer cooks, while lump charcoal burns hotter and imparts a distinct smoky flavor for faster grilling.
Should I press my burgers while grilling?
No, avoid pressing your burgers with a spatula while they are grilling. Pressing forces out the flavorful juices, resulting in a dry, less tasty burger. Let the heat do its work without intervention.
How do I prevent my burgers from sticking to the grill?
To prevent sticking, ensure your grill grates are very hot and clean before adding burgers. Lightly oil the grates with a high smoke point cooking oil just before placing the patties down.
Can I add seasonings to the outside of the burger patty?
Yes, you can season the outside of your burger patties generously with salt and pepper right before grilling. This creates a flavorful crust. Some also enjoy a sprinkle of garlic powder or onion powder.
How long should burgers rest after grilling?
Burgers should rest for 5 to 10 minutes after grilling. This allows the internal juices to redistribute, ensuring a juicier and more tender burger. Cover them loosely with foil during this resting period.