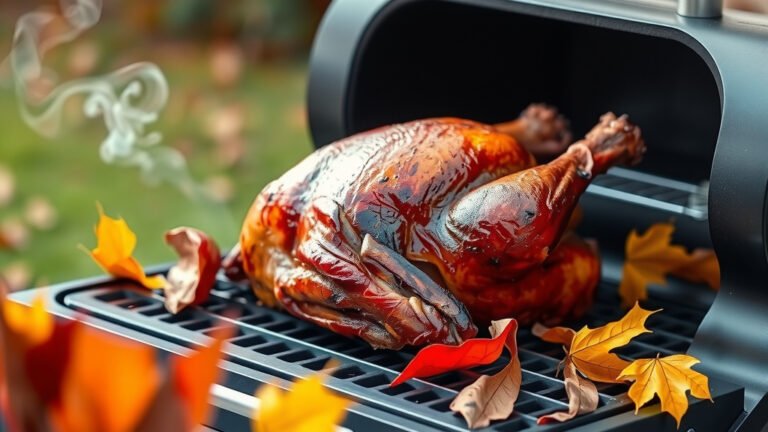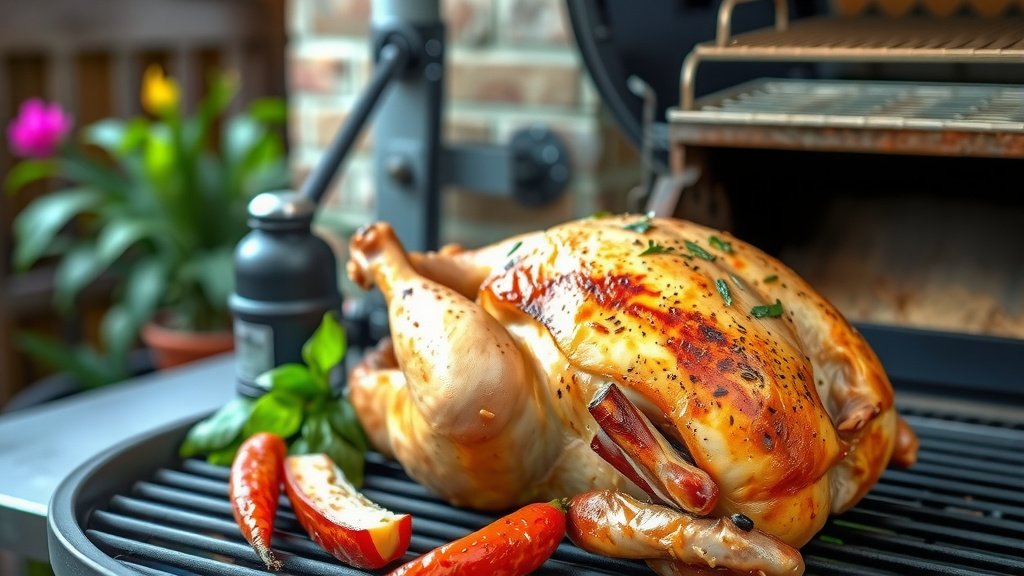
To cook a whole chicken on a pellet grill, you typically start with a low smoke for flavor, then raise the temperature to cook through and crisp the skin. Aim for an internal temperature of 165°F in the thickest part of the thigh.
This method combines the smoky goodness of a smoker with the consistent heat of an oven, giving you a tender, juicy chicken with fantastic flavor and often a beautiful, golden-brown finish when done right.
- Get started by prepping your chicken; spatchcocking is a game-changer for even cooking.
- Season your bird generously with your favorite rub, focusing on flavor.
- Set your pellet grill to a low smoke temperature first, maybe 225°F, for an hour or so.
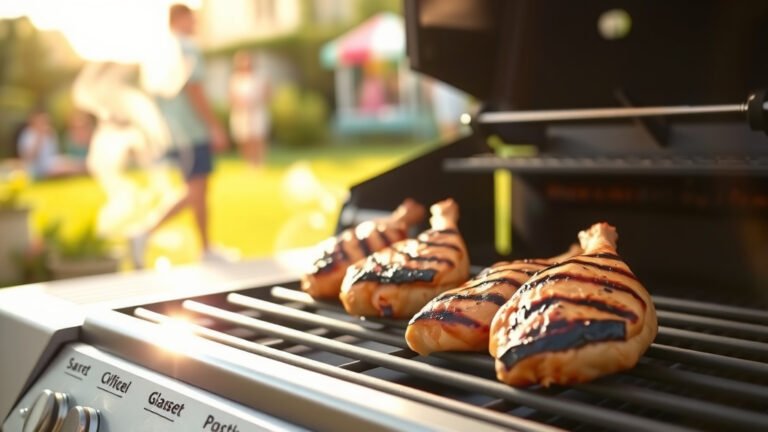
- Then, crank up the heat to around 375-400°F to finish cooking and get that crispy skin we all love.
- Always check for an internal temperature of 165°F in the thigh before resting your delicious meal.
How To Cook A Whole Chicken On A Pellet Grill?
Cooking a whole chicken on a pellet grill involves careful preparation and temperature management, combining smoking and roasting techniques for superior flavor and texture. You’ll start with a low temperature for smoke penetration, then increase the heat to ensure it cooks evenly and the skin crisps up beautifully.
Why Choose a Pellet Grill for Your Chicken?
Many grill enthusiasts choose pellet grills for their ease of use and consistent results. These grills provide a stable temperature, much like an oven, but infuse your food with a wonderful smoky flavor. We found that this balance makes them ideal for cooking a whole chicken, offering a perfect blend of convenience and taste.
The Magic of Smoke Infusion
Pellet grills burn wood pellets, giving off a distinct, natural smoke. This smoke doesn’t just flavor the surface; it penetrates the meat, creating a depth of flavor you can’t get from a conventional oven. Imagine that subtle, woody aroma as you slice into your chicken—it’s truly something special.
Picking the Perfect Chicken
Starting with a good quality chicken makes all the difference. Look for a whole chicken between 4-6 pounds. This size usually fits well on most pellet grills and cooks at a reasonable pace. A smaller bird might dry out quicker, while a larger one could take much longer. Fresh is always best, if you have the option.
Prep Work for a Winning Bird
Preparation is key to a perfectly cooked chicken. There are a few steps that can make your chicken go from good to amazing. Don’t skip these; they lay the foundation for a juicy, flavorful result.
To Brine or Not to Brine?
Brining can significantly improve moisture and flavor. We found that a simple salt and sugar brine, with herbs like rosemary or thyme, makes a big difference. Submerge your chicken in the brine for 4-12 hours in the refrigerator. This step helps keep the meat incredibly moist during cooking. It’s a small effort for a big reward.
Spatchcocking: Your Secret Weapon
Have you ever heard of spatchcocking? It means removing the backbone so the chicken lies flat. This method ensures even cooking and helps the skin crisp up all over. Many experts say it’s the best way to cook a whole chicken on a grill. You’ll get more surface area for seasoning and consistent doneness. It’s a game-changer for sure.
Here’s a quick checklist for spatchcocking:
- Place chicken breast-side down.
- Use sturdy kitchen shears to cut along both sides of the backbone.
- Remove the backbone (you can save it for stock!).
- Flip the chicken over, breast-side up.
- Press down firmly on the breastbone to flatten the bird.
Seasoning Your Masterpiece
Once prepped, it’s time to season! Don’t be shy. A good rub creates that delicious crust. You can use a store-bought poultry rub or make your own. We found that a blend of paprika, garlic powder, onion powder, salt, pepper, and a touch of cayenne works wonderfully. Apply it generously all over, even under the skin. Think about creating a flavorful shield.
Setting Up Your Pellet Grill
Getting your grill ready is straightforward. The right setup ensures consistent heat and optimal smoke. Make sure you have enough pellets for the entire cook; running out mid-way is no fun! It’s all about creating the perfect cooking environment.
Choosing Your Pellets
The type of wood pellets you use affects the smoke flavor. For chicken, milder woods are generally preferred. Cherry or apple pellets offer a slightly sweet, fruity smoke that pairs beautifully with poultry. Pecan or alder also work well. Avoid strong woods like mesquite unless you really love intense smoke flavor. Match the smoke to your taste.
| Pellet Type | Flavor Profile | Best For Poultry |
|---|---|---|
| Apple | Mild, fruity, slightly sweet | Excellent |
| Cherry | Sweet, subtle, rosy | Excellent |
| Pecan | Nutty, mild, savory | Very Good |
| Alder | Very light, neutral | Good |
| Hickory | Strong, bacon-like | Okay (use sparingly) |
Grill Temperature Strategy
For a whole chicken, a two-stage cooking process often works best. Start low for smoke, then go high for crispness. We recommend preheating your grill to 225°F (Smoke setting, if available) and letting it stabilize. Then, after an hour or two, increase the temperature to 375-400°F. This method helps achieve a beautifully cooked bird.
The Smoking and Roasting Process
Once your grill is hot and your chicken is ready, it’s showtime! This is where the magic happens, transforming your prepped bird into a culinary delight. Keep an eye on the temperature and try not to peek too often. Every time you open the lid, you lose heat. Patience is a virtue here.
Smoke First for Flavor
Place your spatchcocked chicken directly on the grates, breast-side up. If you’re worried about cleanup, you can place it on a wire rack over a drip pan. Smoke the chicken at 225°F for 1-2 hours. This initial phase allows the chicken to absorb plenty of smoky goodness. You’re building a deep flavor base.
Then Crank Up the Heat
After the smoking phase, increase your grill’s temperature to 375-400°F. This higher heat will finish cooking the chicken and, crucially, crisp up that skin. Close the lid and let it roast. The total cooking time will vary depending on the chicken’s size, but it’s usually another 45-90 minutes. Crispy skin awaits!
Achieving That Crispy Skin
Rubbery chicken skin is a common complaint. The high heat at the end is vital for crispiness. Some people also pat the skin very dry before seasoning, and even apply a very light coat of oil. Research often connects drier surfaces with better crisping (Food Science Institute). Don’t cover the chicken at the end; let that hot air do its job. A golden, crackling skin is the goal.
Monitoring Internal Temperature
This is the most critical step for food safety and deliciousness. You absolutely need a reliable meat thermometer. Insert the probe into the thickest part of the thigh, making sure it doesn’t touch any bone. The target temperature for cooked chicken is 165°F (USDA). Checking multiple spots can give you peace of mind. Many guidelines point to accurate temperature checks as a good first step for safe consumption.
The All-Important Rest
Once your chicken hits 165°F, remove it from the grill immediately. Tent it loosely with foil and let it rest for 10-15 minutes. This resting period allows the juices to redistribute throughout the meat, making it incredibly tender and juicy. Cutting it too soon lets all those delicious juices escape. Think of it as the final, essential step.
Conclusion
Cooking a whole chicken on a pellet grill might seem like a project, but it’s a rewarding experience. With careful preparation, the right temperatures, and a good meat thermometer, you can achieve a truly fantastic meal. Your pellet grill will infuse your chicken with a wonderful smoky flavor, and you’ll end up with a juicy interior and that much-desired crispy skin. So, fire up your grill and enjoy the delicious results of your efforts. Happy grilling, and enjoy that perfectly smoked chicken!
What kind of pellets are best for whole chicken?
For whole chicken, milder wood pellets like apple, cherry, or pecan are generally best. They provide a subtle, sweet, or nutty smoke flavor that complements poultry without overpowering it. Avoid stronger woods like mesquite unless you prefer a very intense smoky taste.
Should I spatchcock a whole chicken before grilling?
Yes, spatchcocking (removing the backbone and flattening the chicken) is highly recommended for cooking a whole chicken on a pellet grill. It allows for more even cooking, better skin crisping, and can reduce overall cooking time. This simple step makes a big difference in the final product.
How do I prevent the chicken skin from being rubbery?
To prevent rubbery skin, ensure your chicken is patted very dry before seasoning. Then, cook it at a higher temperature (375-400°F) during the final stage of grilling. This higher heat helps render the fat and crisp up the skin effectively. Some also recommend a very light coat of oil.
What internal temperature should a whole chicken reach?
A whole chicken is safely cooked when it reaches an internal temperature of 165°F in the thickest part of the thigh. Always use a reliable meat thermometer and check multiple spots, making sure not to touch any bones with the probe.
Is it necessary to rest the chicken after cooking?
Yes, resting the chicken for 10-15 minutes after it reaches its target internal temperature is very important. This allows the juices to redistribute throughout the meat, resulting in a much juicier and more tender chicken. Cutting it immediately can cause the juices to run out, leading to drier meat.