To grill spare ribs on a gas grill, you will typically use indirect heat, often involving a 2-zone setup, to cook them slowly until they are incredibly tender.
You’ll begin by preparing your ribs, setting your gas grill to a consistent low-medium temperature, and patiently cooking them for several hours, ensuring they reach perfect doneness.
- Prepare your spare ribs by removing the membrane and applying your favorite rub.
- Set up your gas grill for indirect heat, typically turning on burners only on one side.
- Cook the ribs low and slow for 2-3 hours, maintaining a consistent grill temperature.
- Wrap the ribs in foil with a bit of liquid to steam them to ultimate tenderness.
- Finish by saucing the ribs over gentle heat to create a delicious, caramelized glaze.
How To Grill Spare Ribs On Gas Grill?
Grilling spare ribs on a gas grill involves setting up a 2-zone cooking system and maintaining a low, steady temperature for a long duration, much like smoking.
You might think grilling ribs is only for charcoal smokers, right? Many people believe that, but we found that your gas grill can absolutely produce fall-off-the-bone ribs with the right technique. It’s all about controlling the heat.
Understanding Spare Ribs for Grilling
Spare ribs are a fantastic choice for grilling. They are typically larger and meatier than baby back ribs. They also have a bit more fat, which helps keep them moist during the longer cooking process. Have you ever wondered what the difference is?
There are generally two main cuts you’ll find: St. Louis style, which are trimmed to a rectangular shape, and full spare ribs, which include the sternum bone and cartilage. Both work beautifully on the gas grill.
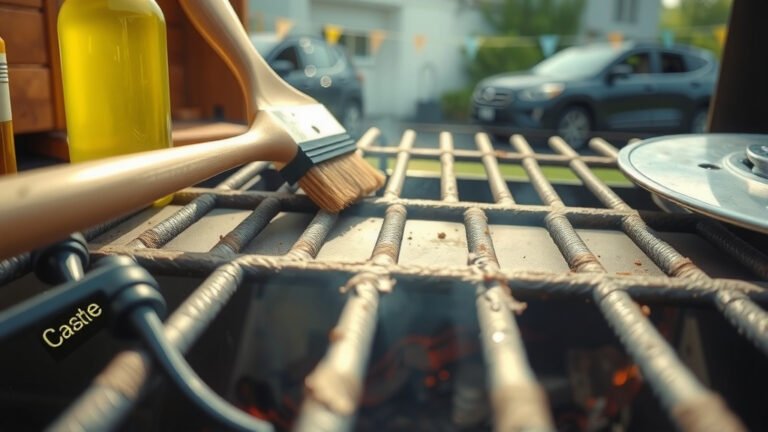
Preparing Your Spare Ribs
Preparation is a key step to truly amazing ribs. First, you’ll want to remove the tough membrane from the bone side of the ribs. This membrane can make the ribs chewy and prevent your rub from really soaking in.
Just slide a knife under a corner of the membrane, grip it with a paper towel, and pull it off. After that, apply a generous amount of your favorite dry rub. Don’t be shy here; the rub builds flavorful bark.
Essential Rib Prep Checklist
- Pat ribs dry with paper towels.
- Carefully remove the silver skin membrane.
- Trim any excessive fat, but leave some for moisture.
- Apply a liberal amount of your chosen dry rub.
- Let ribs sit at room temperature for 30 minutes.
Setting Up Your Gas Grill for Indirect Heat
This is where the magic happens for gas grilling ribs. You need indirect heat. If you put ribs directly over high flame, they’ll burn long before they become tender. Think low and slow.
To create indirect heat, light one or two burners on one side of your grill to medium-low. Keep the burners directly under where your ribs will sit turned off. This creates a cooler cooking zone. Many experts say this setup mimics a smoker (BBQ Guys).
Maintaining the Right Grill Temperature
Your target temperature for grilling spare ribs on a gas grill is generally between 250°F and 275°F. This range allows the connective tissues in the ribs to slowly break down, making them incredibly tender.
It’s important to monitor your grill’s internal temperature, not just the lid thermometer. An oven thermometer placed on the grill grates near your ribs will give you the most accurate reading. Adjust your lit burners as needed to hold this steady temperature.
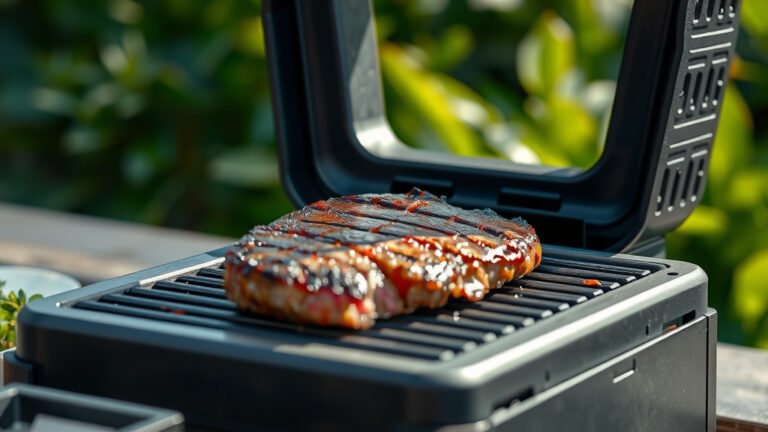
The Grilling Process: Low and Slow
Place your prepped ribs, bone-side down, on the unlit side of your grill. Close the lid and resist the urge to peek too often! Every time you open the lid, heat escapes, and it takes longer for the ribs to cook.
You’ll cook them this way for about 2 to 2.5 hours. During this initial phase, the ribs will start to develop that nice “smoke ring” and a flavorful crust from the rub. This first stage is all about building foundation.
When to Wrap Your Ribs?
After that initial cooking time, it’s often helpful to wrap your ribs in foil. This step helps to tenderize them even further by steaming them in their own juices. Some people call this the “Texas Crutch” for a good reason.
Lay out a large piece of heavy-duty aluminum foil. You can add a splash of apple juice, cider vinegar, or beer inside the foil packet. Wrap the ribs tightly and return them to the indirect heat zone for another 1 to 1.5 hours.
| Phase | Time (Approx.) | Temperature | Purpose |
|---|---|---|---|
| Unwrapped Cook | 2-2.5 hours | 250-275°F | Build bark, absorb smoke |
| Wrapped Cook | 1-1.5 hours | 250-275°F | Tenderize, moisten |
| Sauced Finish | 30-60 minutes | 275-300°F | Caramelize sauce |
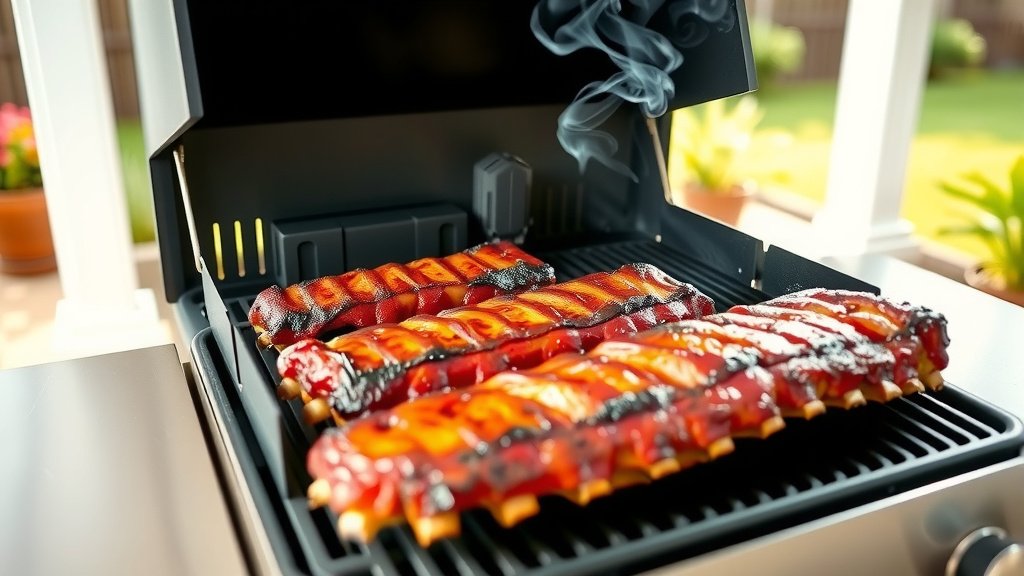
Finishing with Sauce and Glaze
Once your ribs are wonderfully tender from the foil wrap, it’s time to apply your BBQ sauce. Carefully unwrap them and place them back on the indirect heat. Brush on your favorite sauce, making sure to get an even coating.
Let the sauce set for about 30 to 60 minutes, flipping and saucing every 15 minutes. This allows the sauce to thicken and caramelize, forming a beautiful, sticky glaze. Be careful not to burn the sauce due to its sugar content.
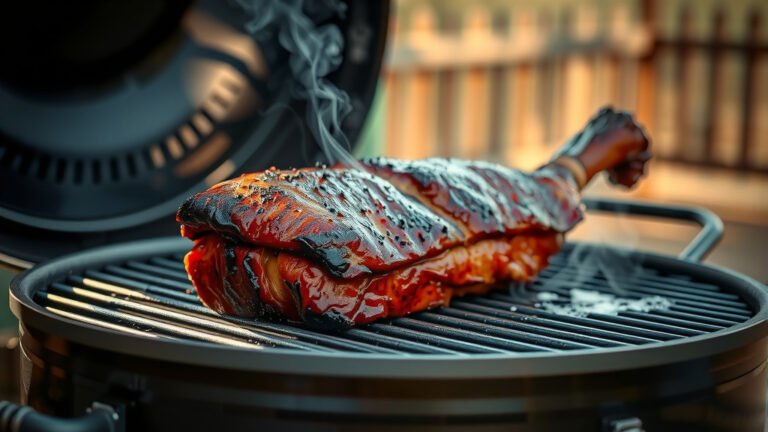
Checking for Doneness
How do you know when your spare ribs are truly done? They shouldn’t be falling off the bone completely, but they should be very tender. We found a few good tests.
One common test is the “bend test.” Pick up the ribs with tongs in the middle. If the slab bends significantly and the meat starts to crack, they are likely ready. Another sign is when the meat has pulled back from the bone ends by about a quarter-inch (USDA).
Resting Your Ribs
Just like any other large cut of meat, ribs benefit from resting. Once they’re done, remove them from the grill and let them rest, loosely tented with foil, for 15-20 minutes. This allows the juices to redistribute, resulting in more moist and flavorful ribs.
Tips for Success with Gas Grill Ribs
To make your gas grilled ribs legendary, consider these points. Wood chips in a smoker box can add a touch of smoky flavor. Just soak them first and place them over a lit burner. This tiny step can make a big difference.
Always have a spray bottle filled with apple cider vinegar or water handy. If you notice any dry spots, a quick spritz can add moisture. Also, manage flare-ups by moving ribs away from direct heat or turning off a burner if fat drips cause flames. Grill mastery comes with practice.
Conclusion
Grilling spare ribs on a gas grill is entirely achievable and can yield incredibly tender, flavorful results. By understanding the importance of indirect heat, patient cooking, and key steps like wrapping and saucing, you can create barbecue masterpieces right in your backyard.
Don’t let the lack of a traditional smoker deter you from enjoying delicious ribs. Your gas grill is a versatile tool, capable of delivering that slow-cooked perfection you crave. Give it a try, and you might just surprise yourself with the amazing ribs you produce!
How long does it typically take to grill spare ribs on a gas grill?
Grilling spare ribs on a gas grill usually takes about 4 to 5 hours total. This includes around 2 to 2.5 hours unwrapped, 1 to 1.5 hours wrapped, and 30 to 60 minutes for saucing and glazing at the end.
Do I need to parboil ribs before grilling them on a gas grill?
No, you do not need to parboil ribs before grilling them on a gas grill. Parboiling can actually strip away flavor. The low and slow indirect heat method described here will tenderize the ribs perfectly without pre-boiling.
Can I add a smoky flavor to ribs on a gas grill?
Yes, you can add smoky flavor to ribs on a gas grill. Place presoaked wood chips (hickory or applewood are great choices) in a foil packet with holes or a metal smoker box directly over a lit burner. This will create smoke for your ribs.
How do I prevent my spare ribs from drying out on the gas grill?
To prevent ribs from drying out, maintain a low and consistent grill temperature (250-275°F). Wrapping them in foil with a liquid like apple juice or broth during the middle cooking phase also helps retain moisture and tenderize them. Avoid cooking at too high a heat.
What kind of dry rub is best for gas-grilled spare ribs?
The best dry rub is a matter of personal taste, but a good starting point includes salt, pepper, garlic powder, onion powder, paprika, and a touch of brown sugar for sweetness. Experiment with chili powder or cayenne for a little kick.