To cook ribs on a Pit Boss pellet grill, aim for a low and slow temperature, typically around 225-250°F, using indirect heat to achieve tender, smoky results.
The 3-2-1 method is a popular technique for pork spare ribs, involving three hours of smoking, two hours wrapped in foil, and one final hour unwrapped to set the bark.
TL;DR: Here’s the quick guide to fantastic Pit Boss ribs:
- Pick quality ribs, either baby backs or spare ribs, and prep them well.
- Remove the membrane and apply your favorite rub generously.
- Preheat your Pit Boss to 225-250°F using a good hardwood pellet.
- Smoke the ribs for the initial period, spritzing to keep them moist.
- Wrap them tightly in foil or butcher paper with some liquid for tenderness.
- Finish unwrapped until the bark is perfect and they pass the bend test.
- Always rest your ribs before slicing to lock in all those delicious juices.
How To Cook Ribs On Pit Boss Pellet Grill?
Cooking ribs on your Pit Boss pellet grill is an incredibly rewarding experience. You’re about to create some of the most tender, flavorful ribs your family and friends have ever tasted. It’s all about low, slow heat and patience, transforming a simple rack into a barbecue masterpiece.
Choosing the Right Ribs
Before you fire up your Pit Boss, let’s talk about the foundation of your meal: the ribs themselves. The type of rib you pick can really change the cooking process and final texture. You want ribs with good meat coverage and even thickness for consistent cooking.
Baby Back vs. Spare Ribs
Are you wondering which ribs are best for smoking? Many experts say that pork spare ribs offer more flavor due to higher fat content, but baby back ribs are often meatier and cook a bit faster (USDA).
- Baby Back Ribs: Shorter, curved, very meaty, often preferred for their tenderness. They cook quicker.
- Spare Ribs: Longer, flatter, more bone, but rich in flavor and fat. They need a longer cooking time.
For Pit Boss cooking, both work wonderfully, but spare ribs often benefit most from the “3-2-1” method we’ll cover.
Your Rib Preparation Checklist
Prepping your ribs correctly is a critical step for success. Don’t skip these simple tasks; they make a huge difference in the final product. It sets the stage for excellent flavor and texture, preparing them for the low and slow smoke ahead.
Trimming and Membrane Removal
First, inspect your ribs. You might see some loose flaps of meat or excess fat. Trim these away to help with even cooking and a better presentation. The most important step here is removing the silver skin membrane from the back of the ribs.
Why remove it? This tough membrane prevents your rub from penetrating and makes the cooked ribs chewy, like eating a piece of plastic. Simply use a knife to lift a corner, then grip it with a paper towel and pull it off. Research shows this vastly improves tenderness and flavor absorption.
Applying Your Rub
Now for the flavor! A good dry rub is essential for ribs. You can use a store-bought rub or make your own. Apply it generously to all sides of the ribs. Don’t be shy; you want a nice, even coating.
Pat the rub onto the meat gently. Some people like to apply a thin layer of mustard or hot sauce first as a binder, but it’s not strictly necessary. Let the ribs sit with the rub for at least 30 minutes, or even overnight in the fridge for deeper flavor penetration (Food Safety.gov suggests proper refrigeration).
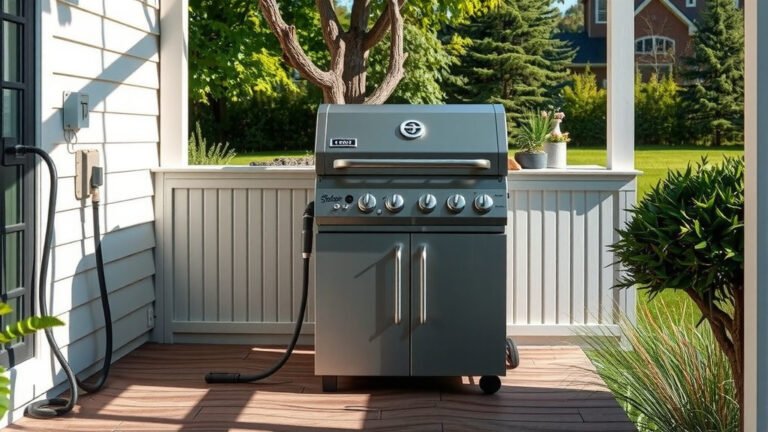
Setting Up Your Pit Boss
Your Pit Boss pellet grill is a fantastic tool for smoking ribs. It maintains a consistent temperature with ease, giving you a set-it-and-forget-it experience. But a little setup goes a long way to ensure perfect results.
Pellet Choice Matters
What kind of pellets should you use? The wood type you choose will significantly impact the smoky flavor of your ribs. Many grill masters suggest fruitwoods like apple or cherry for pork, as they offer a sweet, mild smoke profile.
Hickory or pecan are also excellent choices for a stronger, more traditional barbecue flavor. We found that a blend often provides a great balance without being overpowering. Pick what sounds best to your taste buds!
Preheat and Stability
Always preheat your Pit Boss. Set your grill to the desired smoking temperature, typically 225°F or 250°F. Close the lid and allow it to reach and stabilize at that temperature for at least 15-20 minutes. A stable temperature means even cooking from the start.
Using a separate, reliable probe for grill temperature, especially near your ribs, can help verify accuracy. This ensures you’re not guessing and your ribs are cooking in the ideal environment.
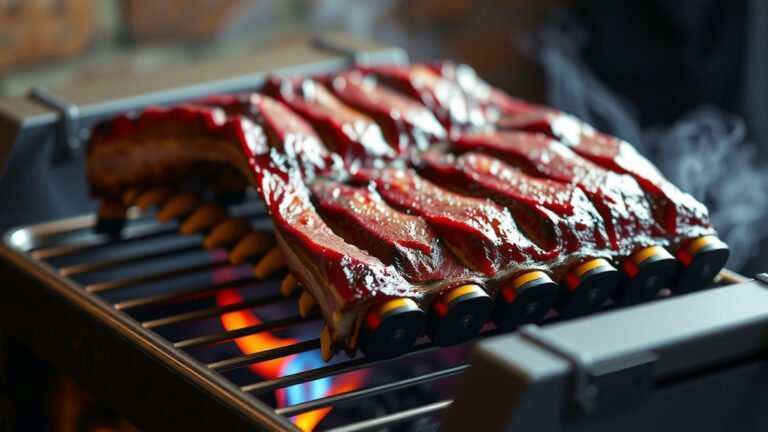
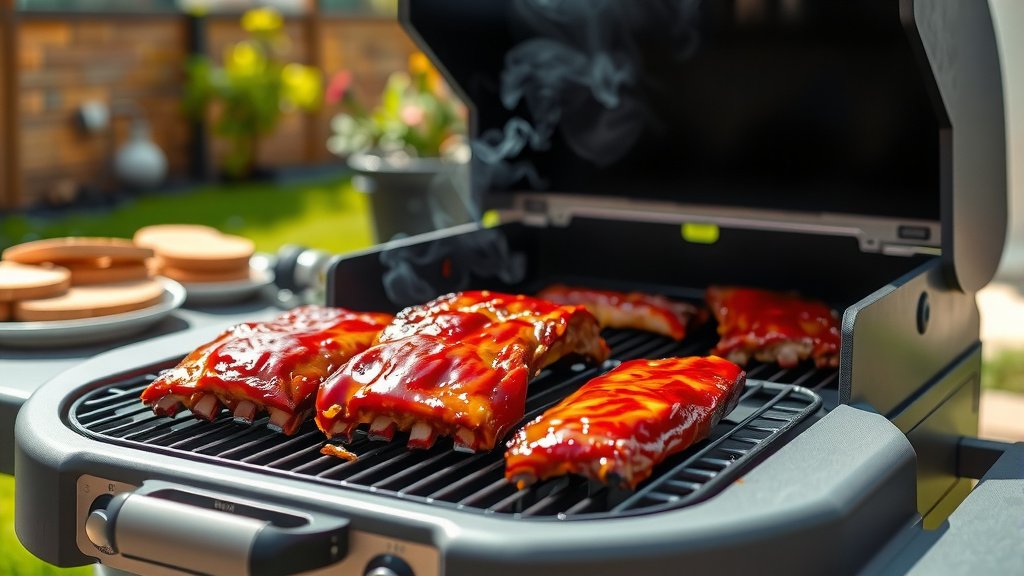
The Smoking Process: Low and Slow
This is where the magic happens. Placing your prepped ribs directly on the grill grates, bone-side down, allows them to absorb that beautiful wood smoke. Remember, you’re not cooking them fast; you’re slow-smoking for tenderness and flavor.
Spritzing for Moisture
To keep your ribs from drying out during the long smoke, consider spritzing them every hour or so. A mixture of apple cider vinegar, apple juice, or even plain water works wonders. We found that a 50/50 apple juice and apple cider vinegar blend adds a nice touch of moisture and sweetness.
Spritzing helps maintain moisture and keeps the surface tacky, allowing more smoke flavor to adhere. This tiny step can make your ribs even more incredibly juicy. Don’t overdo it, though; a light mist is all you need.
Understanding the 3-2-1 Method
The 3-2-1 method is a famous technique for cooking spare ribs, especially when you want them fall-off-the-bone tender. It breaks the cooking process into three distinct phases. While designed for spare ribs, you can adjust it for baby backs, often using a 2-2-1 or 2-1.5-0.5 variation (Food Network Kitchen experts).
The “3” Hour Mark: Smoke
This is the initial smoking phase. Place your ribs directly on the grill grates at 225-250°F. Let them smoke for approximately 3 hours. During this time, they’ll develop a fantastic smoky flavor and a beautiful bark. Avoid peeking too often; every time you open the lid, you lose heat and smoke.
The “2” Hour Mark: Wrap
After 3 hours, it’s time to wrap your ribs. This phase is crucial for tenderness. Lay out two sheets of heavy-duty aluminum foil. Place a rack of ribs on the foil, and add a splash of liquid – like apple juice, beer, or broth – to the packet. This creates a steaming effect, helping to break down connective tissue.
Wrap them tightly to create a sealed pouch, then return them to the grill for another 2 hours at the same temperature. Some people add a pat of butter or a drizzle of honey in this step for extra richness.
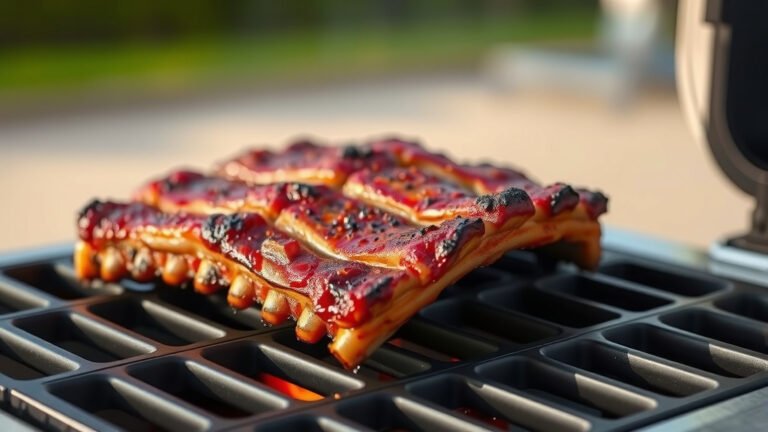
The “1” Hour Mark: Finish
After two hours in the foil, carefully unwrap your ribs. Place them back on the grill grates, unwrapped. This final hour allows the bark to firm up and, if you choose, to brush on some barbecue sauce. Many pitmasters like to glaze their ribs in the last 30 minutes.
This phase also helps the ribs firm up slightly after being steamed in the foil. Keep an eye on the internal temperature, which should be around 195-203°F for truly tender ribs (research suggests this range for optimal pork tenderness).
Checking for Doneness
How do you know when your ribs are perfectly done? While temperature is a guide, the best way to check is by feel. The “bend test” is a classic method. Pick up a rack of ribs with tongs in the middle. If they bend easily and crack, showing separation between the bones, they’re ready.
Another sign is when the meat pulls back slightly from the ends of the bones. You want them tender, but not completely falling apart, unless that’s your preference. Avoid overcooking, or they can become mushy.
Resting Your Ribs
Just like any other smoked meat, resting is a non-negotiable step. Once your ribs are done, take them off the grill and tent them loosely with foil. Let them rest for at least 15-20 minutes. This allows the juices to redistribute throughout the meat, ensuring every bite is incredibly moist and flavorful.
If you slice them immediately, those precious juices will run out, leaving you with drier ribs. Patience truly pays off in the end. This resting period is your final act of care for your delicious creation.
| Step | Temperature | Duration (Spare Ribs) | Notes |
|---|---|---|---|
| Preheat Pit Boss | 225-250°F | 15-20 minutes | Stabilize temperature, clean grates |
| Smoke (Unwrapped) | 225-250°F | 3 hours | Develop bark and smoke flavor, spritz occasionally |
| Wrap (Foil/Paper) | 225-250°F | 2 hours | Add liquid (apple juice, broth), tenderize |
| Finish (Unwrapped) | 225-250°F | 1 hour | Set bark, apply sauce (optional), check for doneness |
| Rest | Off grill | 15-20 minutes | Tent with foil, redistribute juices |
Conclusion
Mastering ribs on your Pit Boss pellet grill is a journey, and with these steps, you’re well on your way to becoming a backyard barbecue legend. Remember, the key is patience, temperature control, and a good rub. You’ll soon be pulling off racks of ribs that are tender, smoky, and bursting with flavor.
Don’t be afraid to experiment with different pellets or rub combinations. Your Pit Boss is a fantastic tool for consistent results, making it easier to achieve that perfect bite every time. Now, go fire up that grill and enjoy your delicious creations!
What kind of pellets are best for smoking ribs?
For smoking ribs, many pitmasters recommend fruitwoods like apple or cherry pellets for a mild, sweet smoke. Hickory or pecan pellets offer a more robust, traditional barbecue flavor. We found that blends often provide a nice balance without overpowering the pork.
Do I need to spritz my ribs while smoking?
Spritzing ribs is not strictly required but highly recommended. It helps to keep the surface moist, prevents drying, and allows more smoke flavor to adhere to the meat. A common spritz mix includes apple cider vinegar, apple juice, or a 50/50 blend of both.
What is the ideal internal temperature for smoked ribs?
While the “bend test” is often preferred for doneness, research suggests that pork ribs are optimally tender when they reach an internal temperature between 195-203°F. This range ensures the connective tissues have broken down sufficiently.
Can I use the 3-2-1 method for baby back ribs?
Yes, you can adapt the 3-2-1 method for baby back ribs, but you’ll need to shorten the cooking times. Many experts recommend a 2-2-1 or even a 2-1.5-0.5 approach for baby backs due to their smaller size and leaner meat, preventing them from overcooking.
How long should I let my ribs rest after smoking?
After removing your ribs from the Pit Boss, it’s really important to let them rest for at least 15-20 minutes, tented loosely with foil. This resting period allows the juices to redistribute throughout the meat, ensuring your ribs are as moist and flavorful as possible when sliced.