To cook ribs on a propane grill, start by preheating your grill to a medium-low temperature, around 275-300°F (135-150°C), and setting it up for indirect heat.
You will cook the ribs slowly over this indirect heat for several hours, often using a 3-2-1 method, to achieve tender, fall-off-the-bone results that make your taste buds sing.
- Cooking ribs on a propane grill involves mastering indirect heat and low temperatures.
- The goal is to achieve tender, juicy ribs without burning them.
- You’ll prepare the ribs by removing the membrane and applying your favorite rub.
- A common method uses phases of smoking, wrapping, and saucing for perfect texture.
How To Cook Ribs On A Propane Grill?
Cooking ribs on a propane grill means creating a smoky, tender masterpiece without a traditional smoker. You’ll use your grill to mimic low and slow cooking, giving you amazing results with just a few clever steps.
Prepping Your Ribs: The First Step to Greatness
Before any heat hits your ribs, some vital preparation makes all the difference. Think of it as laying the foundation for a delicious build. You want every bite to be perfect, right?
Removing the Membrane
Flip your rack of ribs over to the bone side. You’ll see a thin, silverskin membrane covering the bones. We found that removing this membrane prevents the ribs from being tough and allows your rub flavors to fully penetrate the meat. Just use a butter knife or spoon to lift an edge, then grab it with a paper towel and peel it off.
Applying Your Rub
Once the membrane is gone, it’s rub time! Apply your favorite dry rub generously to all sides of the ribs. Don’t be shy; this is where a lot of your flavor comes from. Many experts say a good rub needs time to soak in, so consider doing this an hour or two before grilling, or even overnight in the fridge (USDA).
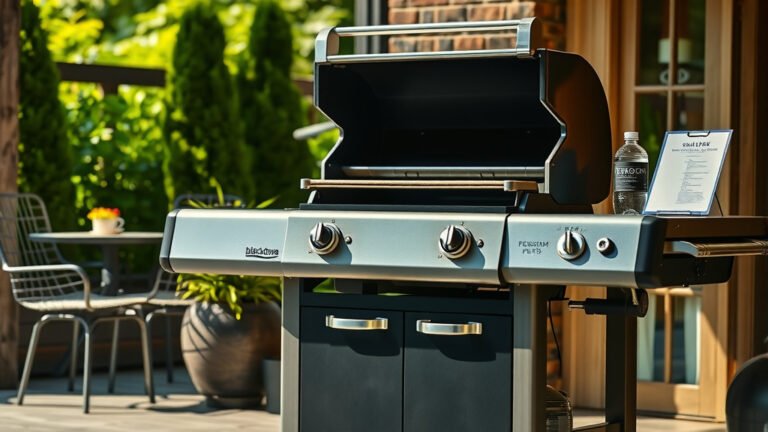
Setting Up Your Propane Grill for Ribs
A propane grill is super versatile, but for ribs, you need to set it up differently than for quick searing. We’re aiming for low and slow cooking, like a gentle hug for your meat.
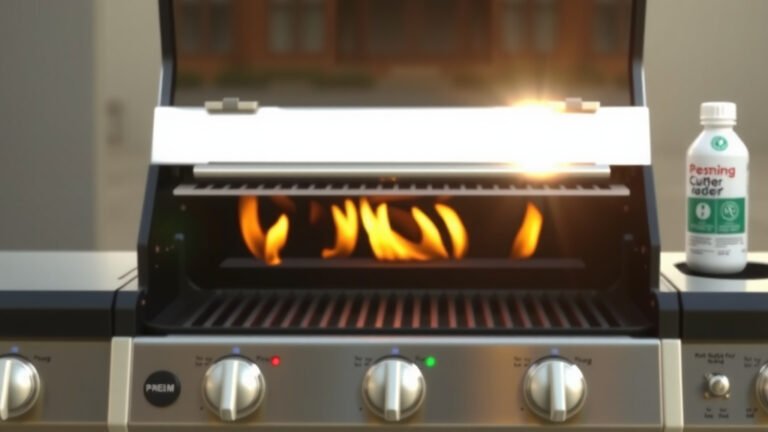
Creating Indirect Heat Zones
This is key! You don’t want direct flame on your ribs for hours. For a typical two or three-burner grill, light one burner to medium-low and leave the other burner(s) off. Your ribs will cook on the unlit side. This indirect setup ensures even cooking without charring.
Aiming for the Right Temperature
The sweet spot for ribs is usually between 225-275°F (107-135°C). Use your grill’s thermometer, or a separate grill thermometer, to monitor this. You want a consistent, low temperature for maximum tenderness. Adjust your lit burner as needed to hold this range.
Adding Smoke Flavor (Optional, but Recommended)
Propane grills can still deliver that beloved smoky taste! You just need a little helper. Adding some wood chips can turn your propane grill into a mini-smoker, enhancing the flavor profile significantly.
Using a Smoker Box or Foil Pouch
Soak wood chips (hickory, apple, cherry are popular choices) for about 30 minutes. Place them in a smoker box or wrap them in a foil pouch with holes poked in it. Put this directly over your lit burner. Once it starts smoking, you’re ready for the ribs. We found that adding wood chips early helps impart deep smoky notes.
The 3-2-1 Method for Perfect Ribs
The 3-2-1 method is a widely loved technique for fall-off-the-bone ribs. It breaks the cooking into three distinct phases. Think of it as a three-act play for your ribs, each leading to a better outcome.
Here’s a quick overview of how this method works:
| Phase | Time (Approx.) | Temperature | Description |
|---|---|---|---|
| Phase 1: Smoke | 3 hours | 225-275°F (107-135°C) | Directly on the grill grates, indirect heat, with smoke. |
| Phase 2: Wrap | 2 hours | 225-275°F (107-135°C) | Wrapped tightly in foil with liquid, still indirect heat. |
| Phase 3: Sauce/Firm | 1 hour | 225-275°F (107-135°C) | Unwrapped, brush with sauce, indirect heat. |
Phase 1: The Smoke (3 Hours)
Place your seasoned ribs directly on the grill grates over the unlit side. Close the lid and let them cook, low and slow, for about three hours. Keep an eye on your grill temperature, ensuring it stays consistent. This phase builds a beautiful bark and smoky flavor.
Phase 2: The Wrap (2 Hours)
After three hours, remove the ribs. Lay out a large piece of heavy-duty foil. Place a couple of tablespoons of apple juice, cider vinegar, or beer on the foil, then place the ribs meat-side down. Wrap them tightly. This steaming process inside the foil makes them incredibly tender (AmazingRibs.com).
Phase 3: The Finish (1 Hour)
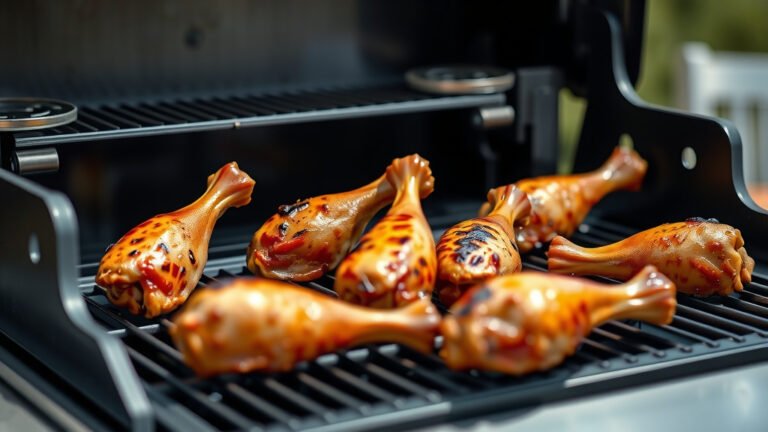
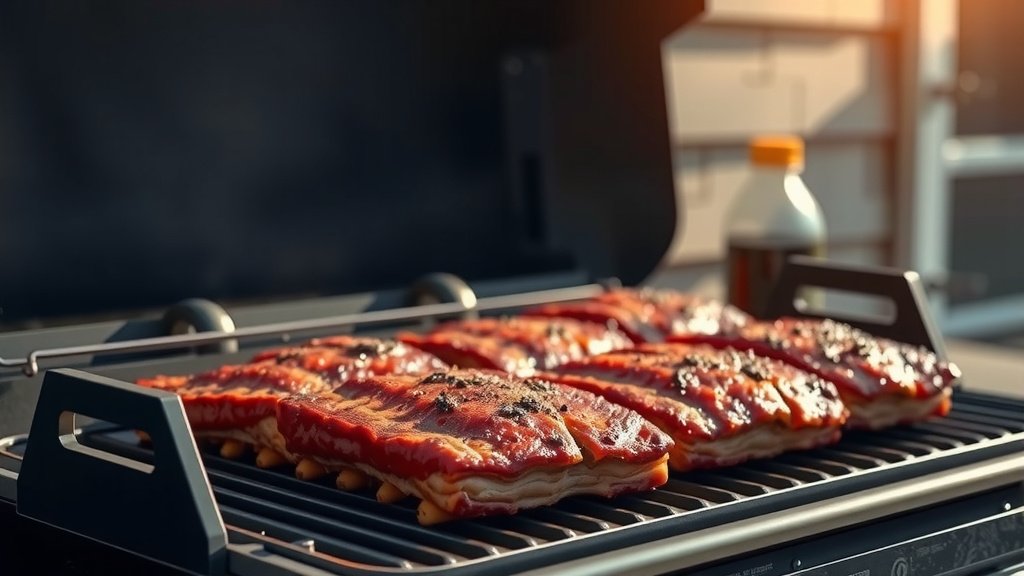
Unwrap the ribs and place them back on the grill, meat-side up, over indirect heat. Now is the time to brush them with your favorite BBQ sauce. Cook for about an hour more, allowing the sauce to caramelize and set. This final phase gives you that sticky, flavorful coating we all love.
Checking for Doneness: No Guesswork
How do you know when your ribs are truly ready? You don’t want to serve tough ribs, nor do you want them falling apart too much. It’s all about finding that perfect sweet spot.
Here’s a quick checklist to ensure your ribs are done:
- The meat has pulled back from the ends of the bones by about a quarter to half an inch.
- You can easily twist or wiggle a bone without it feeling stuck.
- When you pick up one end of a rack with tongs, the rack bends significantly, and the meat almost wants to tear.
- The internal temperature of the thickest part of the meat (avoiding bones) is around 195-203°F (90-95°C) for optimal tenderness (Meathead Goldwyn).
- A toothpick or skewer inserts into the meat with very little resistance.
Resting Your Ribs: The Final Touch
Just like any good cut of meat, ribs benefit from a rest after cooking. This allows the juices to redistribute throughout the meat, resulting in a more tender and flavorful experience. Don’t skip this easy step!
Tent the ribs loosely with foil and let them rest for 10-15 minutes before slicing. You’ve worked hard; let them relax a bit before you dig in. You’ll notice a significant difference in juiciness and texture.
Conclusion
Cooking ribs on a propane grill is absolutely achievable and incredibly rewarding. By understanding indirect heat, mastering the 3-2-1 method, and giving your ribs the proper care, you can create a backyard feast that rivals any smokehouse. It’s all about patience and a little bit of know-how. So, fire up that grill, follow these steps, and get ready for some truly unforgettable ribs!
What kind of ribs are best for grilling on a propane grill?
Baby back ribs or spare ribs (St. Louis style) are excellent choices. Baby backs are leaner and cook a bit faster, while spare ribs are meatier and richer, often requiring a slightly longer cooking time.
Can I use liquid smoke instead of wood chips?
Yes, you can use liquid smoke for a smoky flavor if you don’t have wood chips. We found that applying a small amount directly to the ribs with your rub or adding a dash to the wrapping liquid during Phase 2 can give a good result. However, many grill masters prefer the authentic taste of real wood smoke.
How do I prevent my ribs from drying out on the grill?
The key to juicy ribs is maintaining low and consistent indirect heat, and using the wrapping phase. The foil wrap with liquid during the second phase of the 3-2-1 method steams the ribs, locking in moisture and making them incredibly tender.
Should I use a binder like mustard before applying the rub?
Many pitmasters use a thin layer of yellow mustard or a similar liquid as a “binder” before applying dry rub. It helps the rub stick better to the meat, creating a more even coating. We found it doesn’t add a strong mustard flavor after cooking, but rather helps the spices adhere beautifully.
What if my grill doesn’t hold a low temperature well?
If your propane grill struggles to maintain a low temperature, try using fewer burners on the lowest setting. You can also experiment with raising your grill grates slightly off the heat source or placing a water pan on the lit side to help regulate temperature and add moisture to the grill environment.